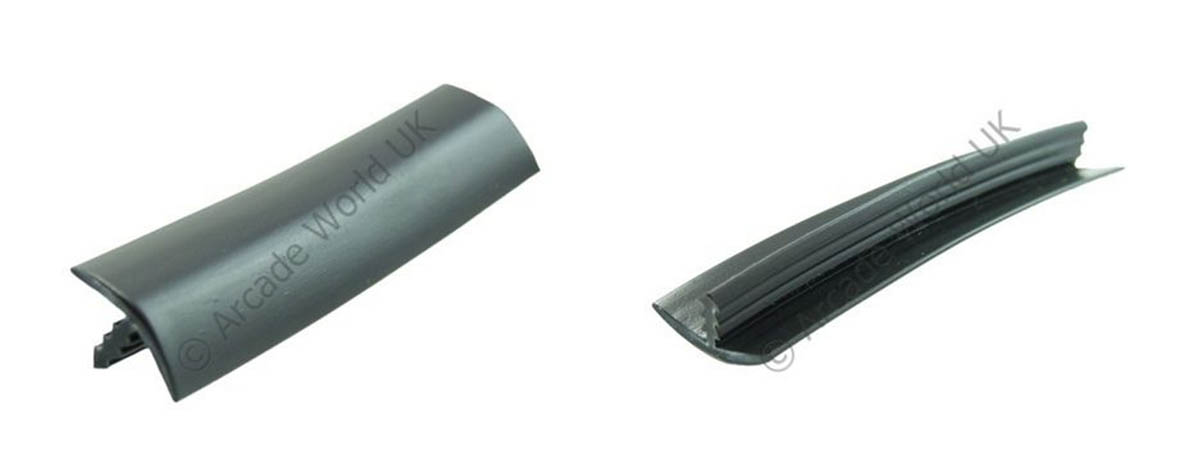
Most arcades generally have t-moulding (or t-molding) around all the edges. It’s a rubber edging which really makes the machine seem much more professional. The ’T’ refers to the cross-section ridge which sticks into a pre-cut slot on the edges of your arcade machine. T-moulding itself is pretty cheap and easy to buy from places like Arcade World UK. My cabinet wood was 18mm thick and the t-moulding is 3/4 inches wide. It doesn’t sound like it totally fits perfectly but don’t worry, it works out fine.

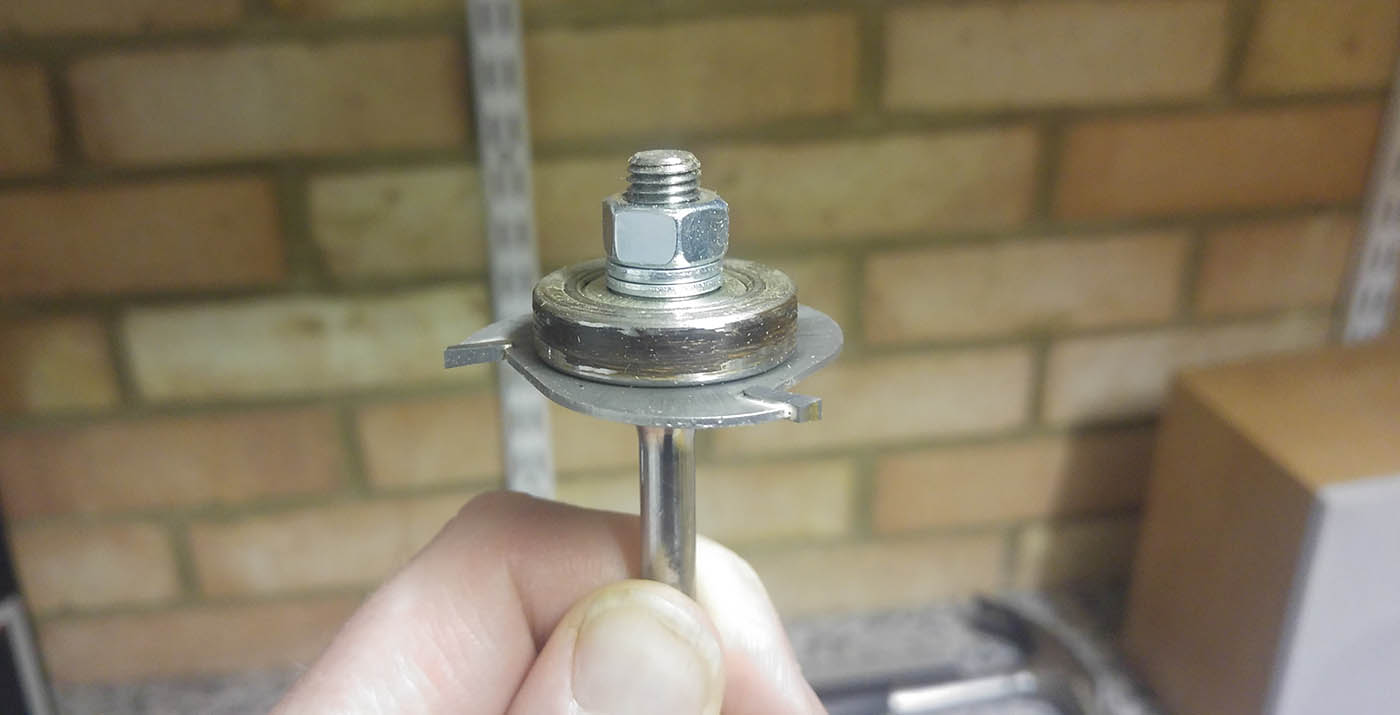
But first let’s talk about the pre-cut slot that I mentioned. You need to have a groove or slot cut along every edge of your cabinet that you would like to have t-molding on. The slot needs to be cut with a router. It needs to be exactly in the middle and the slot needs to be the right width. Herein lies the problem. I think slot cutting bits must be more common in the US because all the sites and videos I watched about this in America just said ‘get a slot cutting bit’ or something simple like that. But all UK posts I found on forums etc were full of people having no idea how to cut the right slot or what size bit to get or where from. Many people imported ones from the US but I managed to find one fantastic website post that had found a supplier in the UK. I’m so glad this guy wrote his blog post as it helped me out hugely, so I’d like to do the same here and give all the details of where to get it and what to get. So if anyone wants the right slot cutting bit to cut a slot in 18mm MDF in order to accommodate 3/4 inch t-moulding then just visit RouterCutter.co.uk and buy these…
– 6702A Slot cutter (Diam 47.63mm Kerf 2.03mm)
– B25 Bearing (Outer Diam 28.58mm, Inner Diam 7.94)
– A200B Arbor (Shank 6.35mm)
I managed to get the right slot cutting router bit from that website but I then had to ask my father-in-law to cut the slot with his router. I actually did this very early on the process at the same time I asked him to cut the wood. I think it must be a lot of harder if you have to route the slot after the cabinet is built, so it’s good to do it when your wood is still in panels.
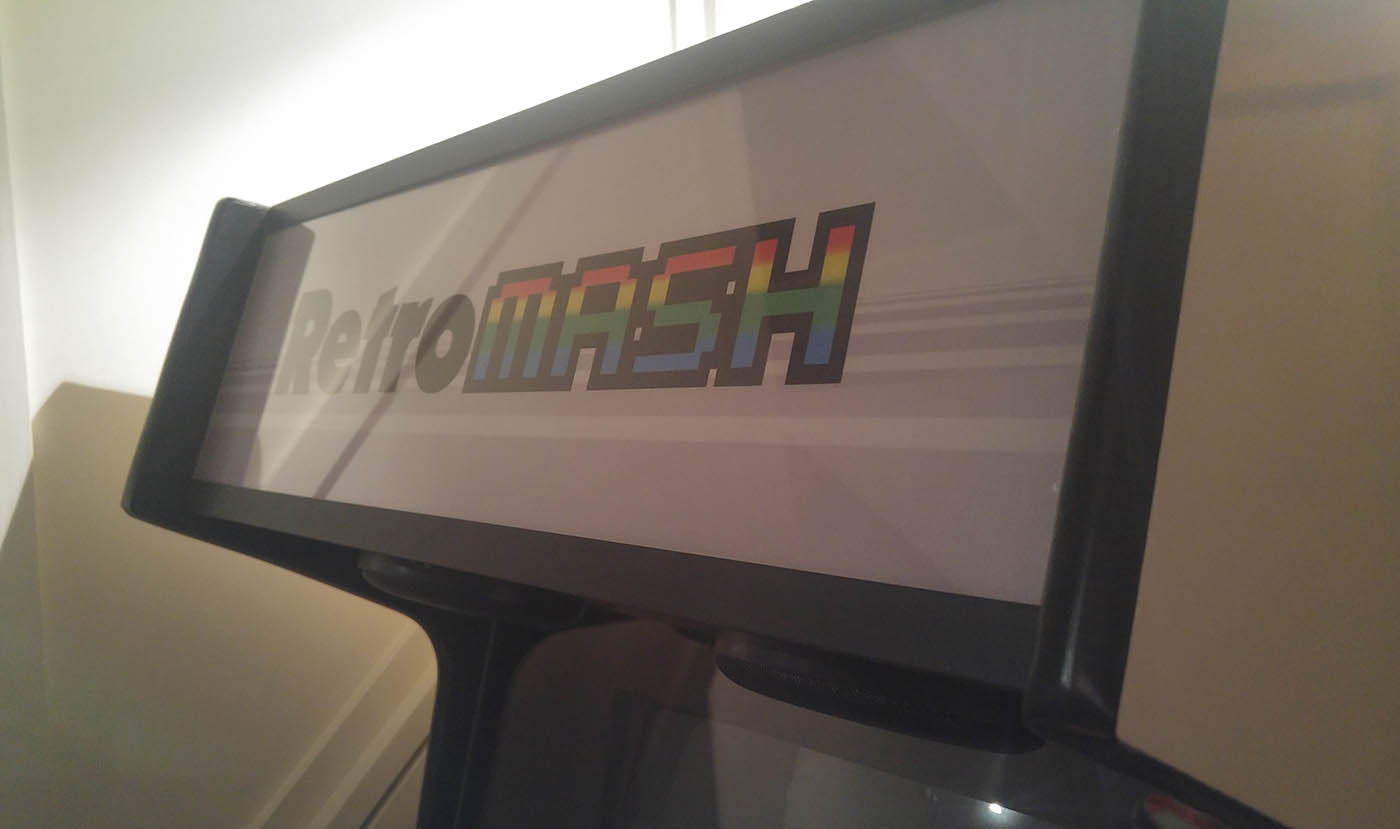
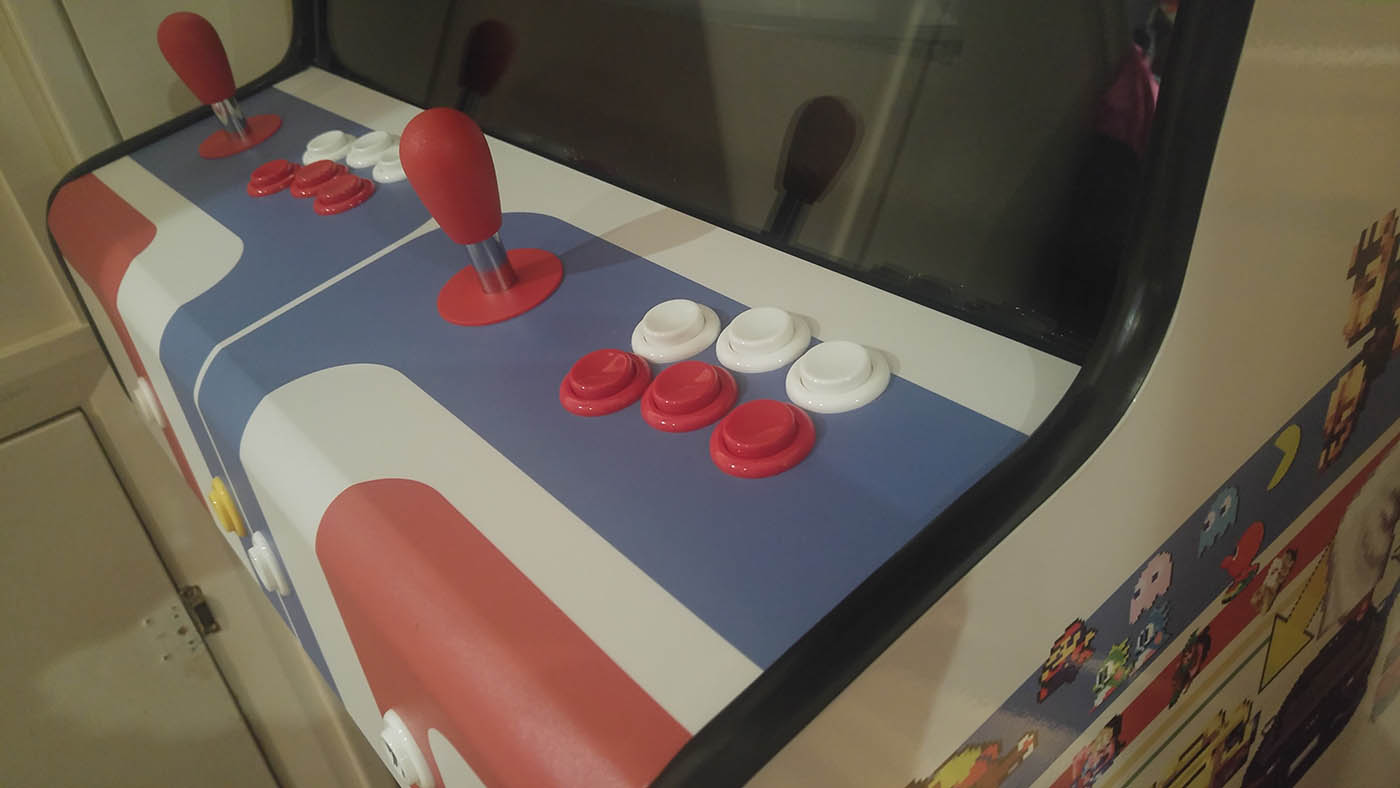
So cutting the slot is one of the first things I did, and adding the t-moulding was one of the last things I did in the whole build. You only add the t-moulding after the side-art is on. All you do is start from the top of the cabinet and hammer a panel pin into the first bit of t-moulding that you place, so that it holds in place, and then you go round with a rubber mallet and gently tap the t-moulding in all the way around. It goes in easily on straight bits, but you just have to be careful on angles and bends. On bends where the t-moulding bends away from the cabinet (such as from the bottom of the screen out along the control panel) you have to just cut a nick into the ridge of the t-moulding with a Stanley knife and this allows it to separate and bend outwards. On bends the other way, where the t-moulding bends towards the cabinet (such as around the marquee area) you have to cut out a little ‘V’ shape from the ridge in order to allow the t-moulding to bend in on itself. That’s slightly harder. I found it tricky around my first, almost 90 degree, angle around the marquee and it does stick out ever so slightly from the wood. Again, no-one else would probably notice it but it does bug me a bit.
All in all it’s pretty easy to add the t-moulding and it just adds that level of detail to make your arcade look much more professional.
Here’s a list of all the posts about my arcade build.
Part 1
Part 2 – Decisions
Part 3 – Cabinet Design
Part 4 – Control Panel Plans
Part 5 – Initial Questions and Concerns
Part 6 – Online Resources
Part 7 – Cabinet Plans
Part 8 – Buying and Cutting the Wood
Part 9 – Tools and Materials
Part 10 – Building the Cabinet
Part 11 – Building the Control Panel
Part 12 – Sanding and Painting
Part 13 – The Coin Door
Part 14 – Artwork
Part 15 – Printing and Applying the Vinyl
Part 16 – Adding all the T-moulding
Part 17 – The TV Monitor
Part 18 – Making the Bezel
Part 19 – The Marquee
Part 20 – Installing the Electronics
Part 21 – Setting up MAME
Part 22 – Issues to Watch Out For
Part 23 – The Finished Cabinet


JM
Dec 8, 2020 -
This was a great read and very informative!! I had many of these same questions and I can’t thank you enough for your insight on how to build a great arcade machine. Cheers!
Retromash
Dec 8, 2020 -
Great! Thanks a lot for leaving a comment. Good luck with your build!
Nick james
Feb 6, 2021 -
Brilliant write up and many thanks for the info on the routing bits needed
Retromash
Feb 6, 2021 -
You’re welcome. Thanks for leaving the comment. It’s appreciated.
Blair
May 12, 2021 -
Hey there, very close to starting my arcade cabinet and this is a great reference.
I’m just starting to get my parts list sorted out and was just wondering if you can remember how much t-moulding you used for the cabinet.
Thanks
Retromash
May 22, 2021 -
Hi Blair. So sorry for the very slow reply. I’ve just done a quick measure on my cabinet and I think I used about 6 metres. Good luck with your build!