
Like any big project, the scary bit is often when you go from the plans to the actual physical build. Things start to get real. I had double checked and triple checked all my measurements and I knew I was ready to get the wood. The thickness I needed was 18mm and after checking the sizes on their website I knew I had to go for sheets of B&Q’s largest size of MDF which is 1220mm x 2440mm.
One problem, however, was that we just have a little hatchback car. I don’t have a big van to carry large bits of wood, so I knew I couldn’t get the large sheets of MDF that B&Q sold into my car. I then heard that B&Q do a great service where they cut your wood for free in store. But even then I wasn’t convinced that I would manage to get my biggest bit of cut wood into my car. I looked into hiring a van for a day.
Another issue I was worried about was the cutting of the main outline of the cabinet sides. I didn’t have a jigsaw. I had borrowed a circular saw but I knew I couldn’t do it all with that, given the curves involved. I rang a local joinery workshop and asked them if they could help. They said they would recommend using their CNC machine if I could supply the artwork in the correct vector format. This would also save me the hassle of buying large bits of wood as they would have the wood in their workshop already. And if I had to I could carry it back to my garage as they were just round the corner from my house. But sadly the cost of the service alone, before adding the cost of the wood, was going to be about £200, so I quickly gave up on that option.
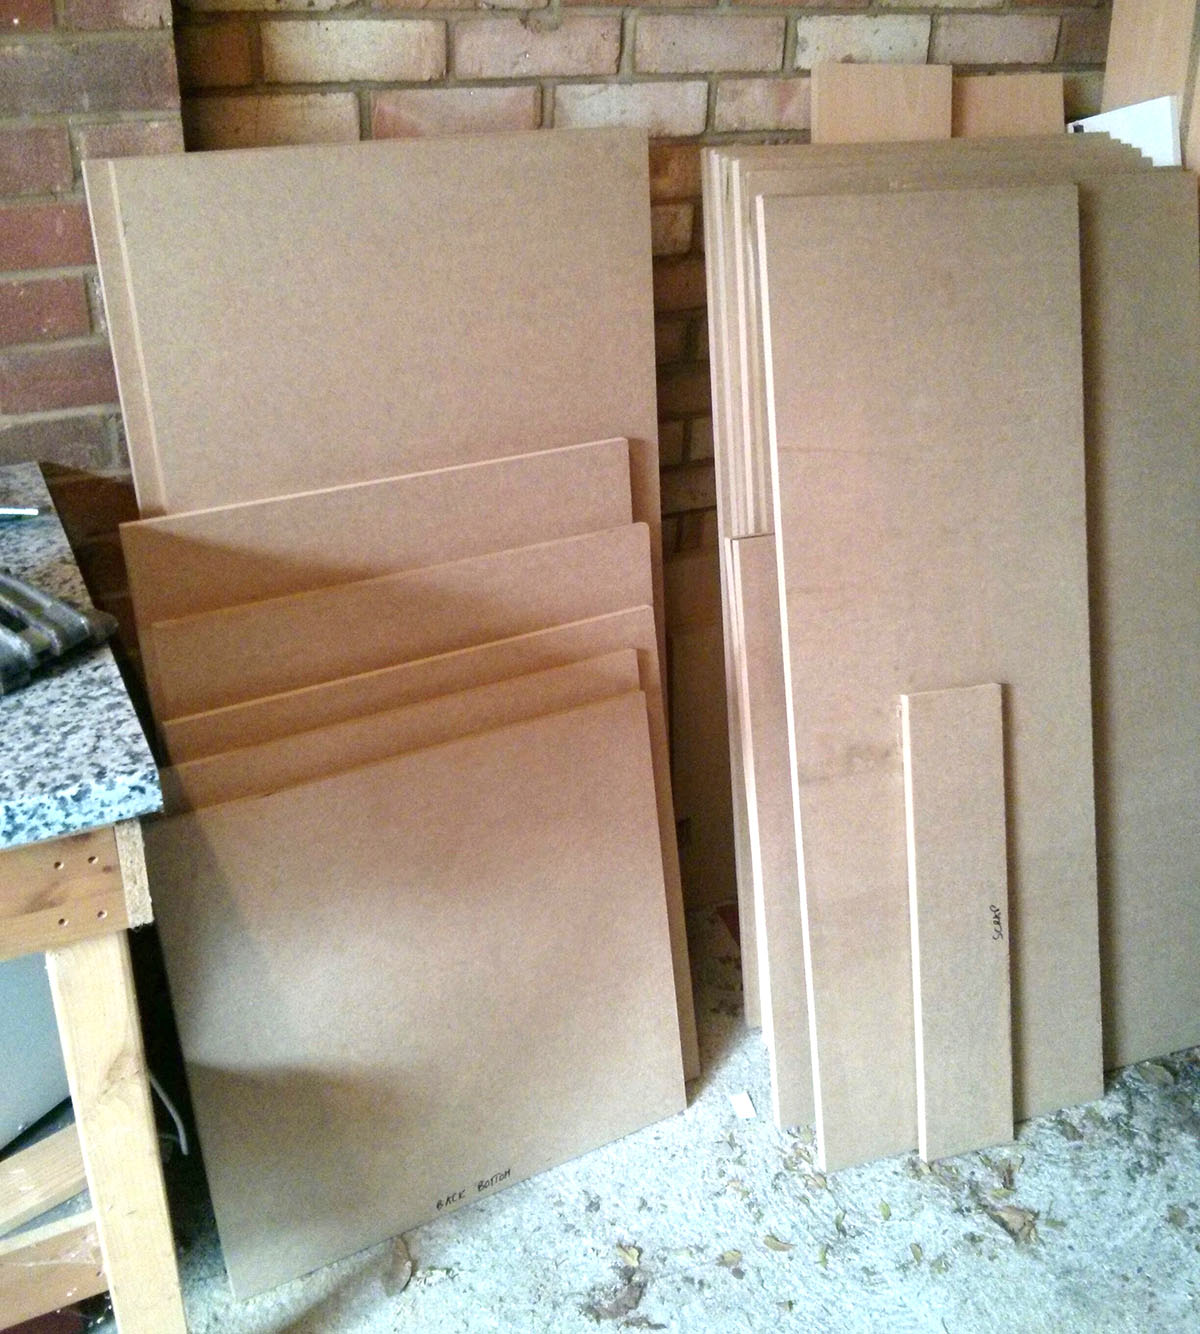
My father-in-law is a builder and carpenter, and while that is great I really didn’t want to abuse that relationship and ask for too much work from him. But this was one bit where I had to ask for his help. In the end I carefully measured my car and decided that I might just have the space to fit the cut wood from B&Q into the car. I went to B&Q, got it all cut down to my exact measurements and hooray, it did fit in the car (literally with about 3mm to spare!). I drove the larger two bits of wood round to my father-in-law’s after carefully drawing the outline on them and he cut them down to size.
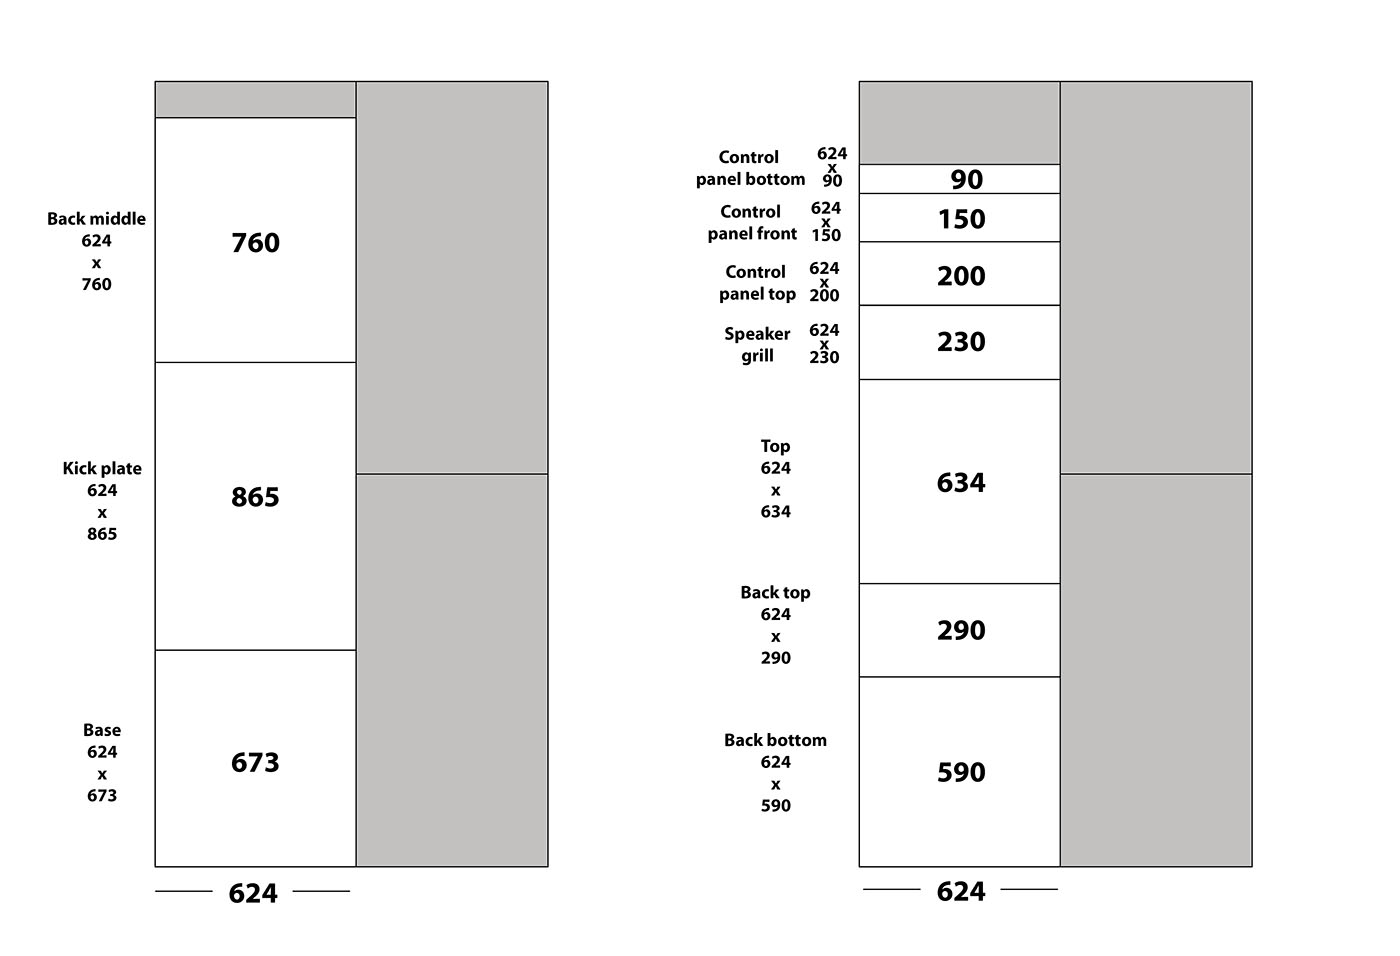
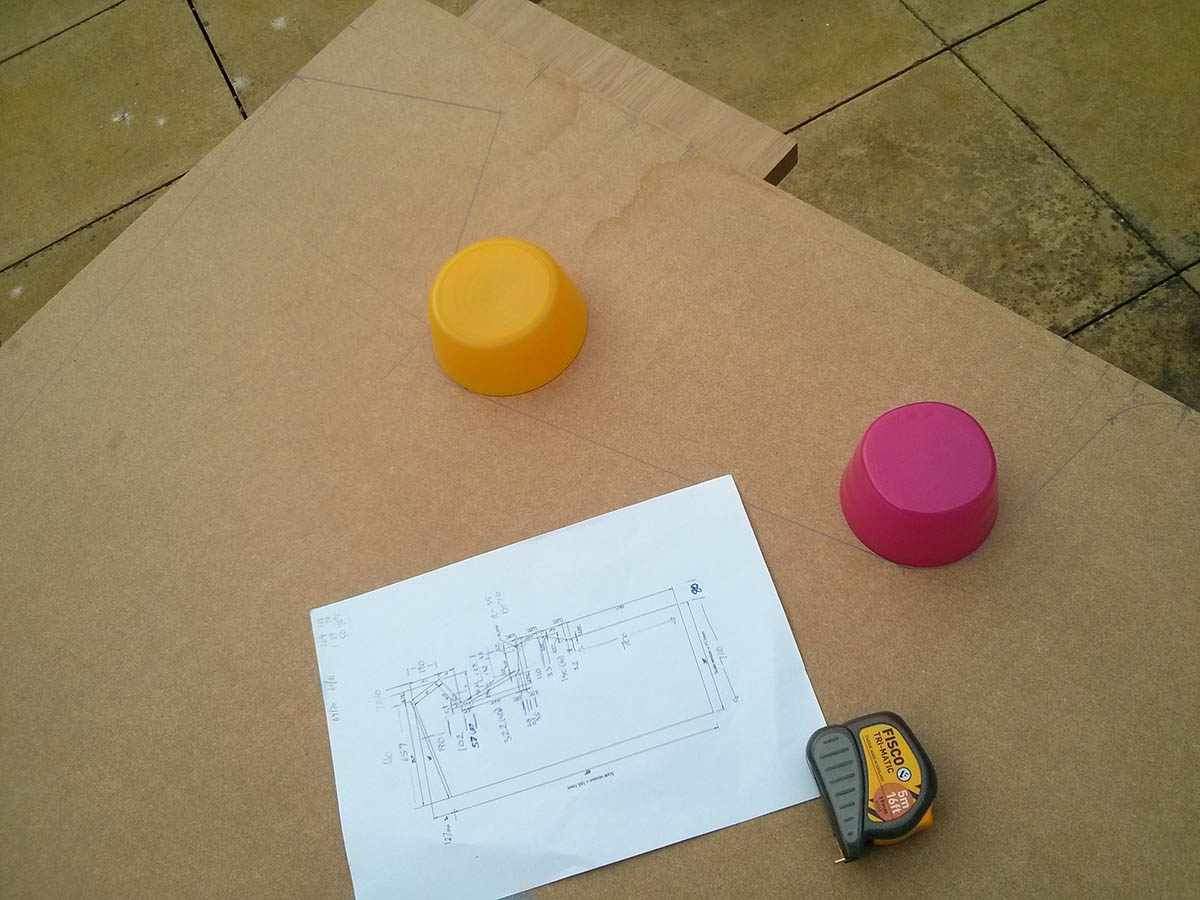
One thing to mention about the cutting of the wood at B&Q. I could have been smart and tried to fit all my panels of wood into the large sheets of B&Q MDF to maximise space and minimise how many sheets I had to buy, but I was worried that their cutting might not be 100% precise. And I really wanted all my panels that were meant to have the same width to be precisely the same width. They were all meant to be 624mm and if I had tried to arrange all my bits to be cut from one larger piece like a jigsaw then there was a risk of having some being 623mm and others being 625mm and I was worried that could lead to a slightly unstable cabinet. So, I instead made sure that I bought enough large pieces that could be cut longways into one long 624mm strip and then those 624mm strips being cut into small pieces so that all those sub pieces would definitely be identical widths. I was left with lots of spare MDF doing it this way but I have used some of that spare wood along the way anyway. You can see the diagrams I took to B&Q below to get the wood cut.
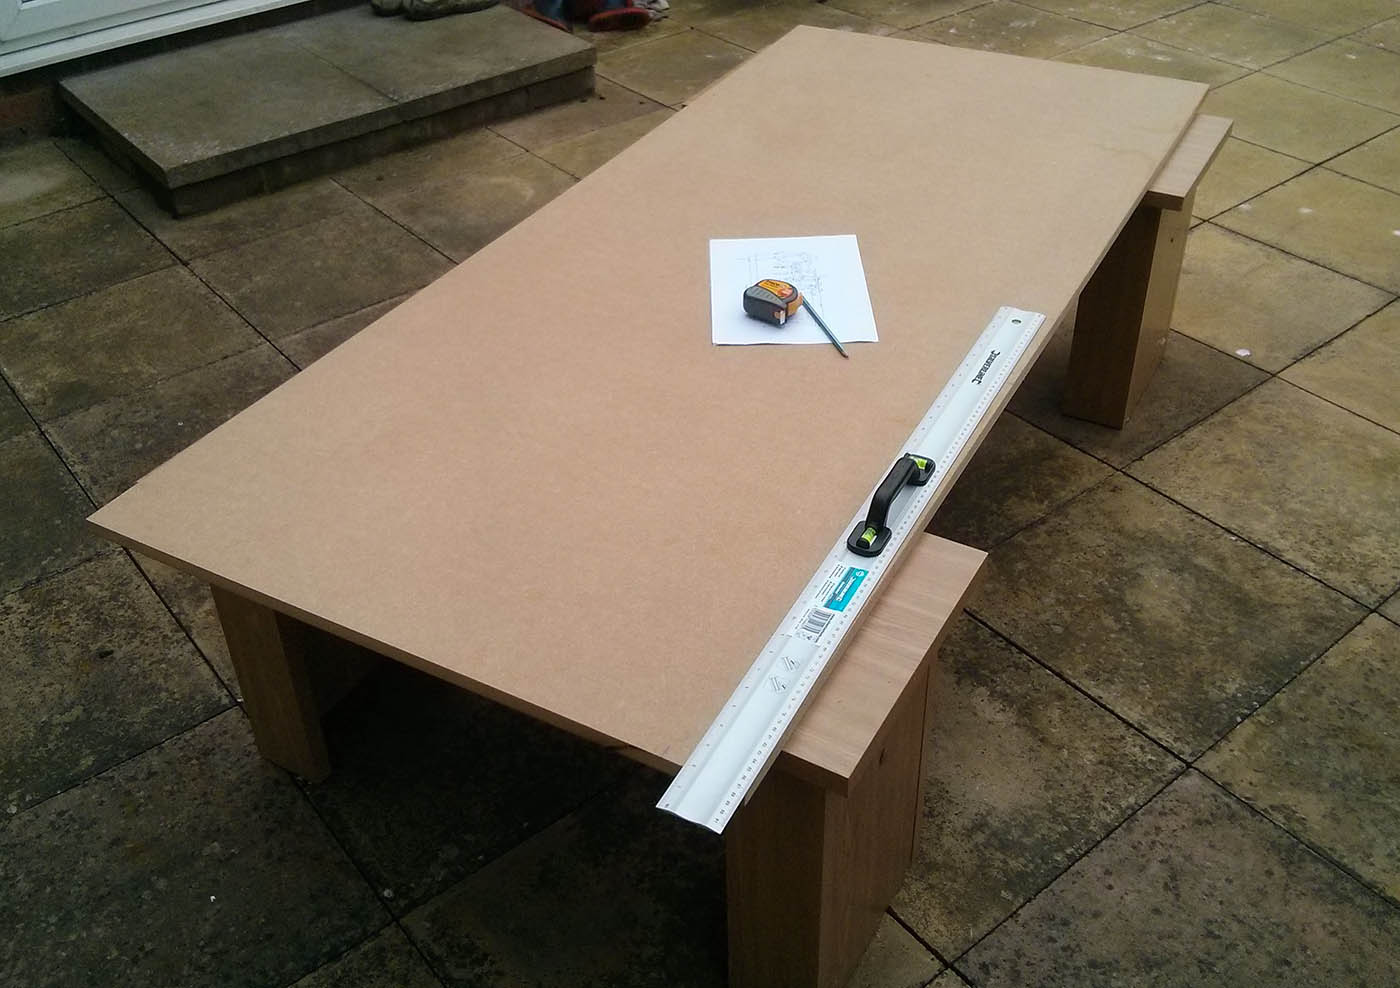
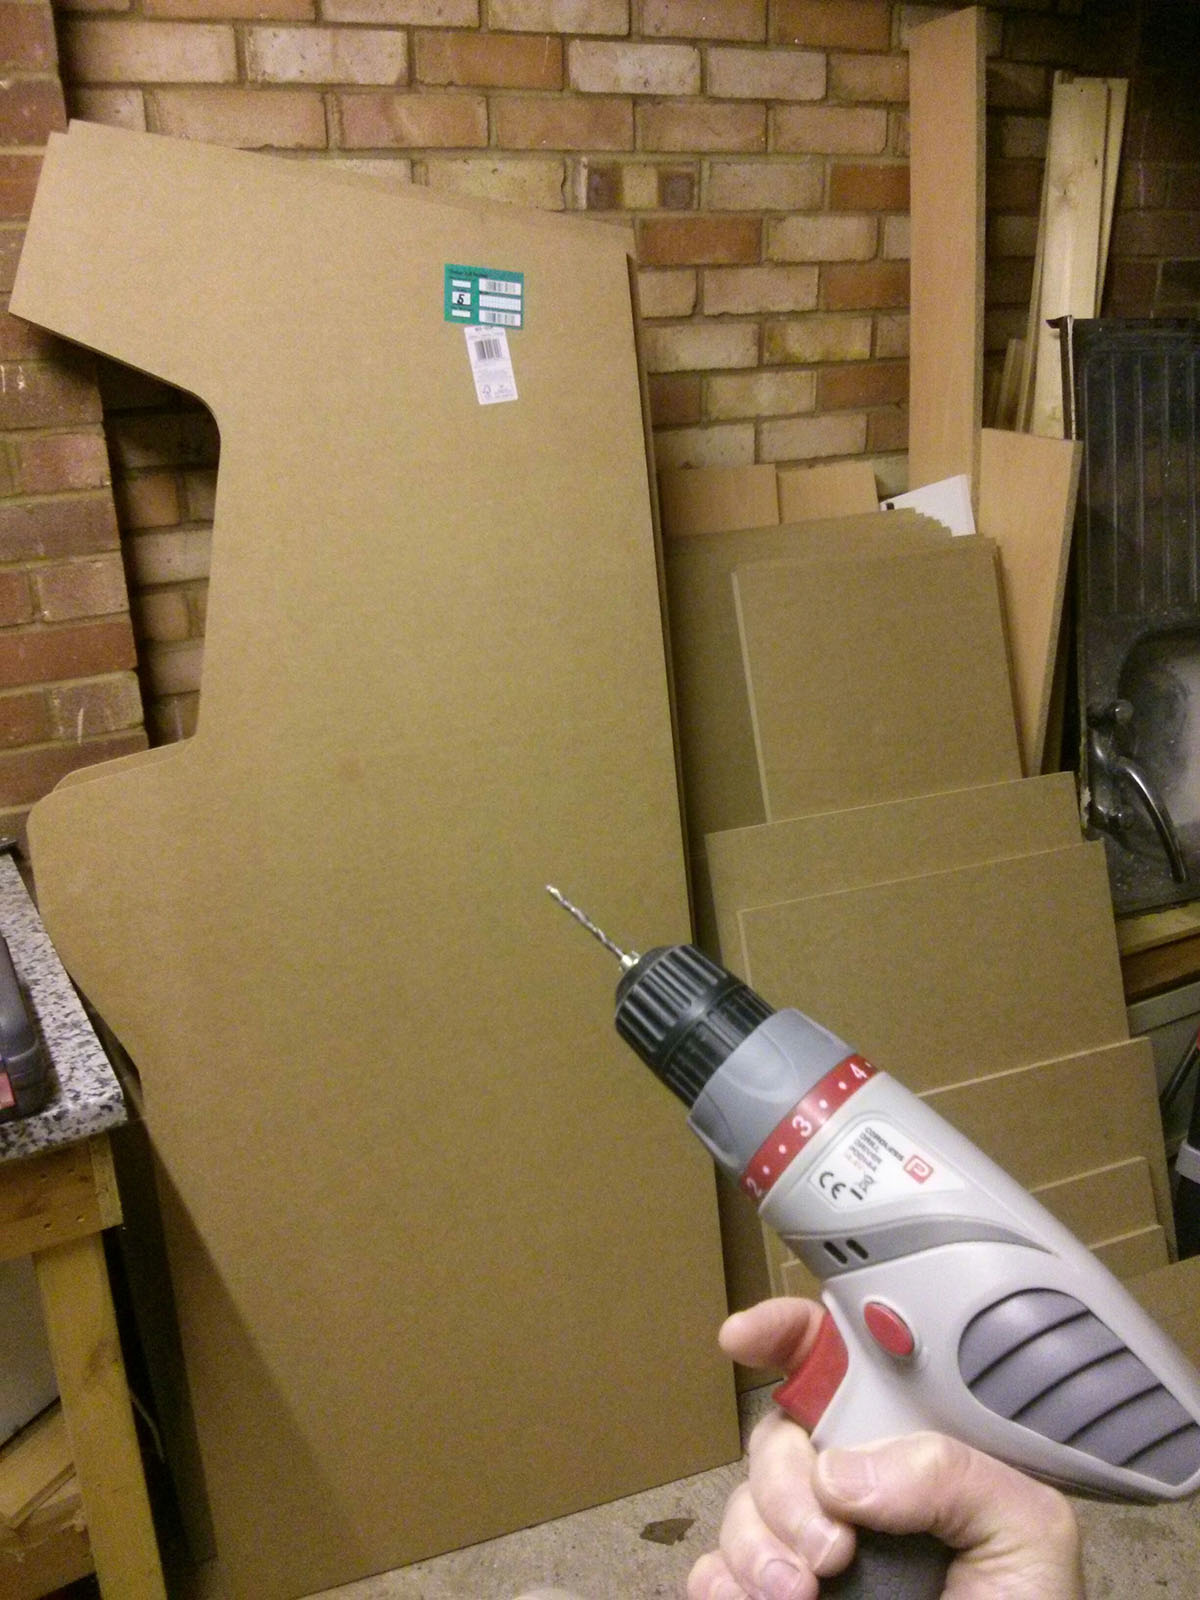
I then manually drew out the Joust cabinet outline on the biggest pieces of wood. I just did this by starting with the main measurements and working from a corner outwards. For the curves, I wanted to get them as smooth as I could and I didn’t have any compasses so I managed to find some of my children’s food bowls and cups of different sizes that I could use to draw the curves.
I then took these two large bits of wood round to my father-in-law who cut them out with a circular saw, handsaw and jigsaw. The other bits of wood that I needed help from my father-in-law with cutting were the two holes for the speakers in the speaker grill, and also the big holes for the coin door in the kick plate. I wasn’t able to do any of these myself due to my lack of jigsaw.
Finally, my father-in-law also helped with cutting the slot for the t-moulding with his router. I’ll cover this more fully though when I talk about applying the t-moulding in a later blog post, but I definitely found it handy to have the slot cut at this early stage rather than trying to cut it later on after the cabinet is built, as I have seen other people do online.
Now I had all the wood, I just had to put it all together.
Here’s a list of all the posts about my arcade build.
Part 1
Part 2 – Decisions
Part 3 – Cabinet Design
Part 4 – Control Panel Plans
Part 5 – Initial Questions and Concerns
Part 6 – Online Resources
Part 7 – Cabinet Plans
Part 8 – Buying and Cutting the Wood
Part 9 – Tools and Materials
Part 10 – Building the Cabinet
Part 11 – Building the Control Panel
Part 12 – Sanding and Painting
Part 13 – The Coin Door
Part 14 – Artwork
Part 15 – Printing and Applying the Vinyl
Part 16 – Adding all the T-moulding
Part 17 – The TV Monitor
Part 18 – Making the Bezel
Part 19 – The Marquee
Part 20 – Installing the Electronics
Part 21 – Setting up MAME
Part 22 – Issues to Watch Out For
Part 23 – The Finished Cabinet