
I was pretty meticulous with my planning for the whole cabinet, and I mocked up everything before I did it, but the bezel was one element that I really couldn’t get my head round before the bulk of the arcade was made. I couldn’t work out how much space I would have or how it was going to be made.
The bezel is the area that goes around the monitor screen and essential hides all the innards so you can’t see through. I’m not totally sure if everyone calls the black bit behind the glass the bezel or if machines that have artwork on the glass itself call that the bezel too. But my plan was to just have the black bit that sits behind the glass, without any artwork.
If you have a flatscreen as your monitor then it’s easy to just have a flat bit of card with a hole in it as it can sit flush up against the screen, but as I was using a CRT it had a curved screen and it wouldn’t sit flush. Doing a little bit of research I found that a lot of arcade bezels follow the curve of the screen and sit nicely on top of the CRT. A few places online do sell arcade monitor bezels but I had heard really bad things about them not fitting well at all. I thought I should be able to make my own but the only place I found online that had any kind of a tutorial was this video on How to Make an Arcade Bezel on the Cheap which was pretty low quality and didn’t really explain too well how to get the curves right.
For the material I just went to The Range and bought some heavy black card. You basically have to somehow cut four pieces of card which have curves that fit against the CRT curve when held at an angle. I don’t think there’s any way to really measure this properly. It feels more like you have to just do it by trial and error using paper first. Very fiddly. So fiddly that I wasn’t able to do it in time for my 40th birthday party. So instead I did just use one flat bit of card and cut a big hole in it. To be honest this looks absolutely fine until you really lean in close and examine it. It’s fine just now but I do want to spend some time at some point trying to make the curved bezel again, because if I manage to get it right it would really look great I think.
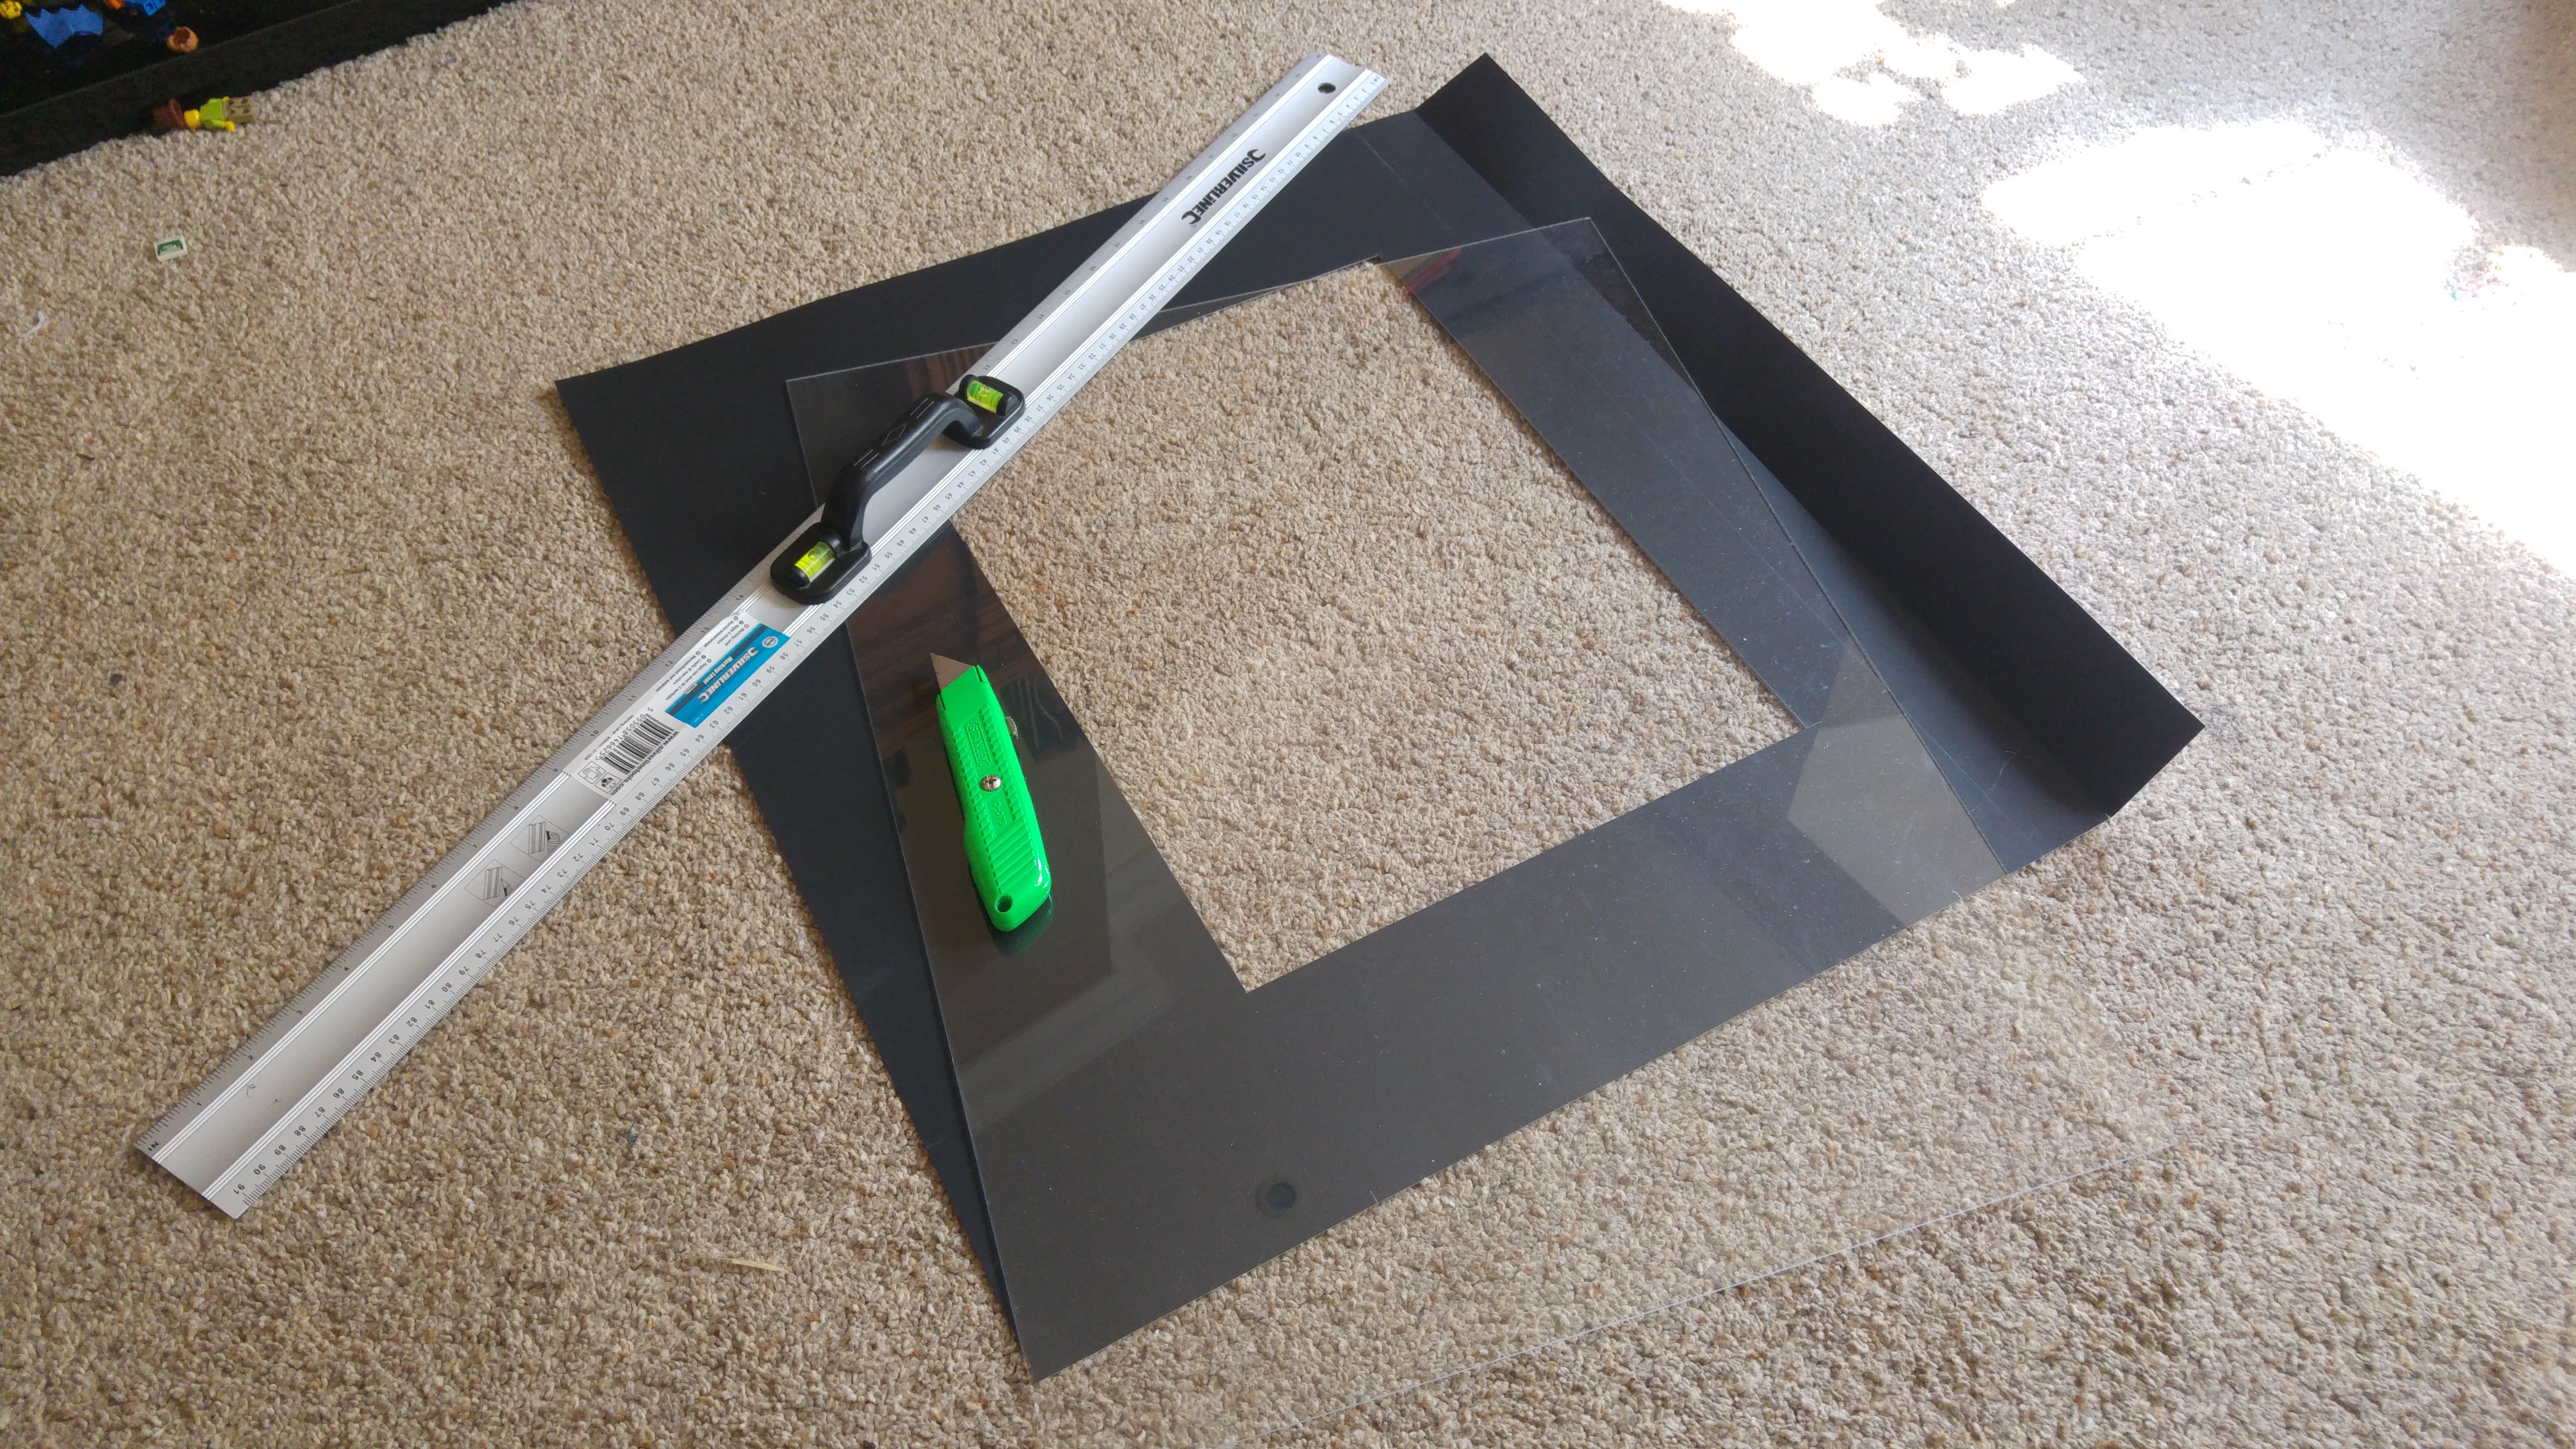
On top of the bezel you need the glass. Originally I thought I would use real glass to keep it authentic, but then I thought about what would happen if the kids were playing it and the glass somehow got broken. So instead I opted for perspex. Much safer, cheaper and I didn’t realise how good the quality would be. It really does look exactly like glass. I originally opted for 2mm thick perspex but this proved to be far too thin, as it buckled quite a bit. So I got another piece cut at 6mm thick and this was perfect. Only cost me £5.
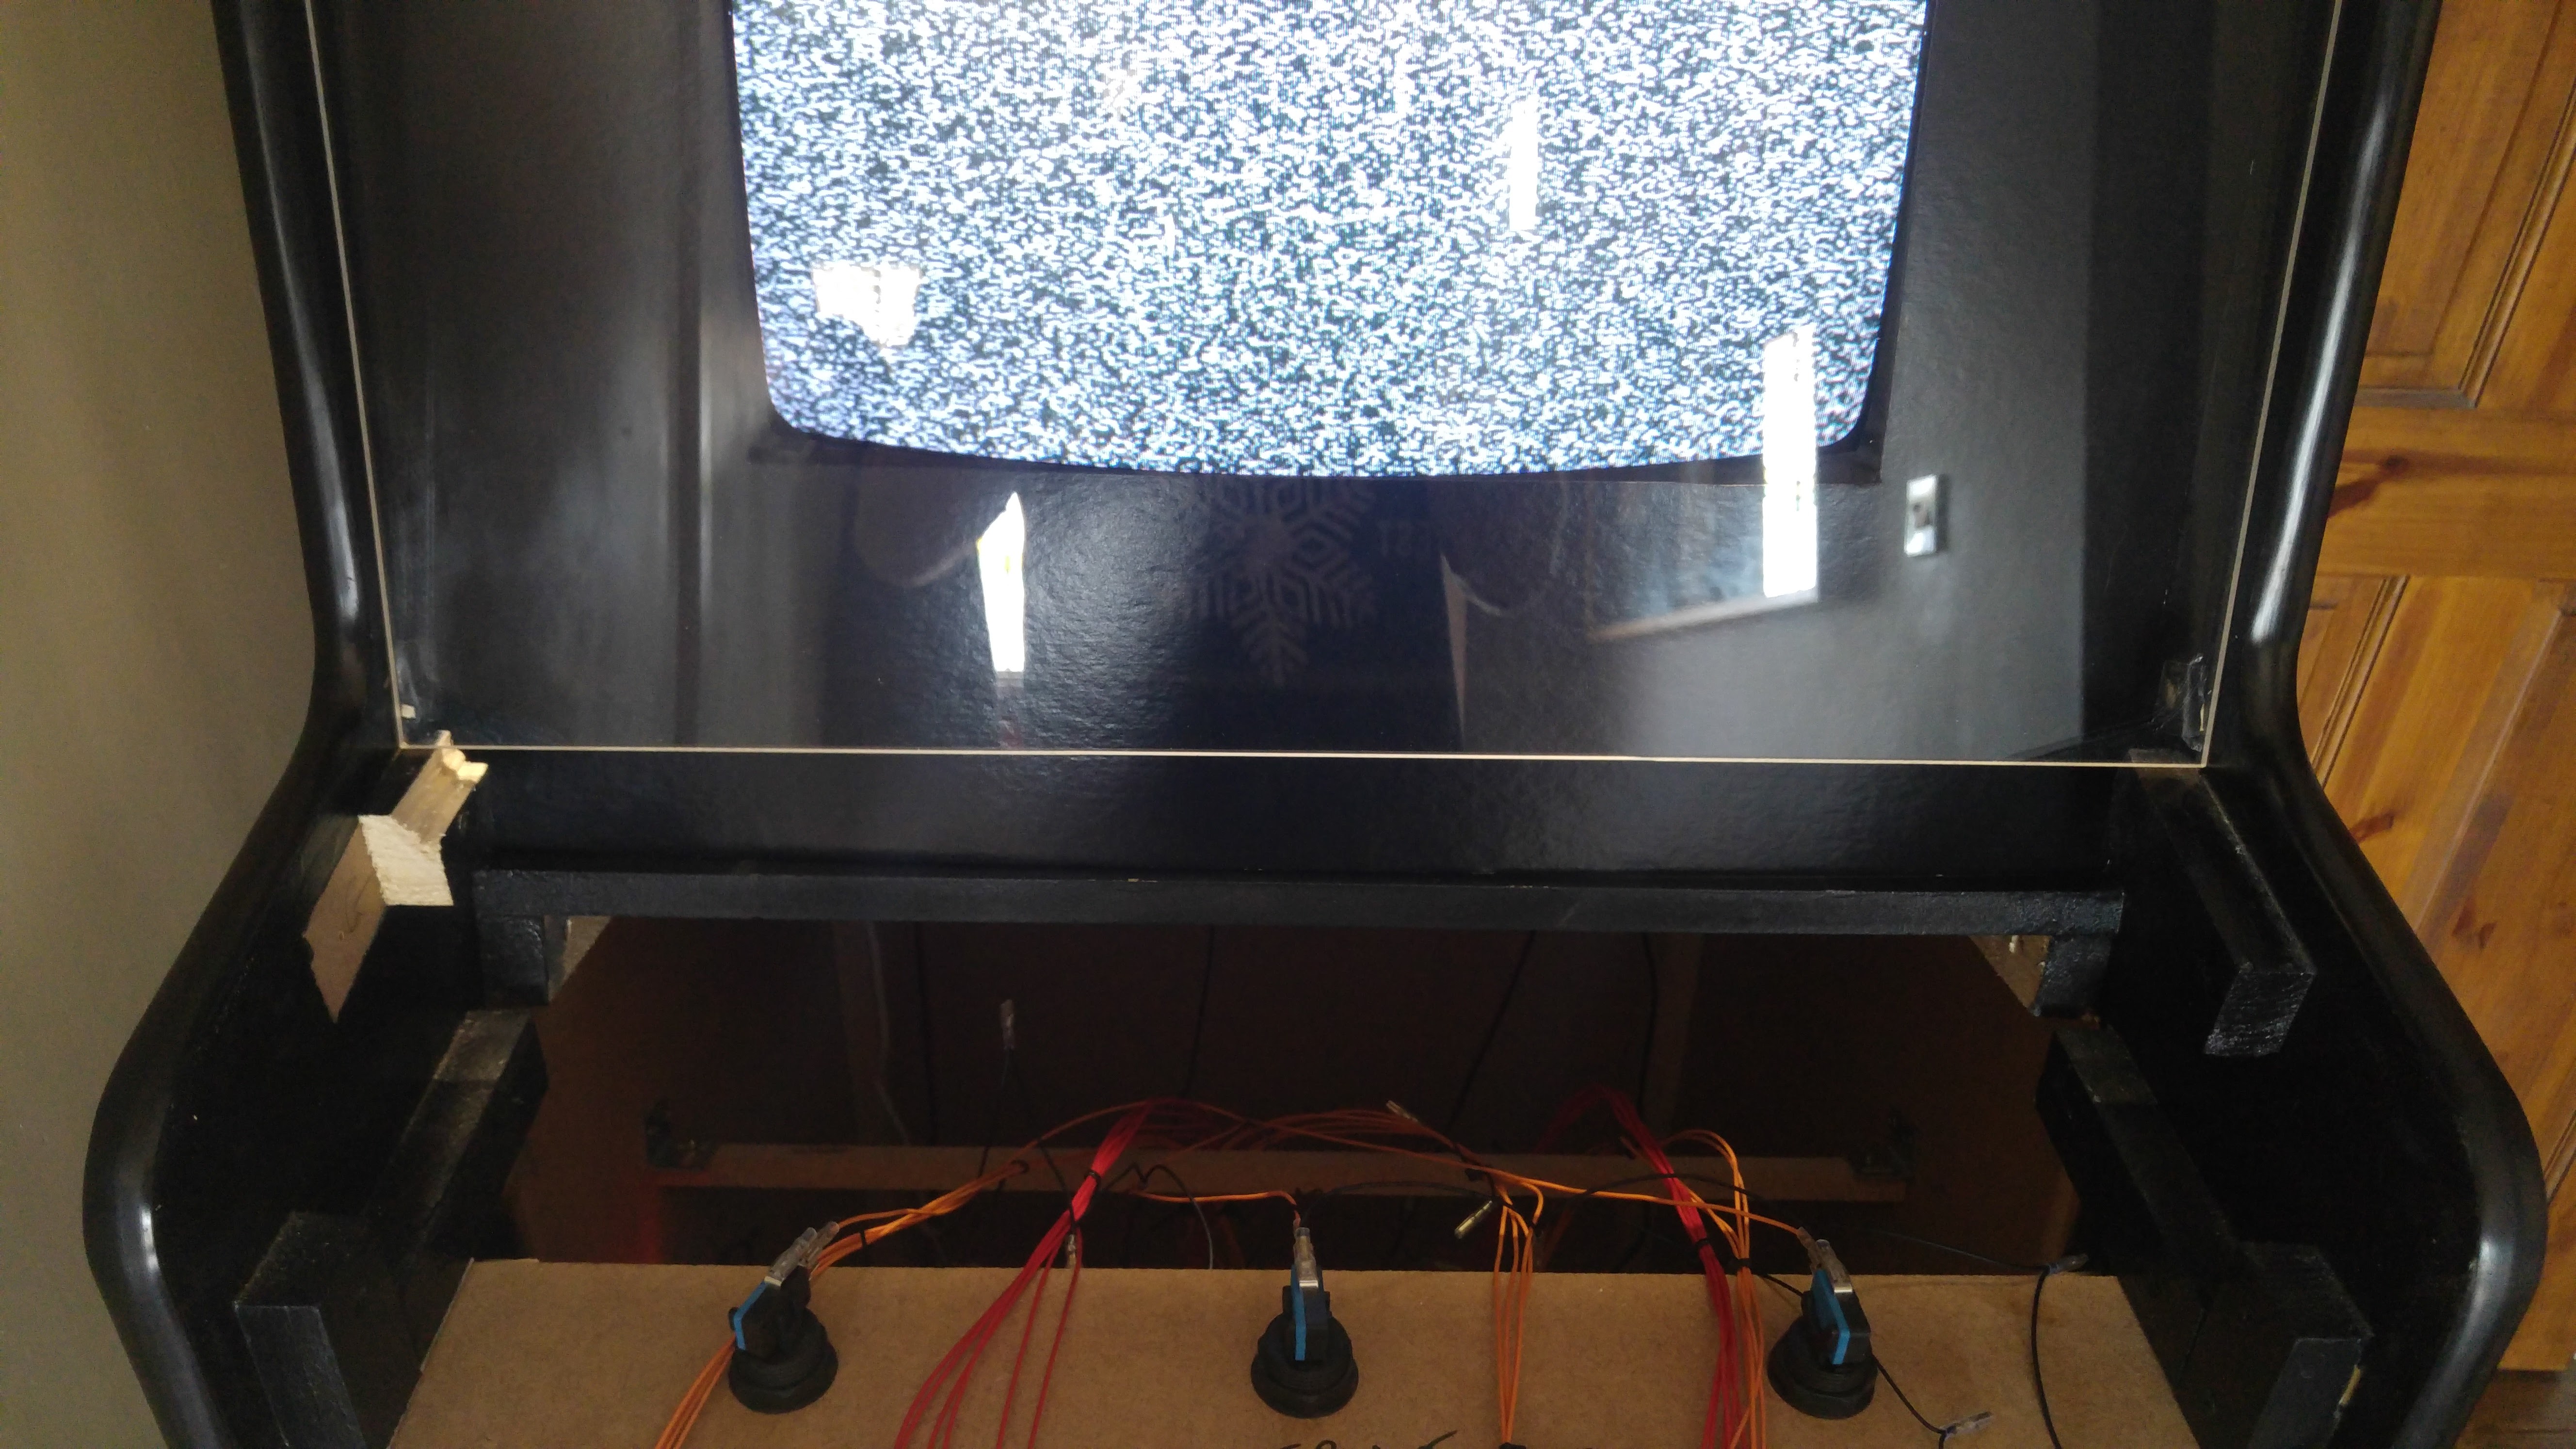
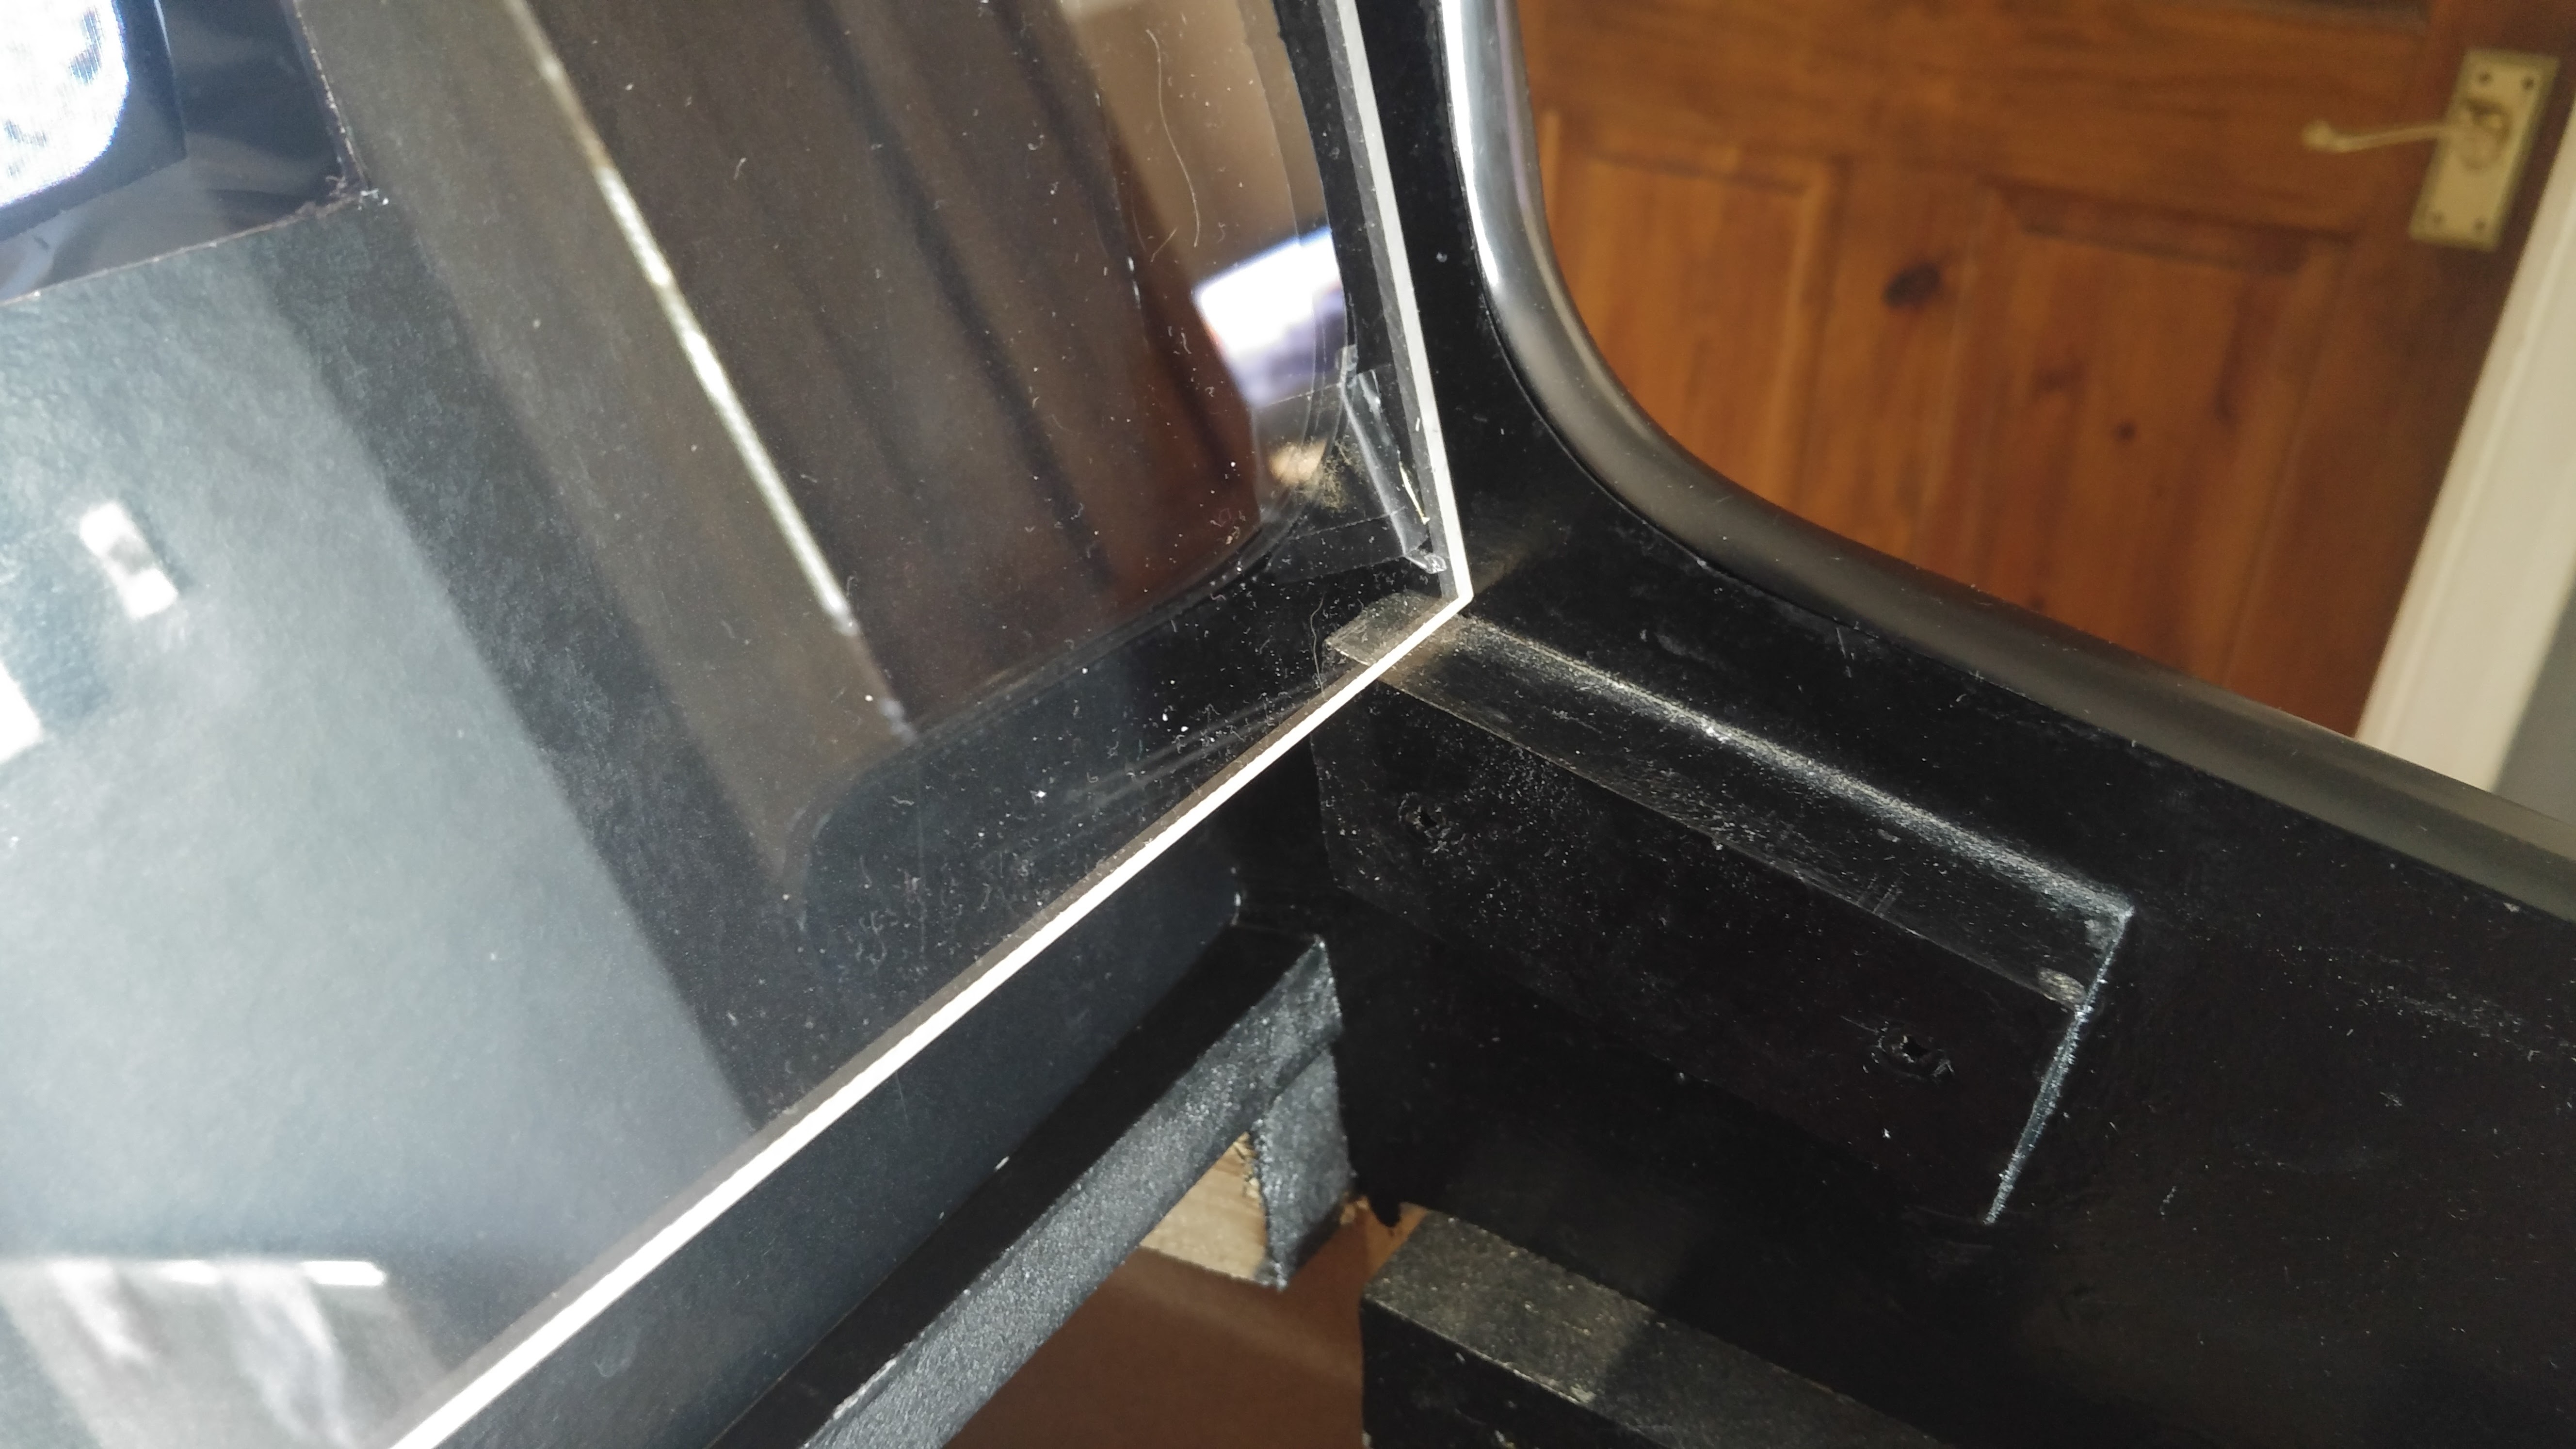
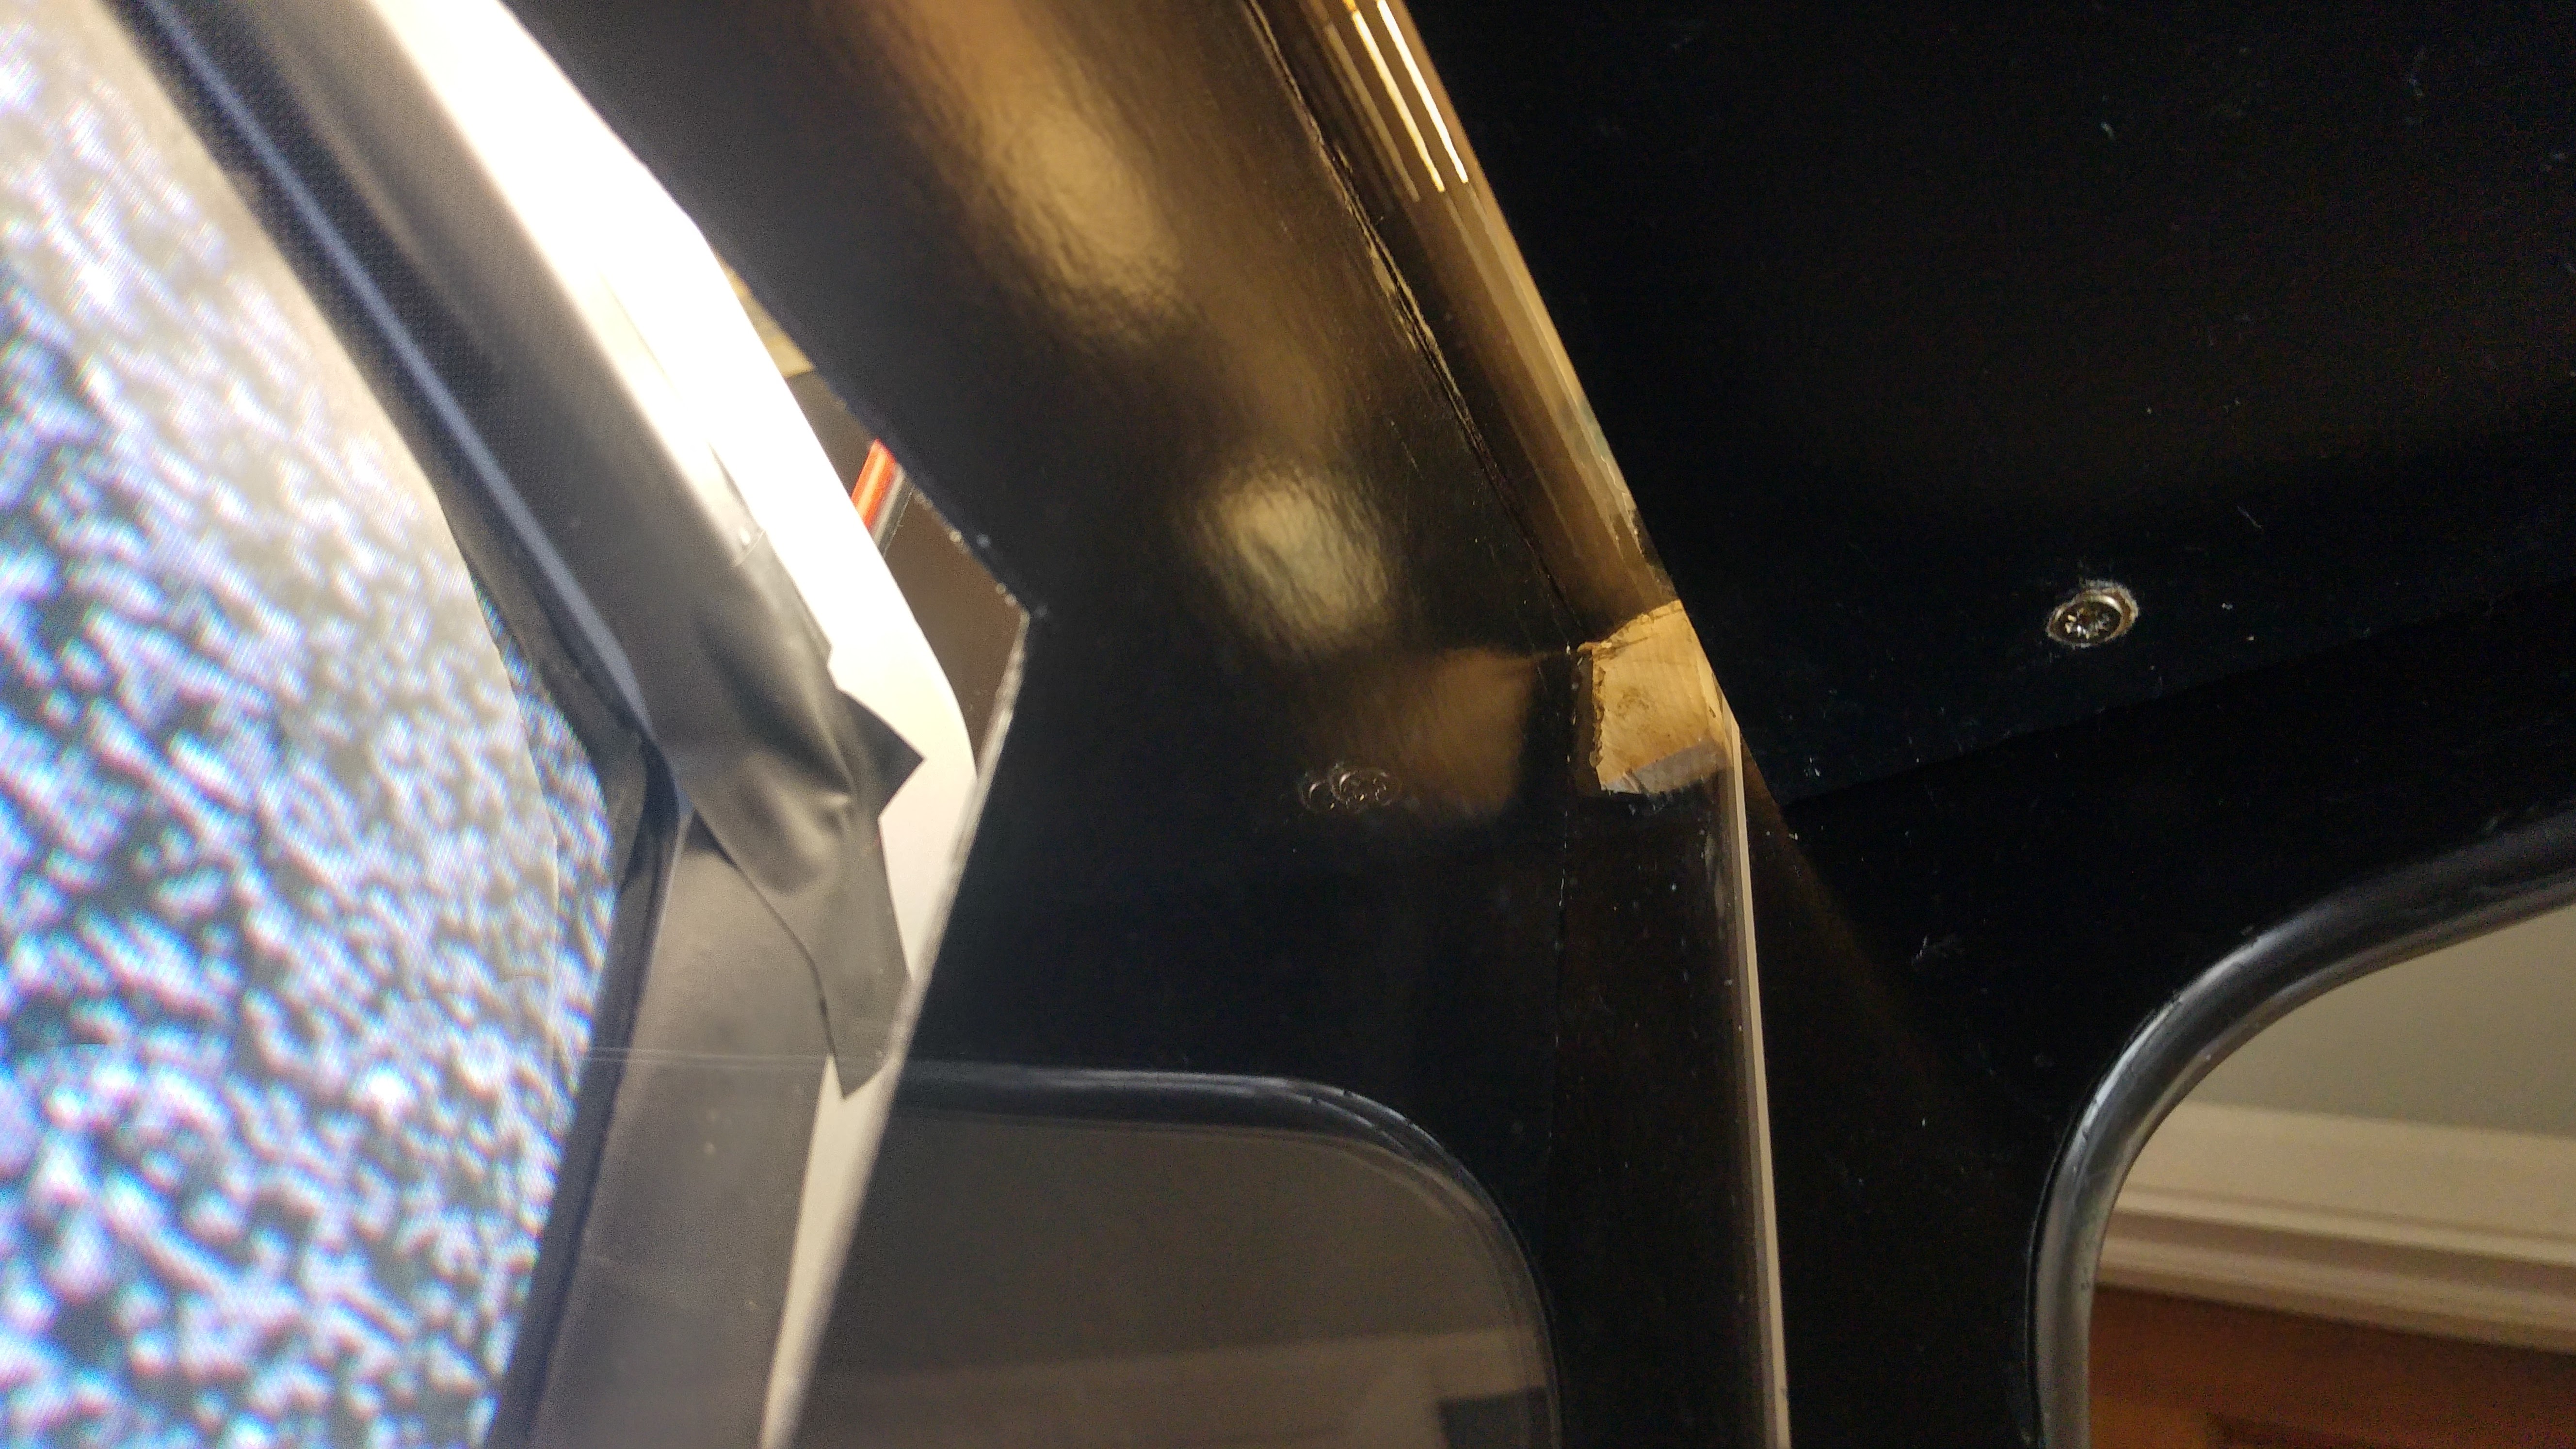
I had a rough idea of how I would have the bezel and perspex fitted, but I found it very hard to visualise this until I could see in person how much space there was between the TV and control panel etc. The bezel just sits nicely in front of the TV and I measured and cut the bottom edge so that it would rest on the shelf that the TV was sitting on. I lightly attached the edge of the bezel hole to the TV with a couple of bits of blu tac at the top and bottom of the screen. I also realised that there was a fair bit of light spill from the marquee light coming through. I could have addressed this a few ways but I chose to add a lip on the bezel which folded back along the underneath of the marquee so as to block out most of that light spill.
For the perspex, I added four tiny bits of wood that I used as runners at the top and bottom. I used wood glue on these and held them in place for 5mins and then managed to attach a clamp to secure them overnight to let them cure fully. I was then able to slide the perspex up against the top runners and then drop it down against the bottom runners and it then sits on top of the baton that the control panel rests on. When I want to lift the perspex out again I have a sucker thing, used for twisting out spotlight bulbs, that I have attached to my coin door keys, that I can use to help lift the perspex out.
The other decision I need to make is if I want a design on the bezel or the perspex. A lot of machines do have some kind of pattern or even things like instructions on the bezel or the glass. I wasn’t going to do it on mine, however, I’ve noticed that when you view the machine from dead straight on it does look a bit plain. Viewed from an angle, when you can see the side artwork, it looks great, but from straight on it can look slightly plain. So perhaps printing a design for the bezel would really help. Perhaps another vinyl sticker on the glass or perhaps adding something to the black card (not sure if a vinyl sticker would stick to the black card or if I can just print on heavy paper and attach to the card). That second option is probably fine as the bezel is behind glass and it’s not like it has to be a perfect finish like the side art or control panel.
It’s a fiddly part of the build, the bezel and perspex, but if you do a half decent job it really does make a huge difference to the look of the machine.
Here’s a list of all the posts about my arcade build.
Part 1
Part 2 – Decisions
Part 3 – Cabinet Design
Part 4 – Control Panel Plans
Part 5 – Initial Questions and Concerns
Part 6 – Online Resources
Part 7 – Cabinet Plans
Part 8 – Buying and Cutting the Wood
Part 9 – Tools and Materials
Part 10 – Building the Cabinet
Part 11 – Building the Control Panel
Part 12 – Sanding and Painting
Part 13 – The Coin Door
Part 14 – Artwork
Part 15 – Printing and Applying the Vinyl
Part 16 – Adding all the T-moulding
Part 17 – The TV Monitor
Part 18 – Making the Bezel
Part 19 – The Marquee
Part 20 – Installing the Electronics
Part 21 – Setting up MAME
Part 22 – Issues to Watch Out For
Part 23 – The Finished Cabinet