
After making the artwork the next question was where to get the vinyl stickers printed. I was always thinking I was going to get the vinyl printed at GameOnGrafix.com in the US. They are arcade artwork specialists and everyone seems to use them. They’re also considerably cheaper than most UK vinyl printers so it still makes sense even after you add on postage from the States. The main reason I didn’t use them, however, was that I was late in getting my artwork finished. I had a deadline of getting my cab finished for my 40th birthday party and I just started to worry about the shipping time from the US. Who knows if it would be held at customs for any reason or anything. In the end I chose to look for a printer in the UK as I didn’t want to miss my deadline. I was struggling though because a lot of them are very expensive and also don’t have experience doing arcades, so I wasn’t certain they would use the correct material or weight etc. I reached out to the UK VAC forums for help and within about 30mins someone recommended another forum member to me: Olly from Arcade Art Shop, known as muddymusic on the UKVAC forum. He seemed to provide an arcade vinyl printing service himself and everyone on the forum used him. I contacted him on the forum right away, at about 11pm, and he replied in about 10mins saying he could do it, and offered a very good price. A total lifesaver. He delivered the goods in time and they looked great.
Now I had the vinyl, and had spent so much money on it, I was very nervous about applying it to my cab. I’d heard lots of scare stories about them being hard to apply and people having nightmares with air bubbles. To be completely honest though I had no issues at all. I’m not sure if I was lucky or if the vinyl I got was heavier than normal or something. It just worked very well.
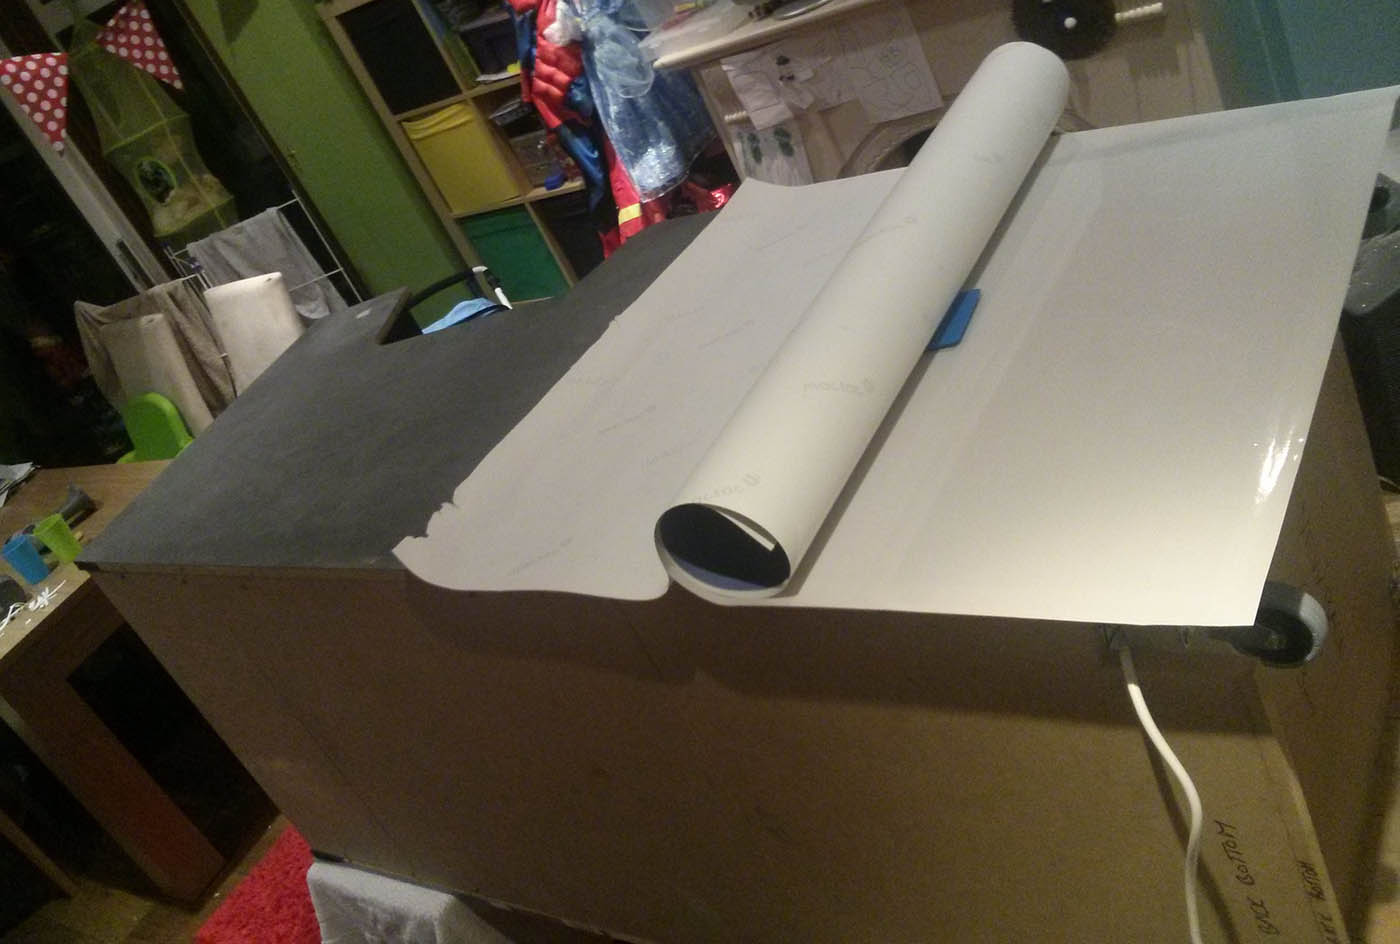
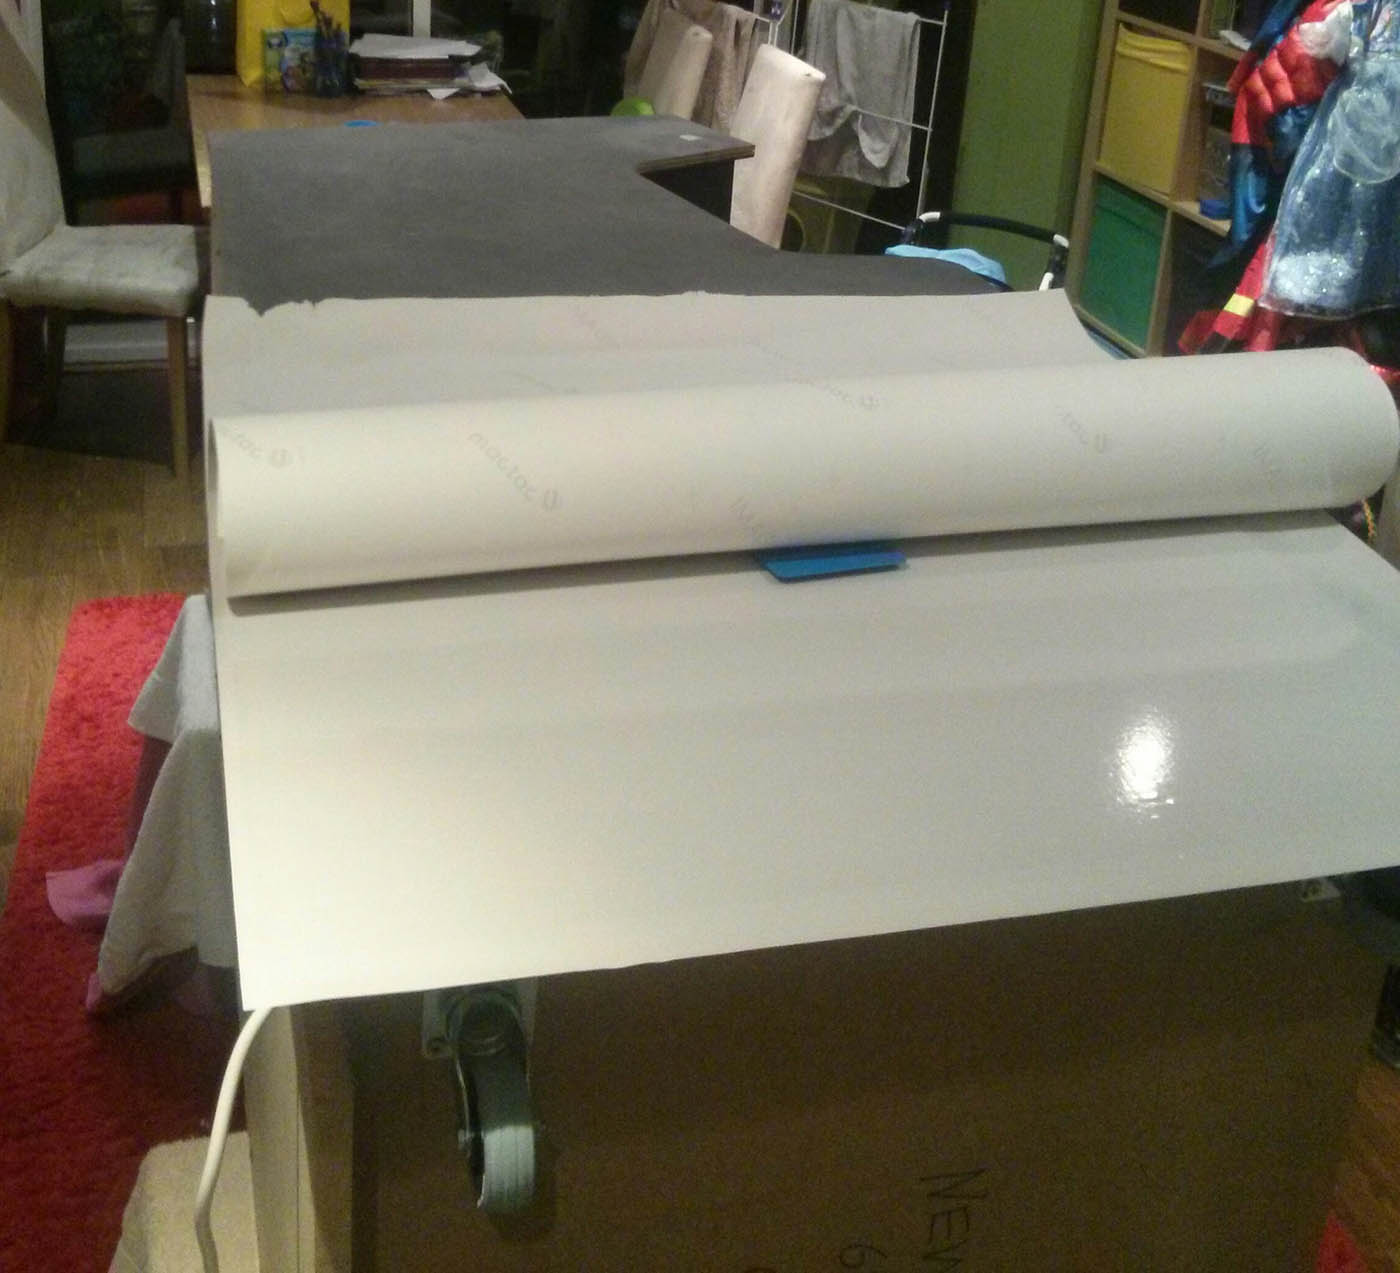
If you look online there are several different ways people suggest how to apply the vinyl. You can mask it down in the middle and then work your way outwards, you can start at one end and do the full length in one direction, you can get a squeezy bottle of water to spray down to make the vinyl slightly moveable etc. It partly depends what kind of size and shape of sticker you have though. I obviously had the full side artwork done as one whole sticker and I ended up going for the approach of starting at one end. I worked from the bottom and worked my way up.
Firstly I got the vinyl into place just by a bit of judging by eye and also measuring key pieces of artwork and how far they were from the edge. I then used a bit of masking tape to tape it lightly in place so that it wouldn’t move while I did the next bit. I peeled back the first 10cm or so from the bottom and then with a Stanley knife I cut away the backing paper that was underneath. I then applied that bare 10cm of sticker to the bottom of the cabinet. Now that it was attached I took off my masking tape and rolled the sticker up, right down to the edge of the 10cm that was now stuck. I then reached under the rolled up bit, approaching from the top end, and peeled back the sticker that way, just about 5cm at a time and applied that bit of sticker. Then peeled back the next 5cm and applied that bit. And so on until you reach the very top of the cabinet. One good video that shows this method is the awesome Bob Clagett’s video at I Like To Make Stuff.
What I haven’t mentioned yet, however, is the squeegee. That is how you apply the vinyl and it’s the bit that most people say is really difficult. Some people just use a cloth or rag, some use a credit card, but I thought I would get a proper squeegee, so I got this one here from Amazon. It’s what you use to smooth the sticker down on to the surface and make sure you get any air bubbles out. That’s what people say is a nightmare – getting the air bubbles out. But I only really came across two or three and they were easy to get rid of. You just have to take it nice and slow and work your way out from the centre. To be honest I was going quite fast at the end. No problems at all.
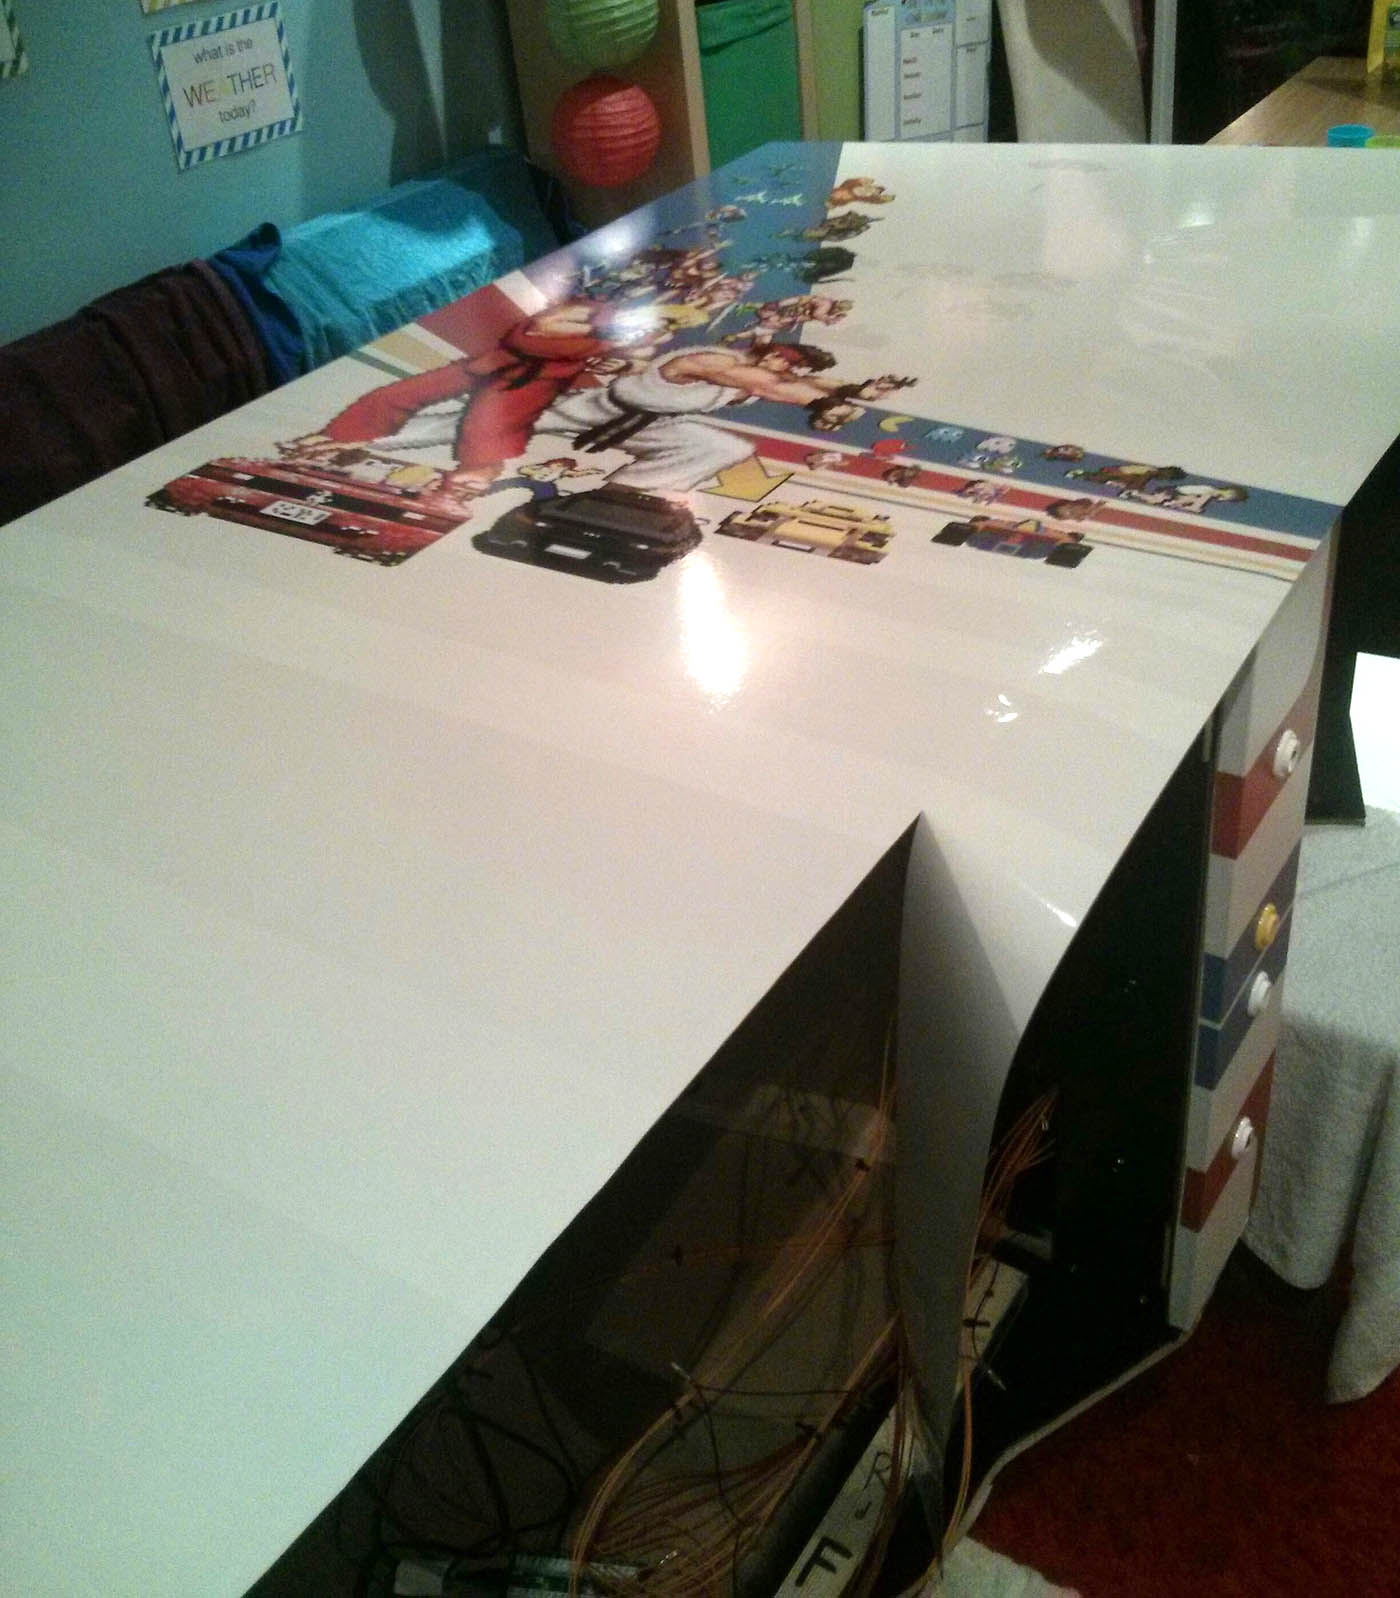
Now that the whole side art was down on the cabinet I had to trim round the excess because the sticker was a rectangle and the cabinet side isn’t. I just had to be careful here, making sure I knew where the shape of the cabinet was underneath, feeling it with my hands and trying to leave about 2 or 3 cm all around the edges. I used a Stanley knife and it cuts really easily. It just needs patience and care.
Next step was to fold the excess around the edge. On the curves you just have to put little nicks in the overhanging sticker every 3cm or so, to help it fold over smoothly. Even on the long straight edges like the bottom or the back I still found I had to put a nick or a cut about every 10cm or so, just so that it would stick ok and not spring back under its own weight. To be honest there are a few small bits where this bit of sticker has started to come slightly loose around the edges at the back. I’m sure I could apply some glue or even a small pin in order to fix that.
Lastly, I didn’t want there to be any excess sticker getting down the slot in the edge and getting in the way of the t-moulding when I came to add that, so I went round the whole edge with the Stanley knife and cut any bits of the sticker that went over the slot. This was a really quick job. I just ran my knife down the slot basically. I then let this sticker stay on the cabinet overnight to make sure it stuck on more securely, and I used some spring-loaded clamps to help keep the edges in place.
I applied the other sticker the next day and I was able to stand it up and look at the cabinet in all its glory. I was over the moon with how it looked and really happy with all the colours and the quality of the vinyl prints.
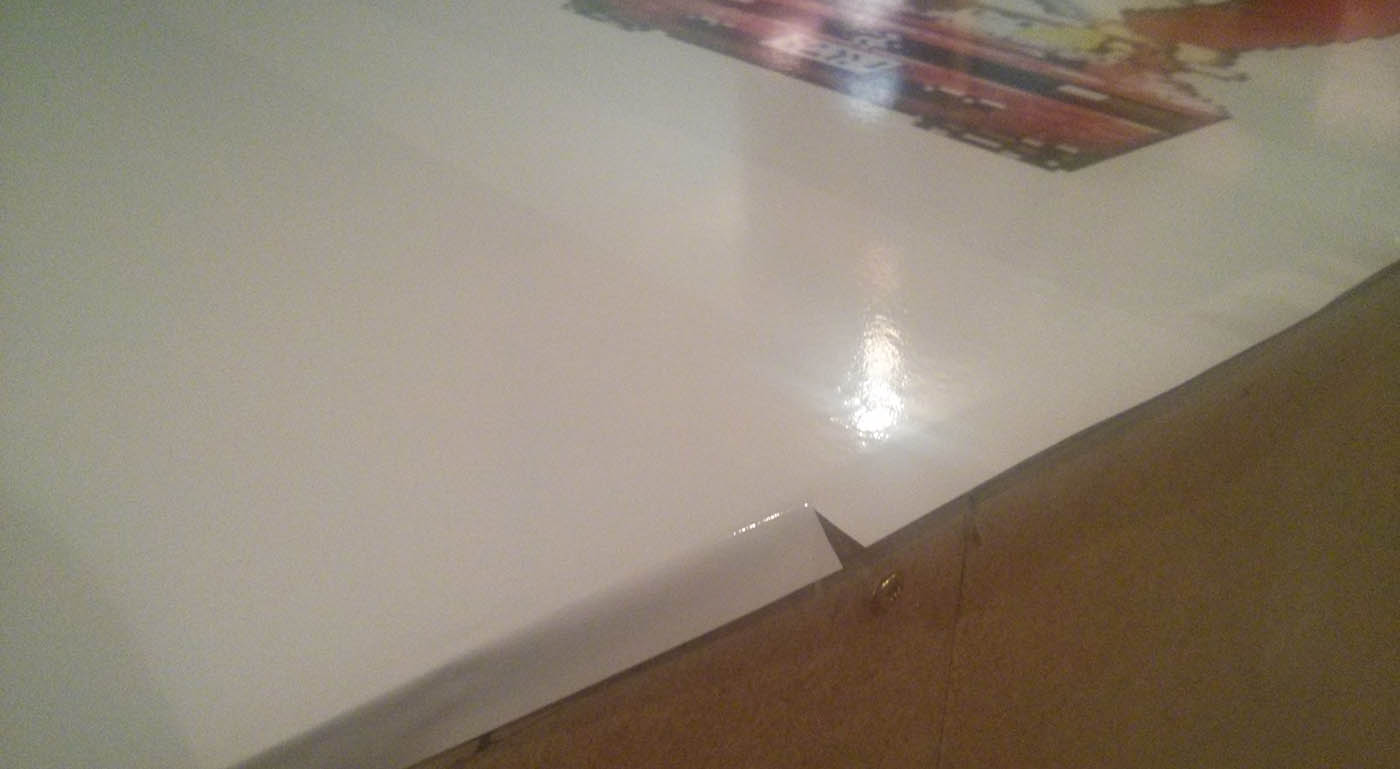
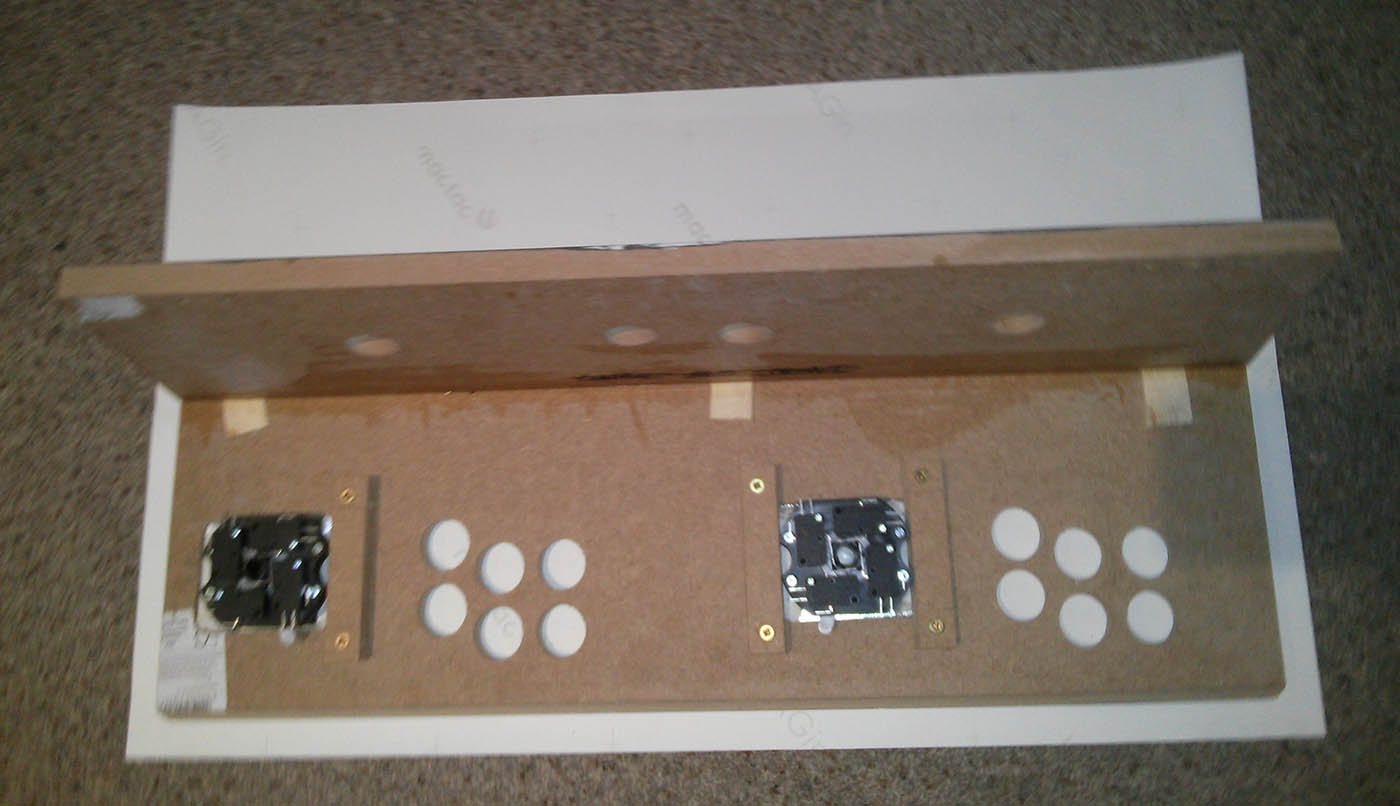
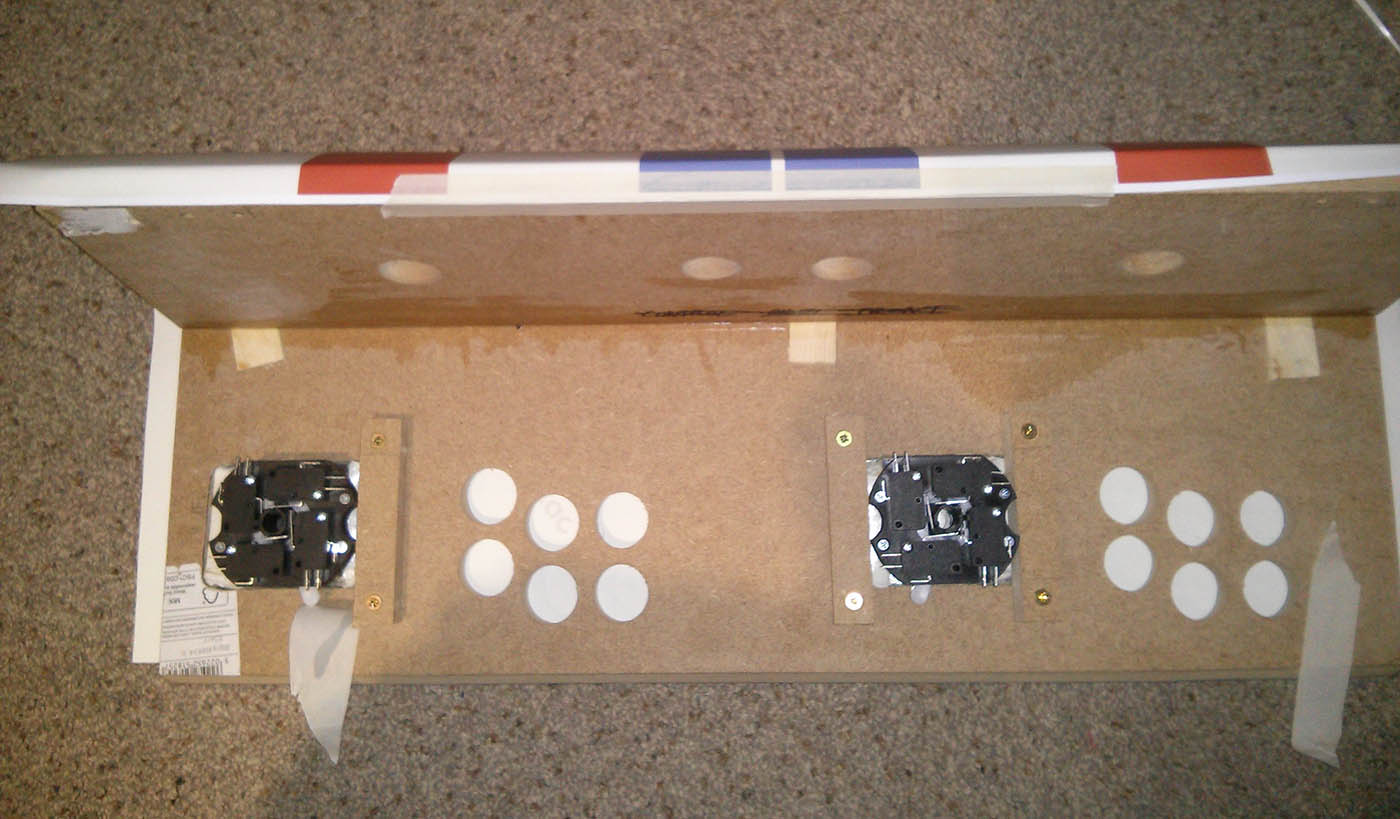
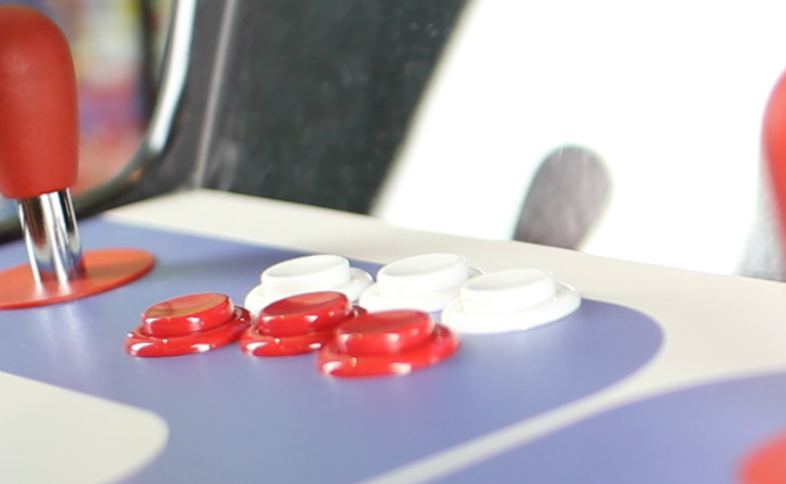
Next up was the control panel sticker. This was smaller, so was hopefully going to be easier, but it was actually more awkward to apply because I had to hold the control panel in my lap, I couldn’t really clamp it down. It also had to be more accurate as it would affect how the button placement went. I had tried to be clever with my control panel artwork design as I hadn’t been too specific about where the buttons were going to be. For example if I had wanted a ring of artwork around each button then I would have to have been millimetre perfect not only with the drilling of my holes but also when applying my vinyl so that they matched up perfectly. Instead I chose to just have a horizontal strip of colour and have the buttons sit inside this strip, so I didn’t have to be as accurate in that axis. I also had buttons on the front that I wanted to be centred inside a thinner vertical strip of colour. One of my slight regrets about this cabinet build, however, is that I did make a bit of a mistake when applying this sticker. I was so focussed on getting the front buttons centred in the vertical stripe on the sticker that I forgot to check the placement of the main buttons on the horizontal stripe on top of the control panel. I started applying the sticker from the bottom, but by the time I got to the top I had the heart-sinking realisation that the buttons slightly overlapped the blue stripe instead of being right in the middle of it. Gutting. No-one else really notices it of course, but I do. Every single time. I may well have to get the control panel sticker replaced one day anyway (more on that in a future post) so I’ll just be very careful next time.
But all in all I was really pleased with how the vinyl stickers came out and how easy they were to apply. It totally brings your arcade to life. It is one of the most expensive parts of the build though, and it’s not essential, so it’s totally up to you whether you just paint your sides or get smaller stickers to go on top of painted sides. Lots of ways to save money here.
Here’s a list of all the posts about my arcade build.
Part 1
Part 2 – Decisions
Part 3 – Cabinet Design
Part 4 – Control Panel Plans
Part 5 – Initial Questions and Concerns
Part 6 – Online Resources
Part 7 – Cabinet Plans
Part 8 – Buying and Cutting the Wood
Part 9 – Tools and Materials
Part 10 – Building the Cabinet
Part 11 – Building the Control Panel
Part 12 – Sanding and Painting
Part 13 – The Coin Door
Part 14 – Artwork
Part 15 – Printing and Applying the Vinyl
Part 16 – Adding all the T-moulding
Part 17 – The TV Monitor
Part 18 – Making the Bezel
Part 19 – The Marquee
Part 20 – Installing the Electronics
Part 21 – Setting up MAME
Part 22 – Issues to Watch Out For
Part 23 – The Finished Cabinet