
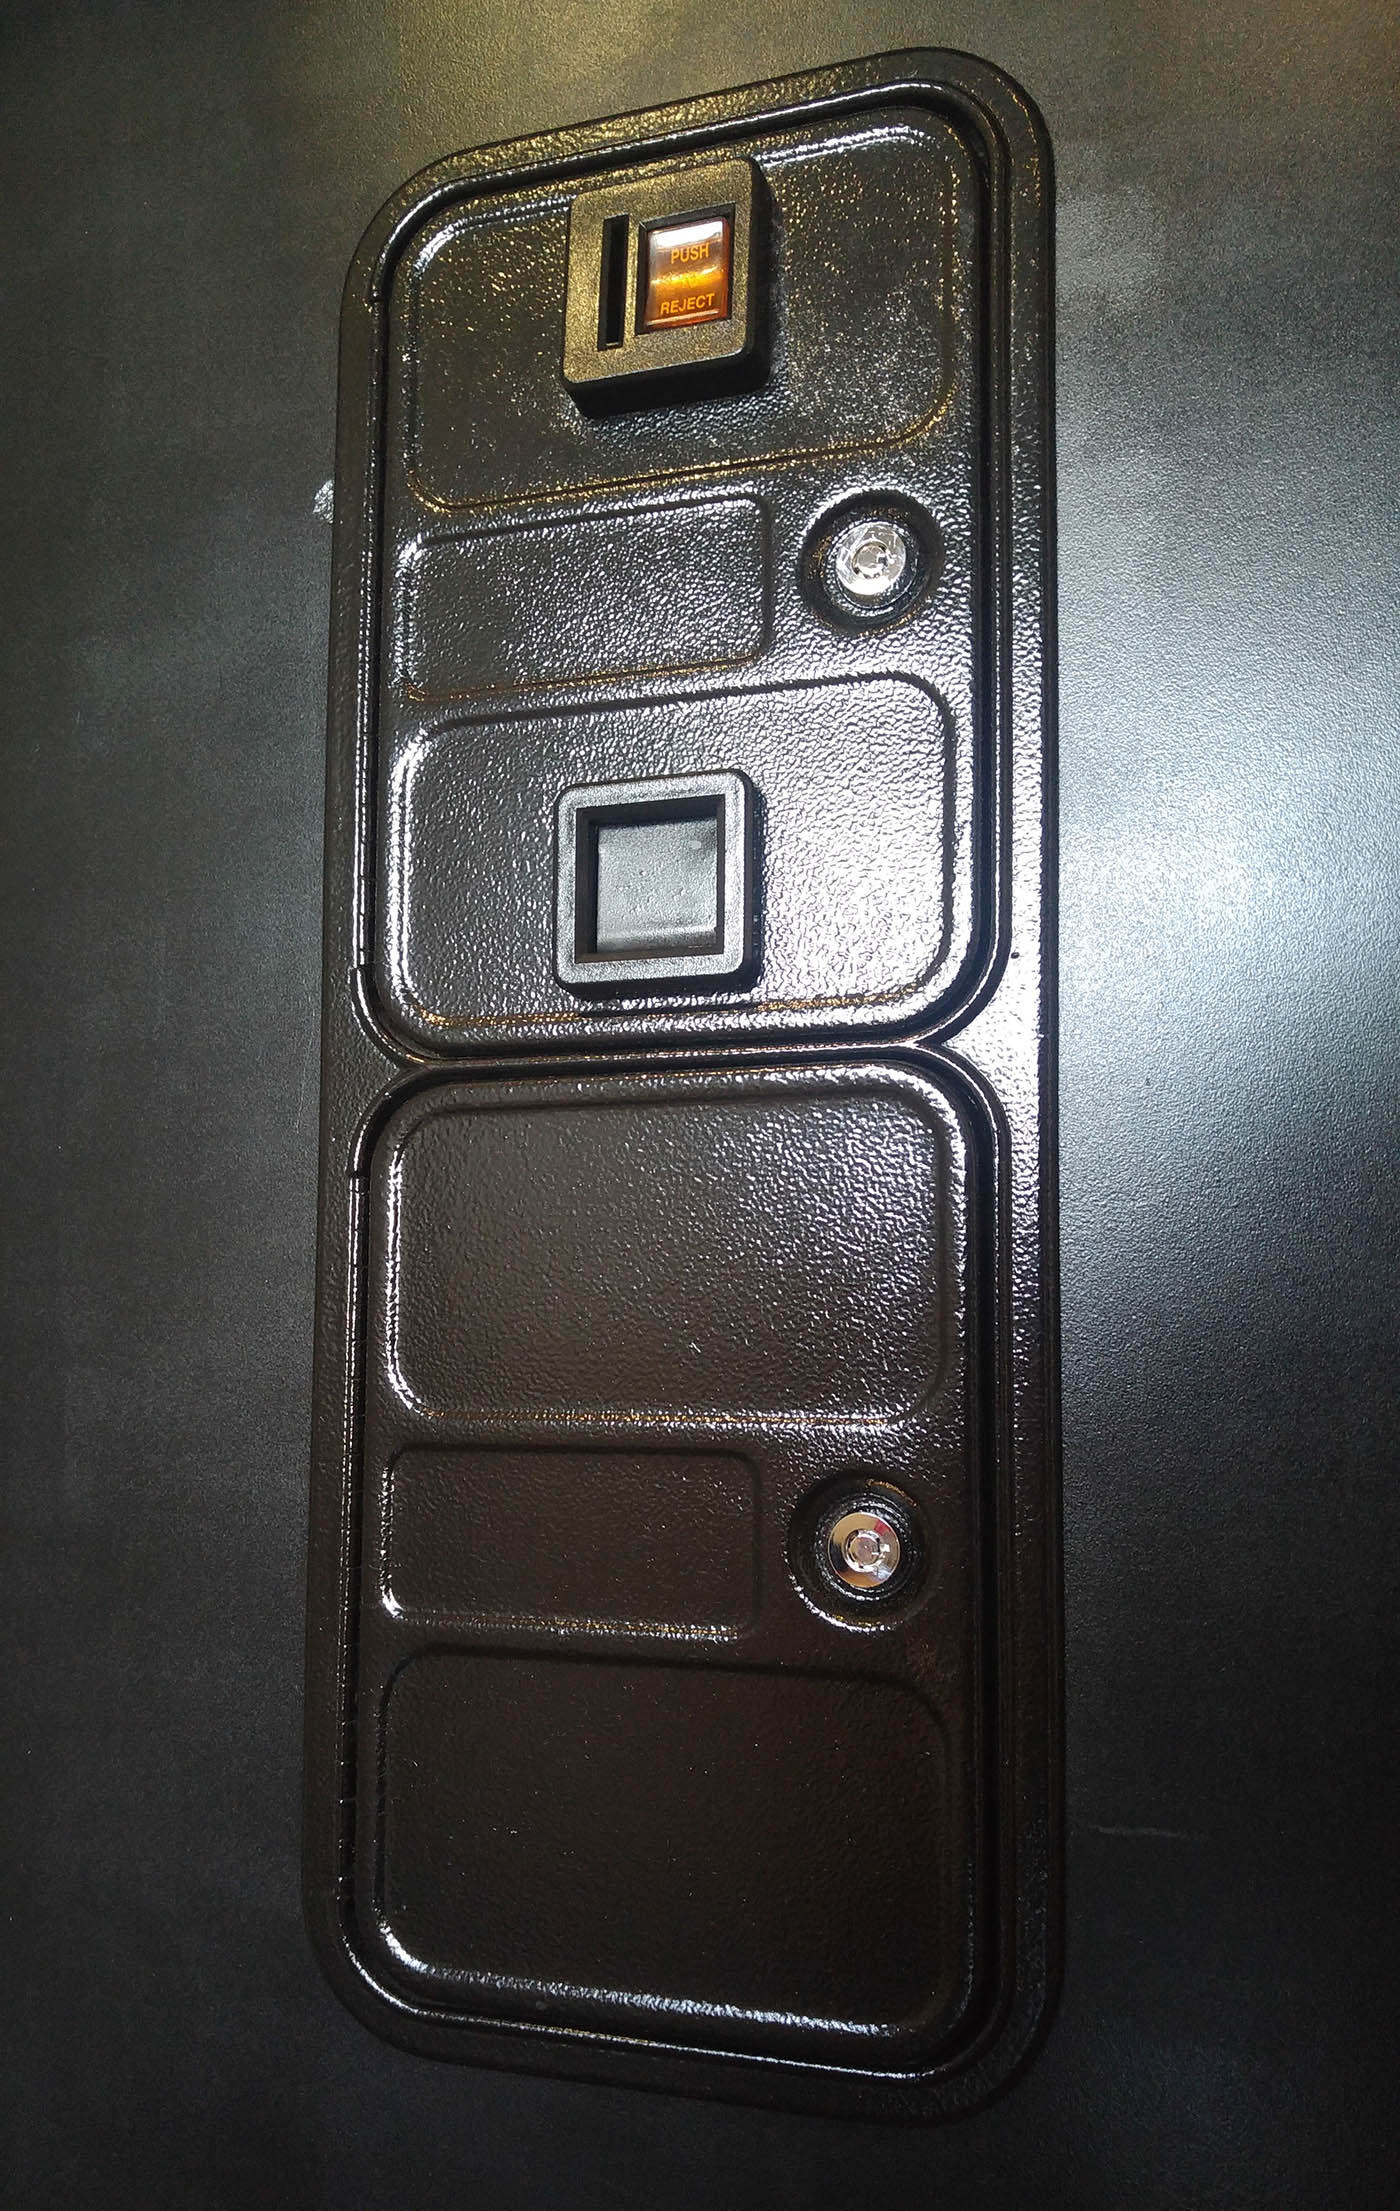
I knew from pretty early on that I wanted a real coin door on the front. It just makes the whole thing look very genuine. I was hoping I might find a broken one on eBay but I couldn’t really find one. Arcade World UK do sell new ones but they were quite expensive. I ended up going down to The Happidrome, a local arcade here in Southend-on-Sea which has retro machines, and I asked the owner Martin if he had any spare or broken ones out the back. He didn’t have any broken ones but he did sell me a spare one for a very good price. It was very cool to get a legitimate arcade part from a local arcade to put into my machine.
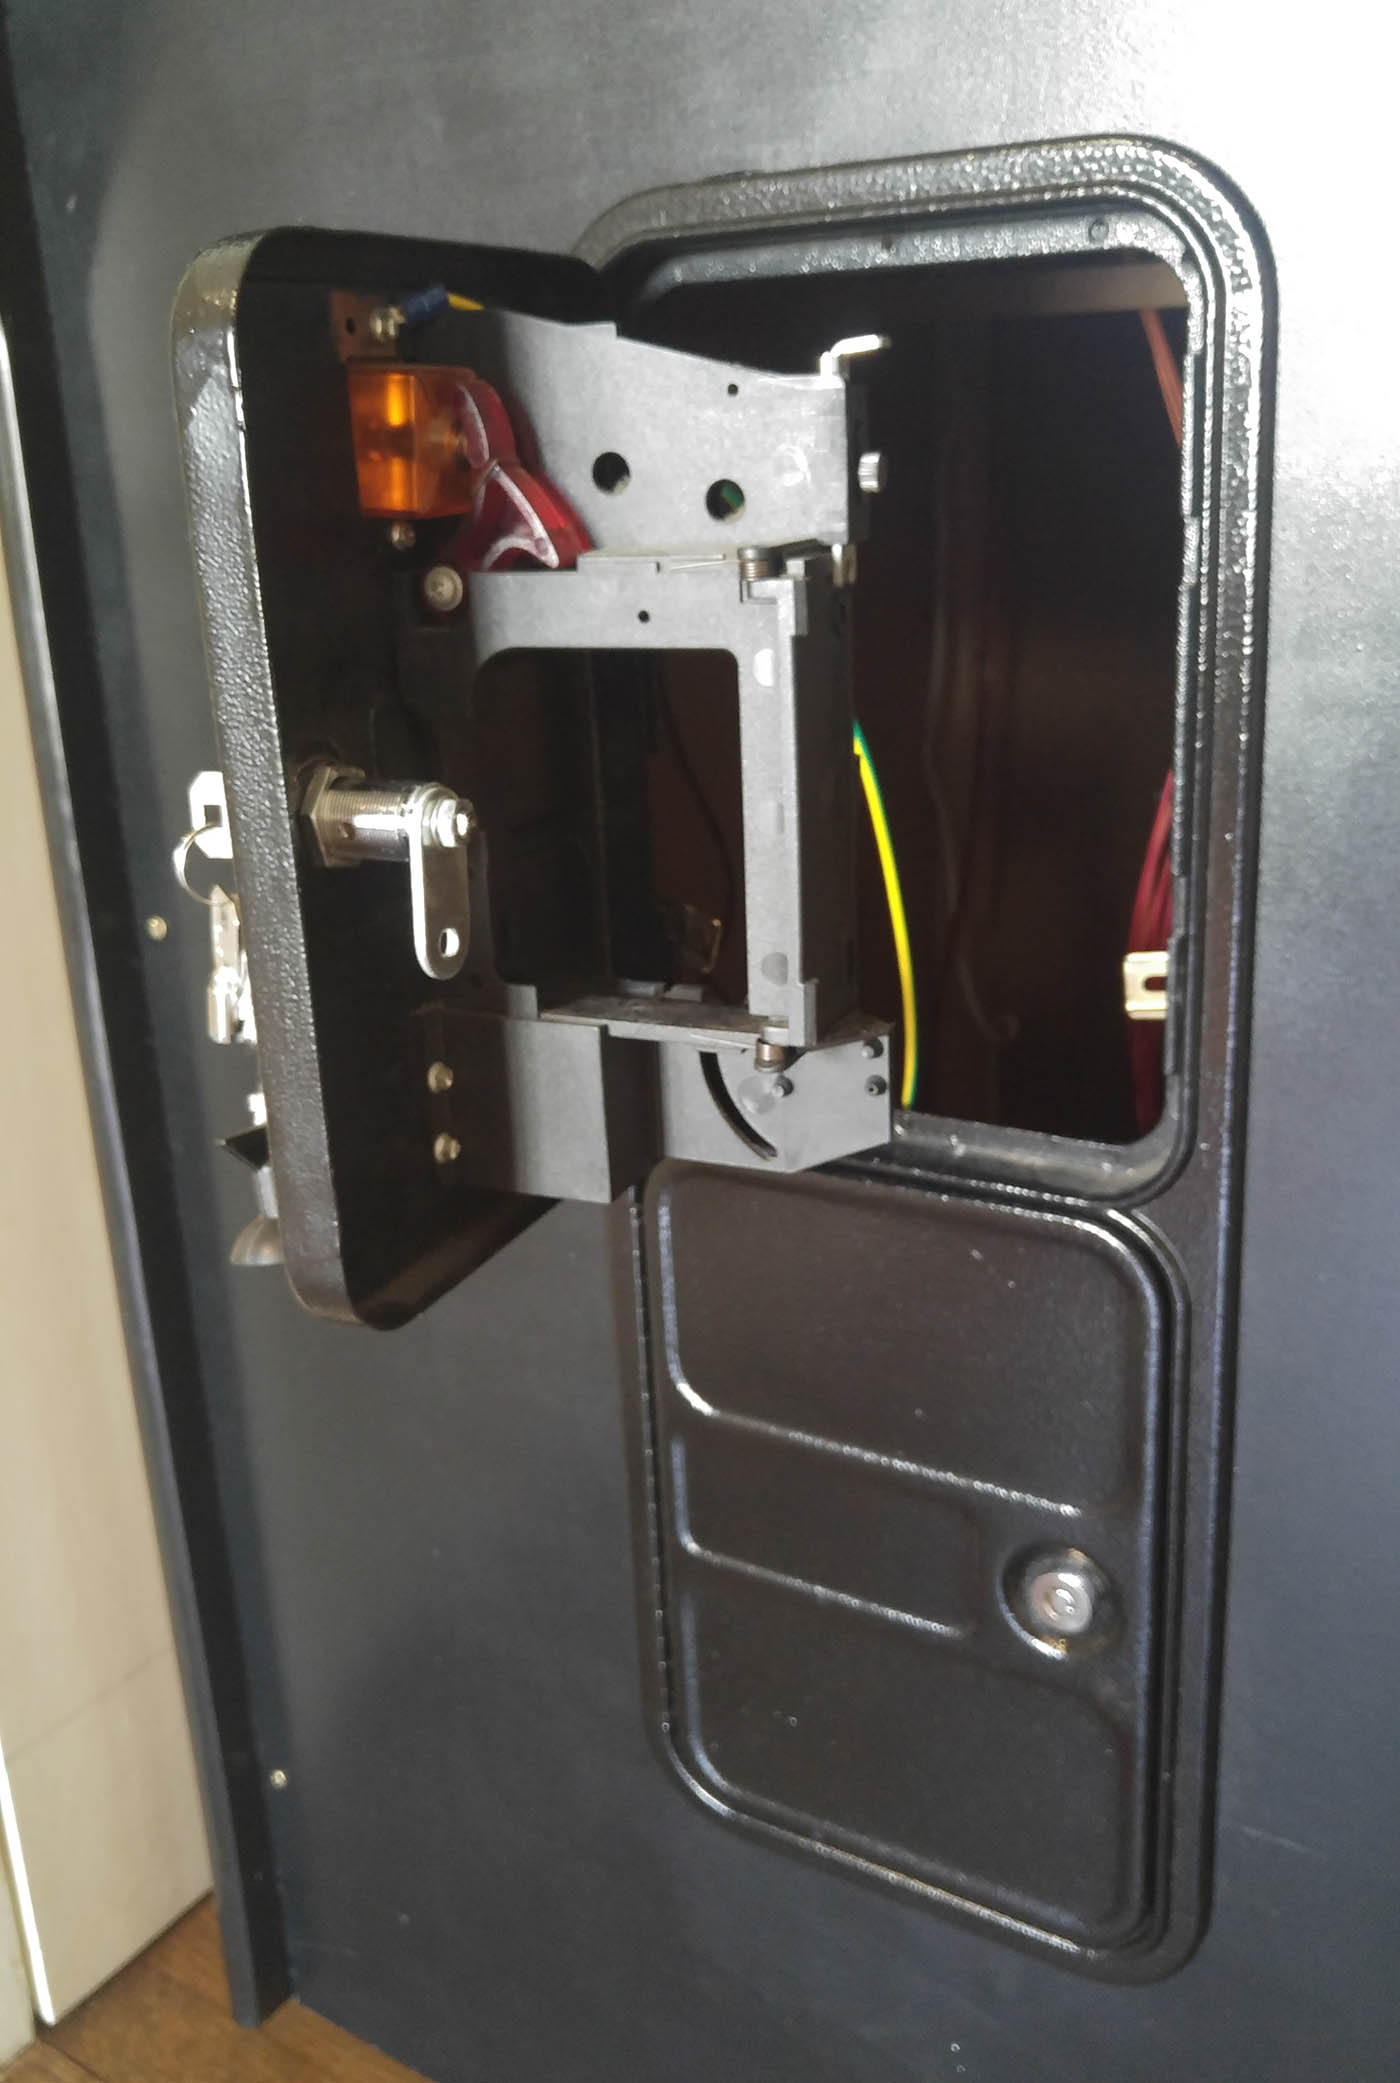
I think I could set up the coin mechanism to actually work if I wanted to, and perhaps I should do that to let my son use the arcade as a money box, but I think it would be too much hassle to have to have coins on us every time we wanted to play. So instead it is just for show. It also allows me access to the inside mechanisms and for example I can reach in to adjust buttons on the amp and change the volume of the speakers.
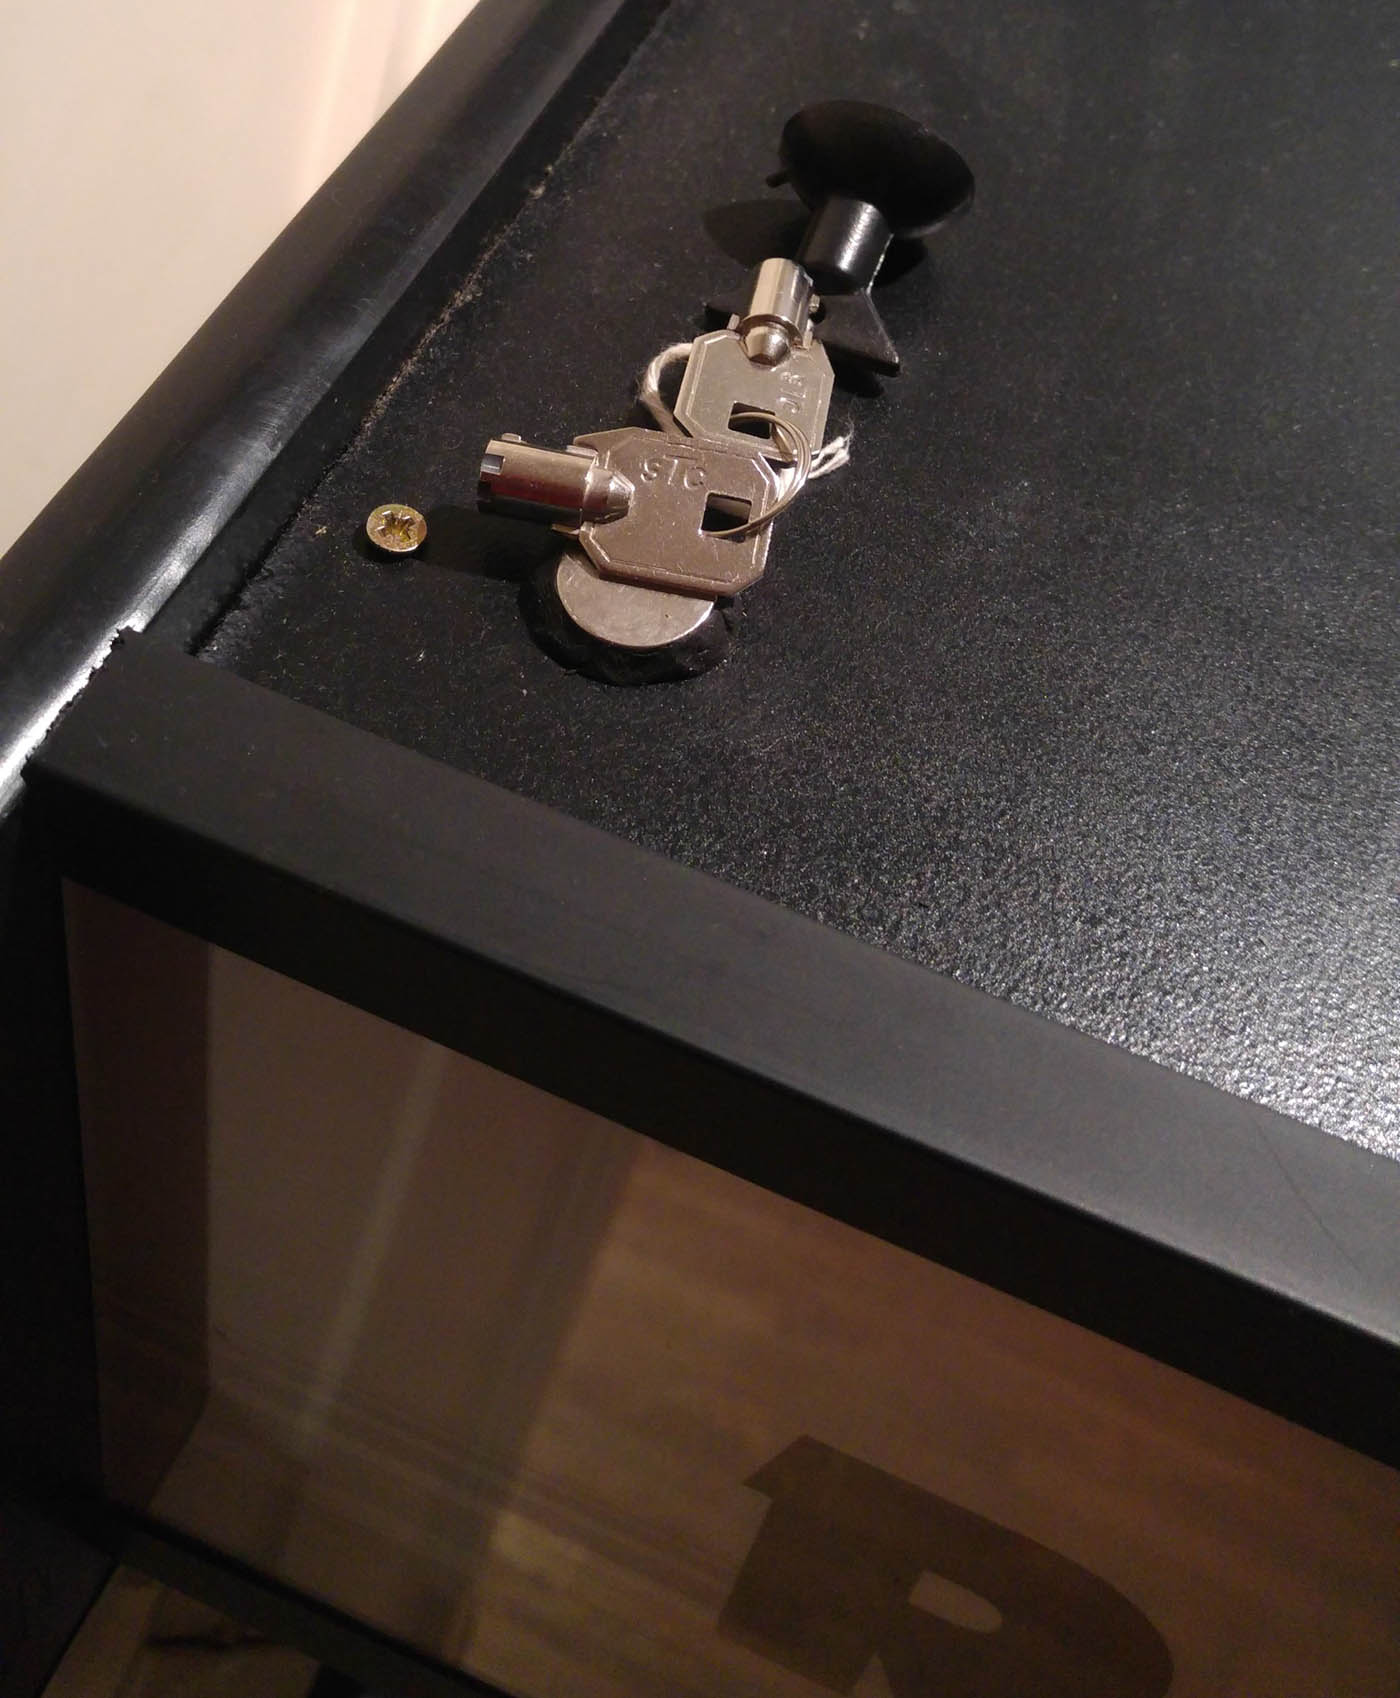
I did have to buy new locks, but these were cheap and easy to get from Arcade World UK. Very easy to install too. One thing I was worried about though was losing the keys, so I used some cool stuff called Sugru to stick a magnet to the top of the cabinet that I can stick the keys to when I’m not using them. Great use of the Sugru magnet kit. Sugru is this cool material made by a company from Ireland (I was lucky enough to see the CEO speak at a design conference last year). It can stick to just about any surface and it is malleable like playdoh, but over 24 hours it hardens, so you can make it into any kind of little hook or shape that you want and wait for it to harden. And if you stick magnets to it too then the possibilities are endless. Check out the Sugru website for more ideas of what to do with it. Very cool stuff.
When I got the coin door it was a bit scratched and the paint was wearing off in some places, so I got some steel wool and gave it a good old scrub before then applying a new coat of Hammerite black spraypaint.
One thing I forgot about though, which will become more apparent when I talk about the electronics in a later blog post, was that the way I had laid things out inside the cabinet the wires all came down fairly near the coin door. I forgot that there is a big bit of metal on the inside of the coin door which sticks into the machine, and obviously when you open the coin door this part will move out. If that part happens to be caught on a wire then you could potentially rip a wire out. So I had to add a kind of wooden strut that went across the machine which held the wires up and out of the way. It just would have been easier if I had thought of that before I added the door on.
But in summary the coin door really adds a level of authenticity to the machine that I love and I’m very glad I went out of my way to get one.
Here’s a list of all the posts about my arcade build.
Part 1
Part 2 – Decisions
Part 3 – Cabinet Design
Part 4 – Control Panel Plans
Part 5 – Initial Questions and Concerns
Part 6 – Online Resources
Part 7 – Cabinet Plans
Part 8 – Buying and Cutting the Wood
Part 9 – Tools and Materials
Part 10 – Building the Cabinet
Part 11 – Building the Control Panel
Part 12 – Sanding and Painting
Part 13 – The Coin Door
Part 14 – Artwork
Part 15 – Printing and Applying the Vinyl
Part 16 – Adding all the T-moulding
Part 17 – The TV Monitor
Part 18 – Making the Bezel
Part 19 – The Marquee
Part 20 – Installing the Electronics
Part 21 – Setting up MAME
Part 22 – Issues to Watch Out For
Part 23 – The Finished Cabinet