
Once I had all my panels of wood cut, I could actually start the building. A nerve-wracking but also very exciting stage. This is where you really hope all your measurements are correct. But this is when all the work I put into modelling the cabinet in Sketchup paid off. I had basically tested all the sizes there. I now just had to put it all together in a way that held its shape and was stable.
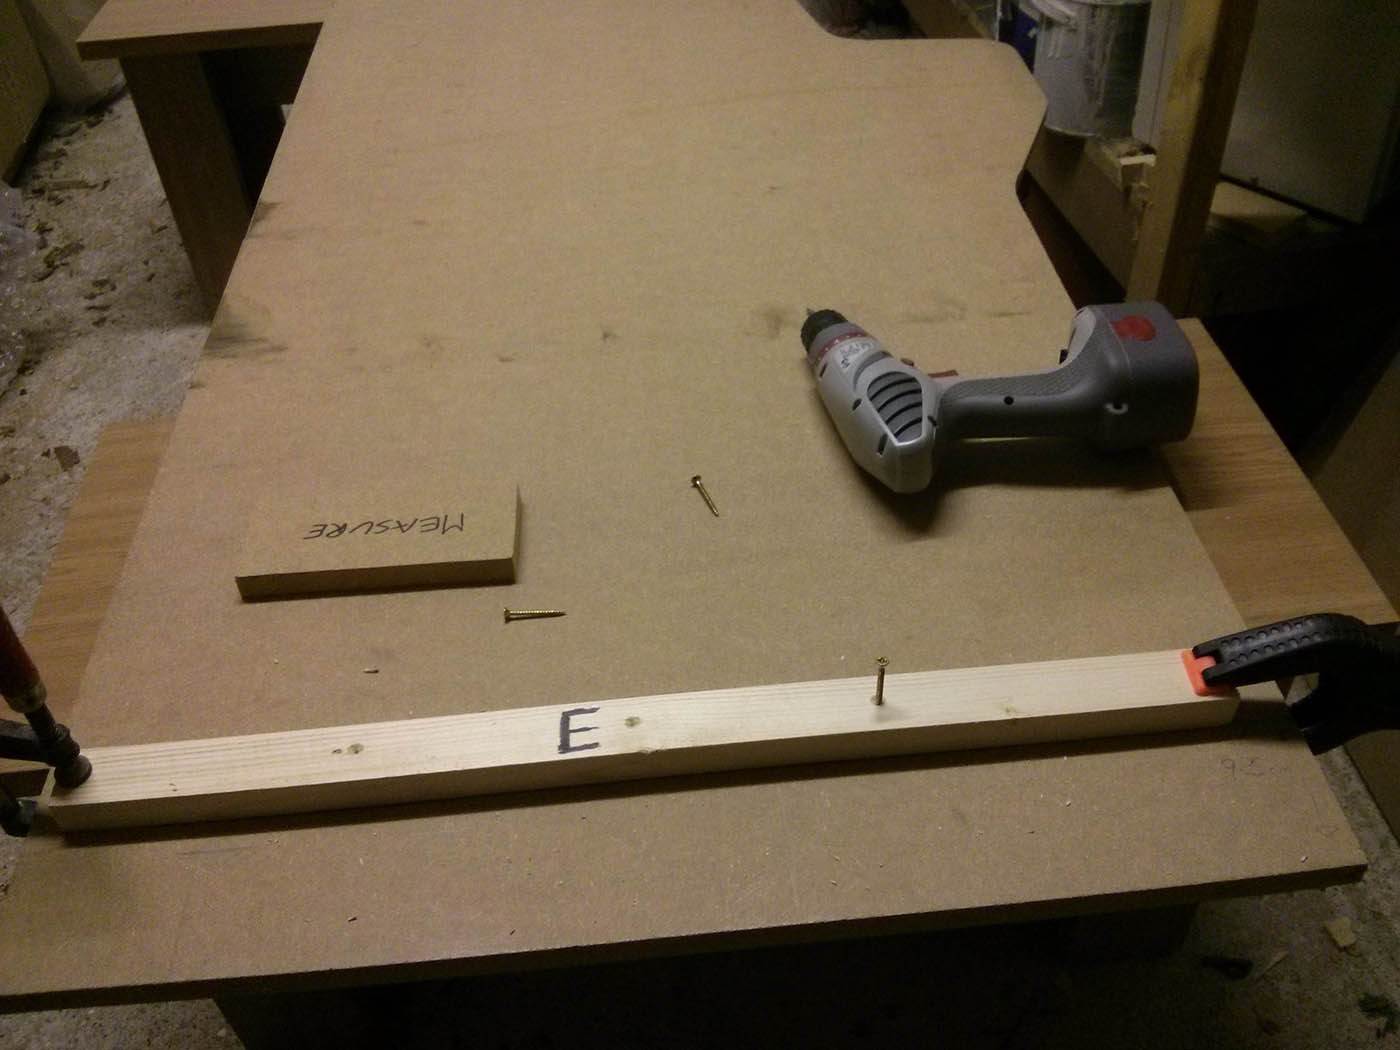
Firstly a few words about pre-drilling and counter-sinking. Both were essential almost every time I drilled a hole for a screw. You don’t want your wood to split, particularly if you’re putting a screw into the edge of a panel of MDF, so you have to pre-drill a small hole before you then screw the screw in. But also you don’t want the screw head sticking out so you need to use a countersink bit to drill a slight funnel near the end so that the screw head sinks in under the surface of the wood. You also have to take this countersinking into account when you are buying your screws and choosing what length of screw you need. If you’re drilling ones into flat panels of MDF you don’t want them sticking out the other side.
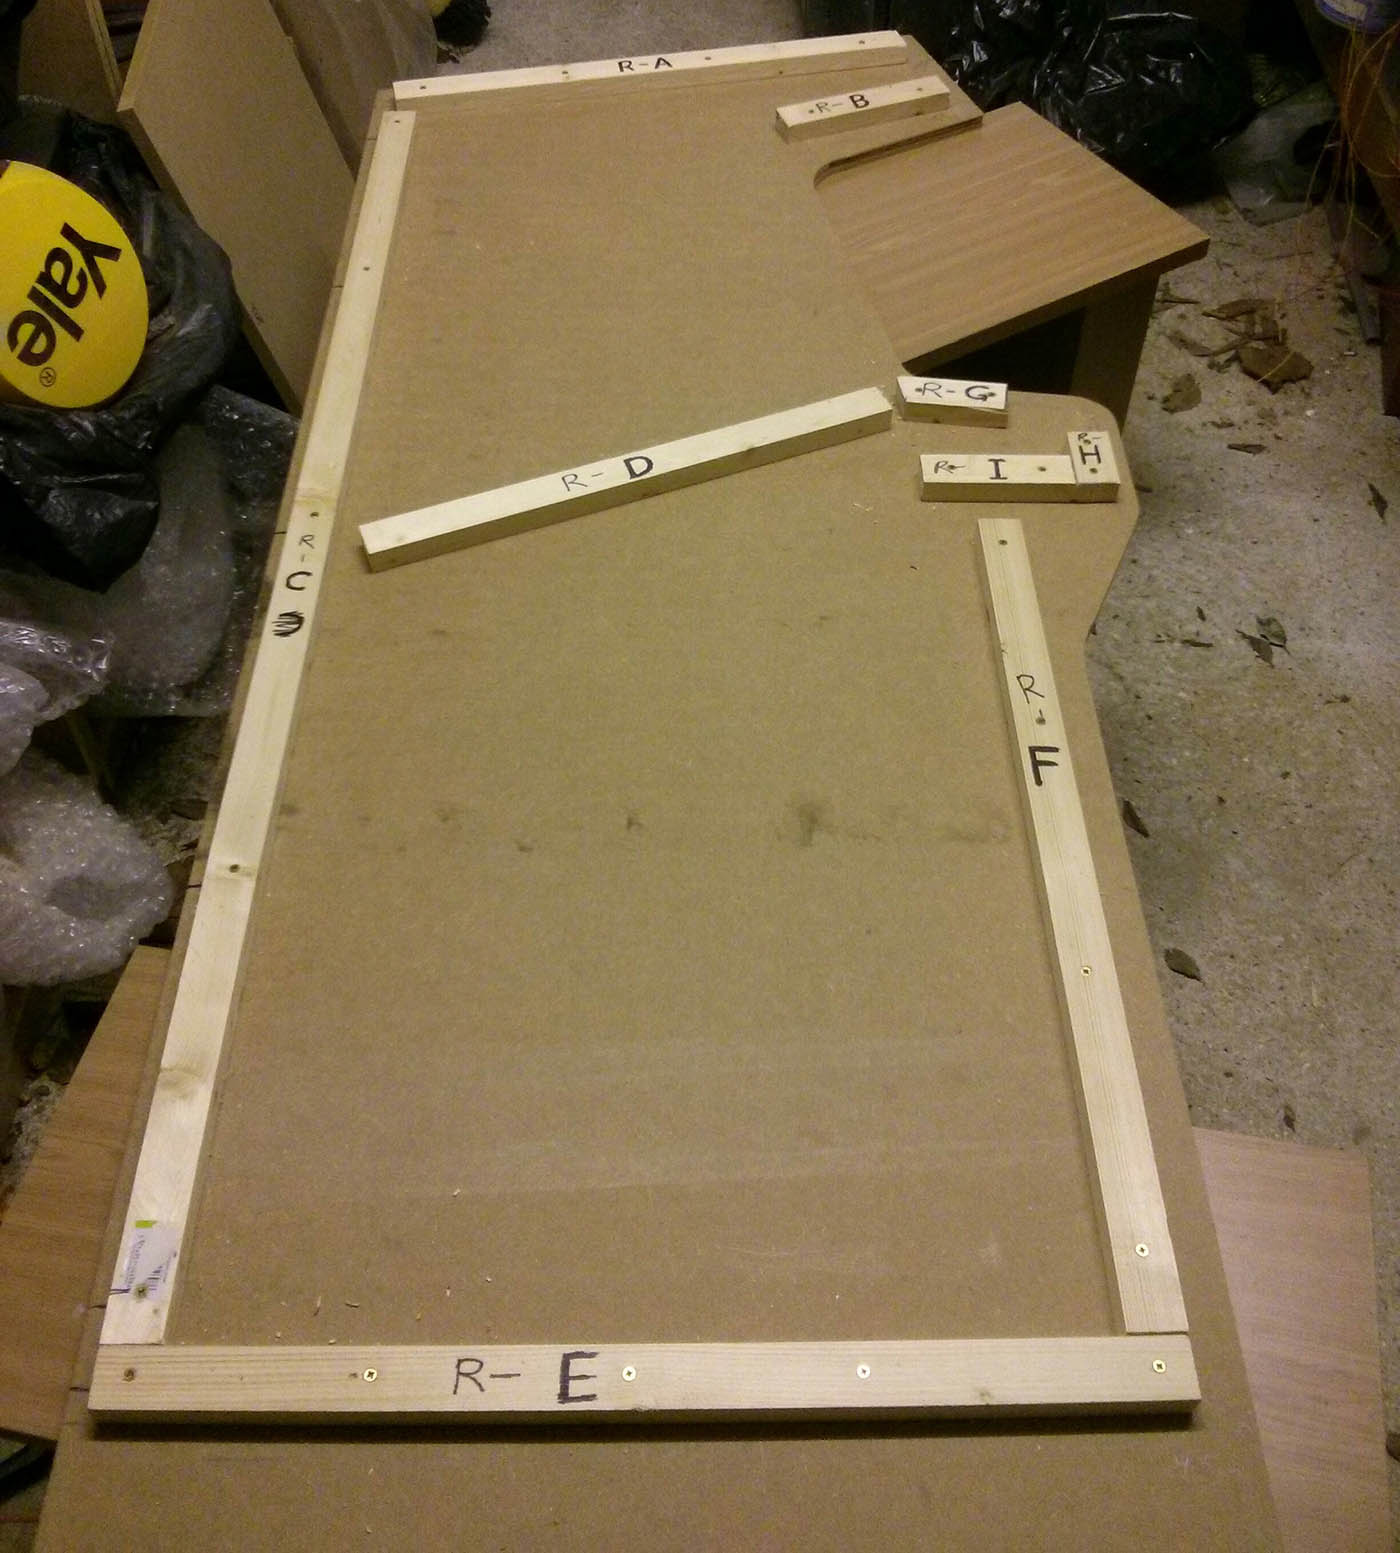
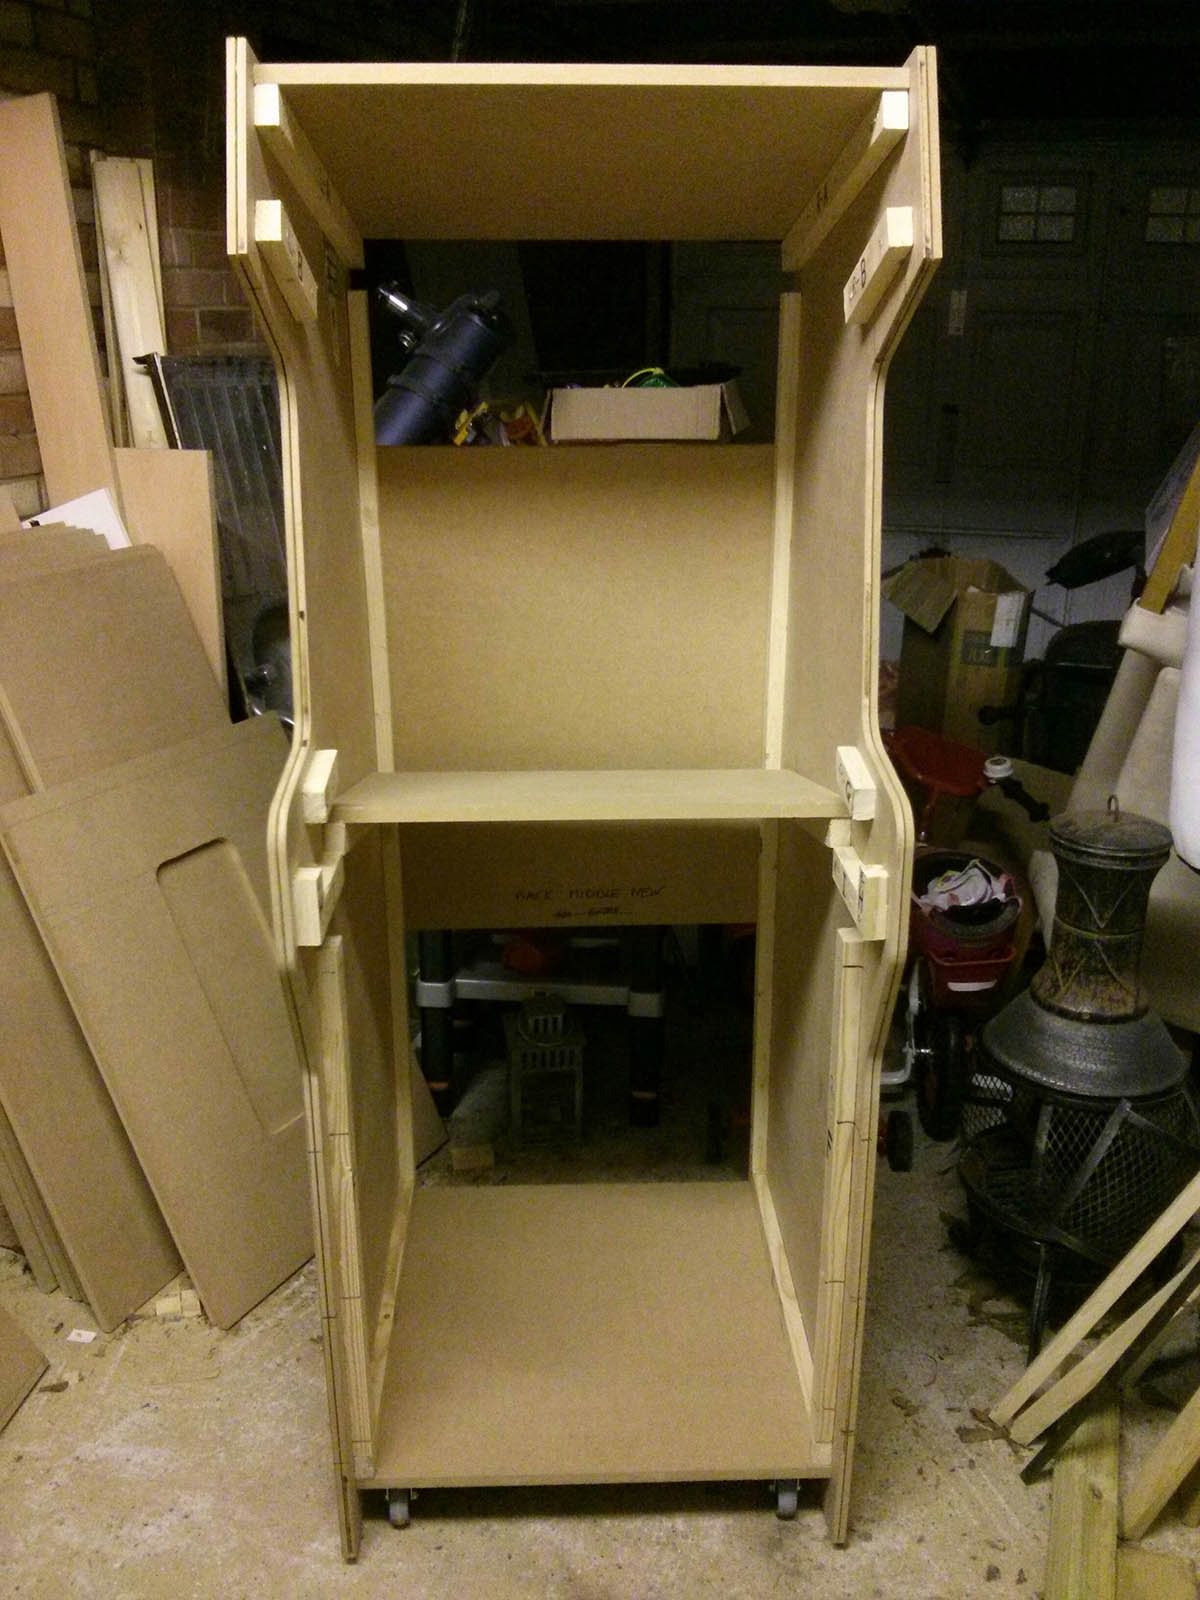
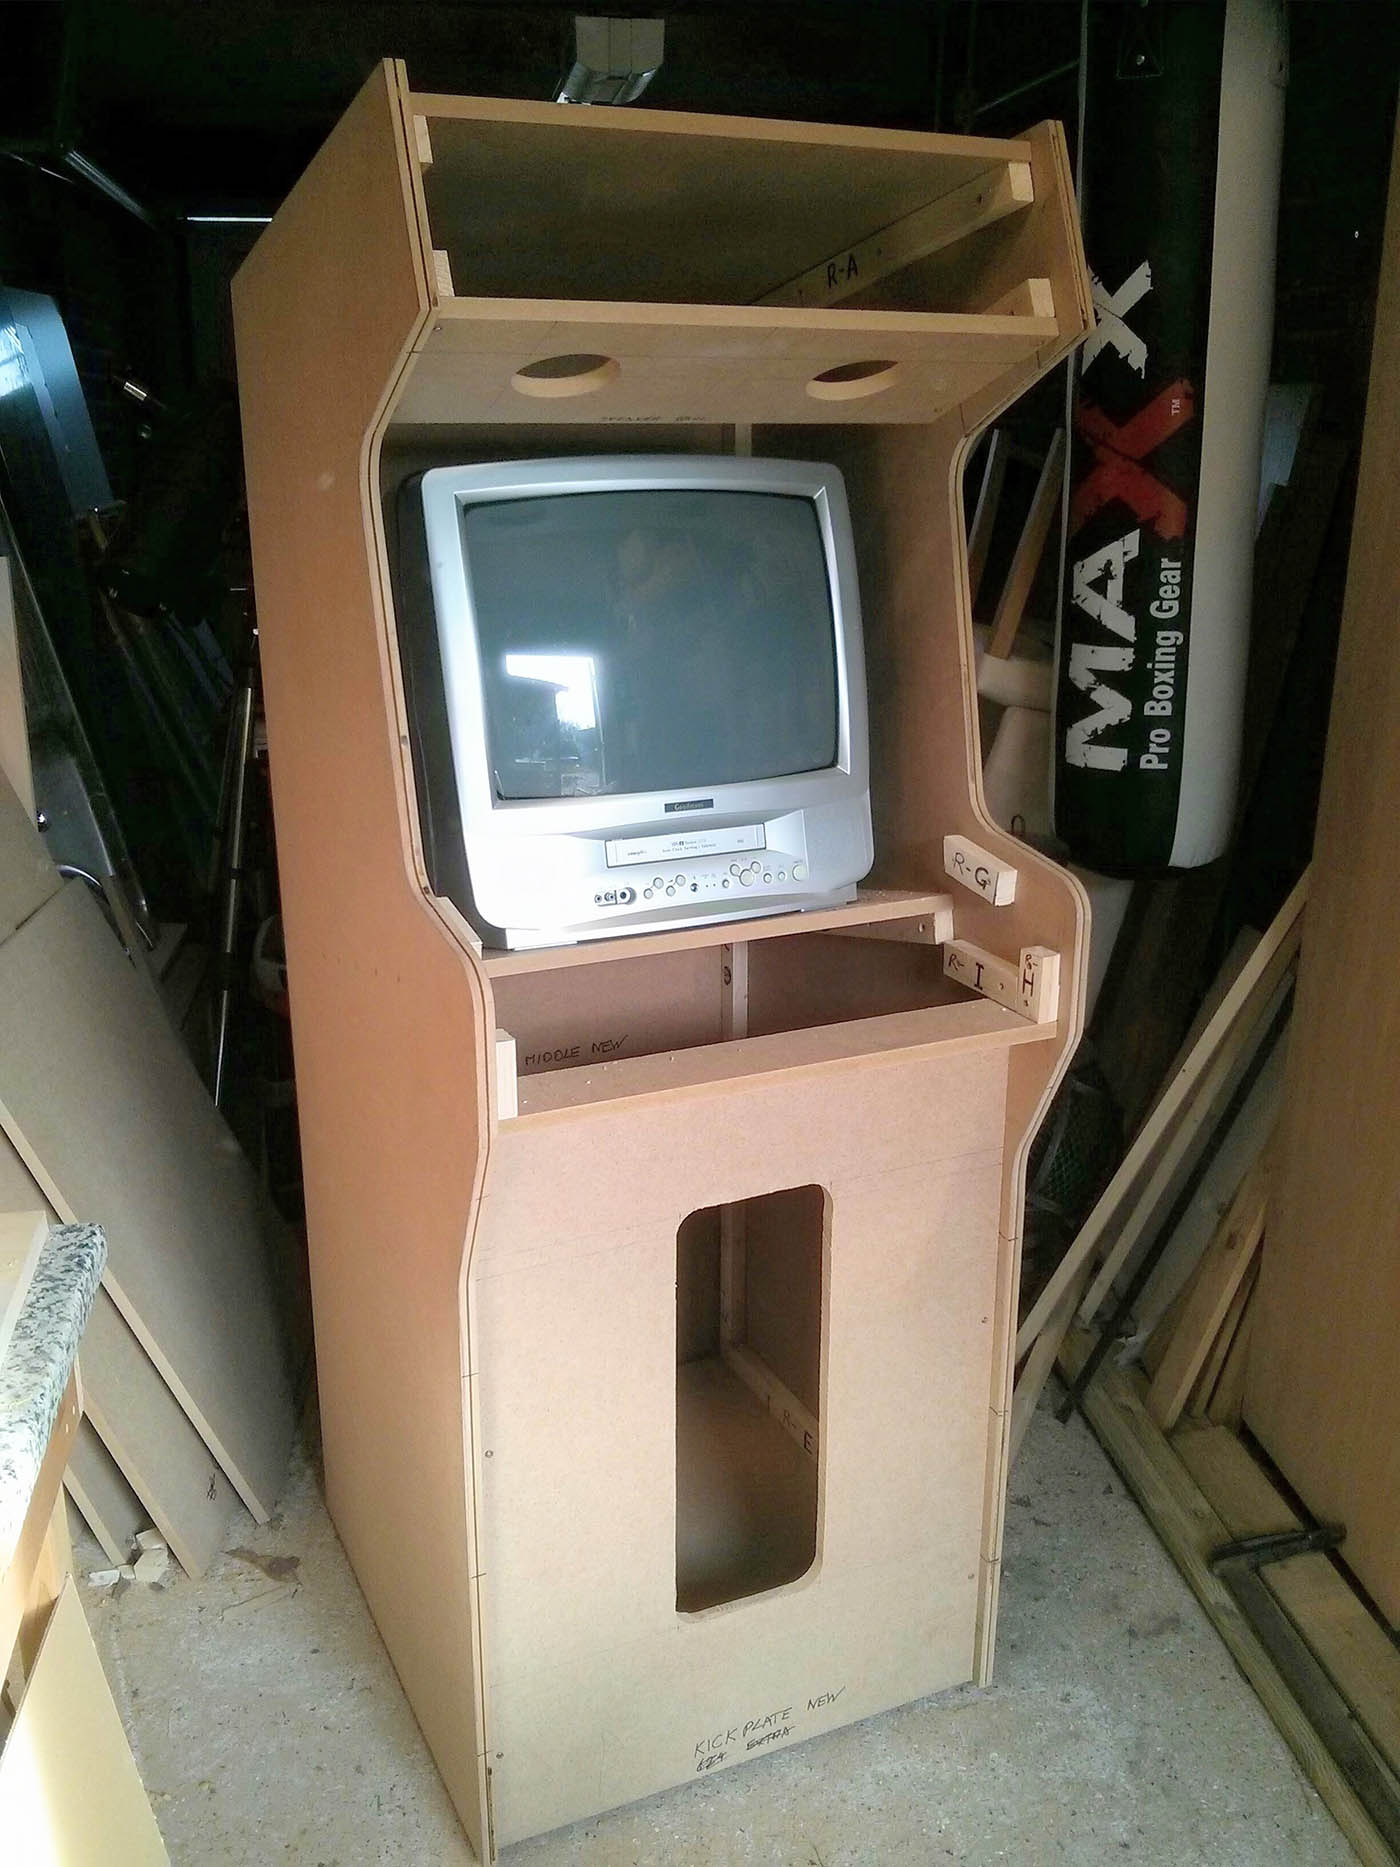
The first thing to do was to screw in all the batons. You can see from the images below where I put these. Basically all the panels that are perpendicular to the sides (all the ones that were 624mm wide) had to attach on to batons that I was going to drill into the cabinet sides. These included the back panels, the kick plate, the control panel, the top, the speaker grill and the base. The batons had to be very carefully measured because they had to be in identical places on both sides otherwise when I put the panels across the gap they would be squint, and we don’t want that. So plenty of time was taken to measure and remeasure these batons before I drilled them into place. Both sides were done and checked and that’s when I knew I was ready to put all the panels together. I also labelled each baton as Left or Right and a Letter, so that I knew where they went if I had to take them off at any point.
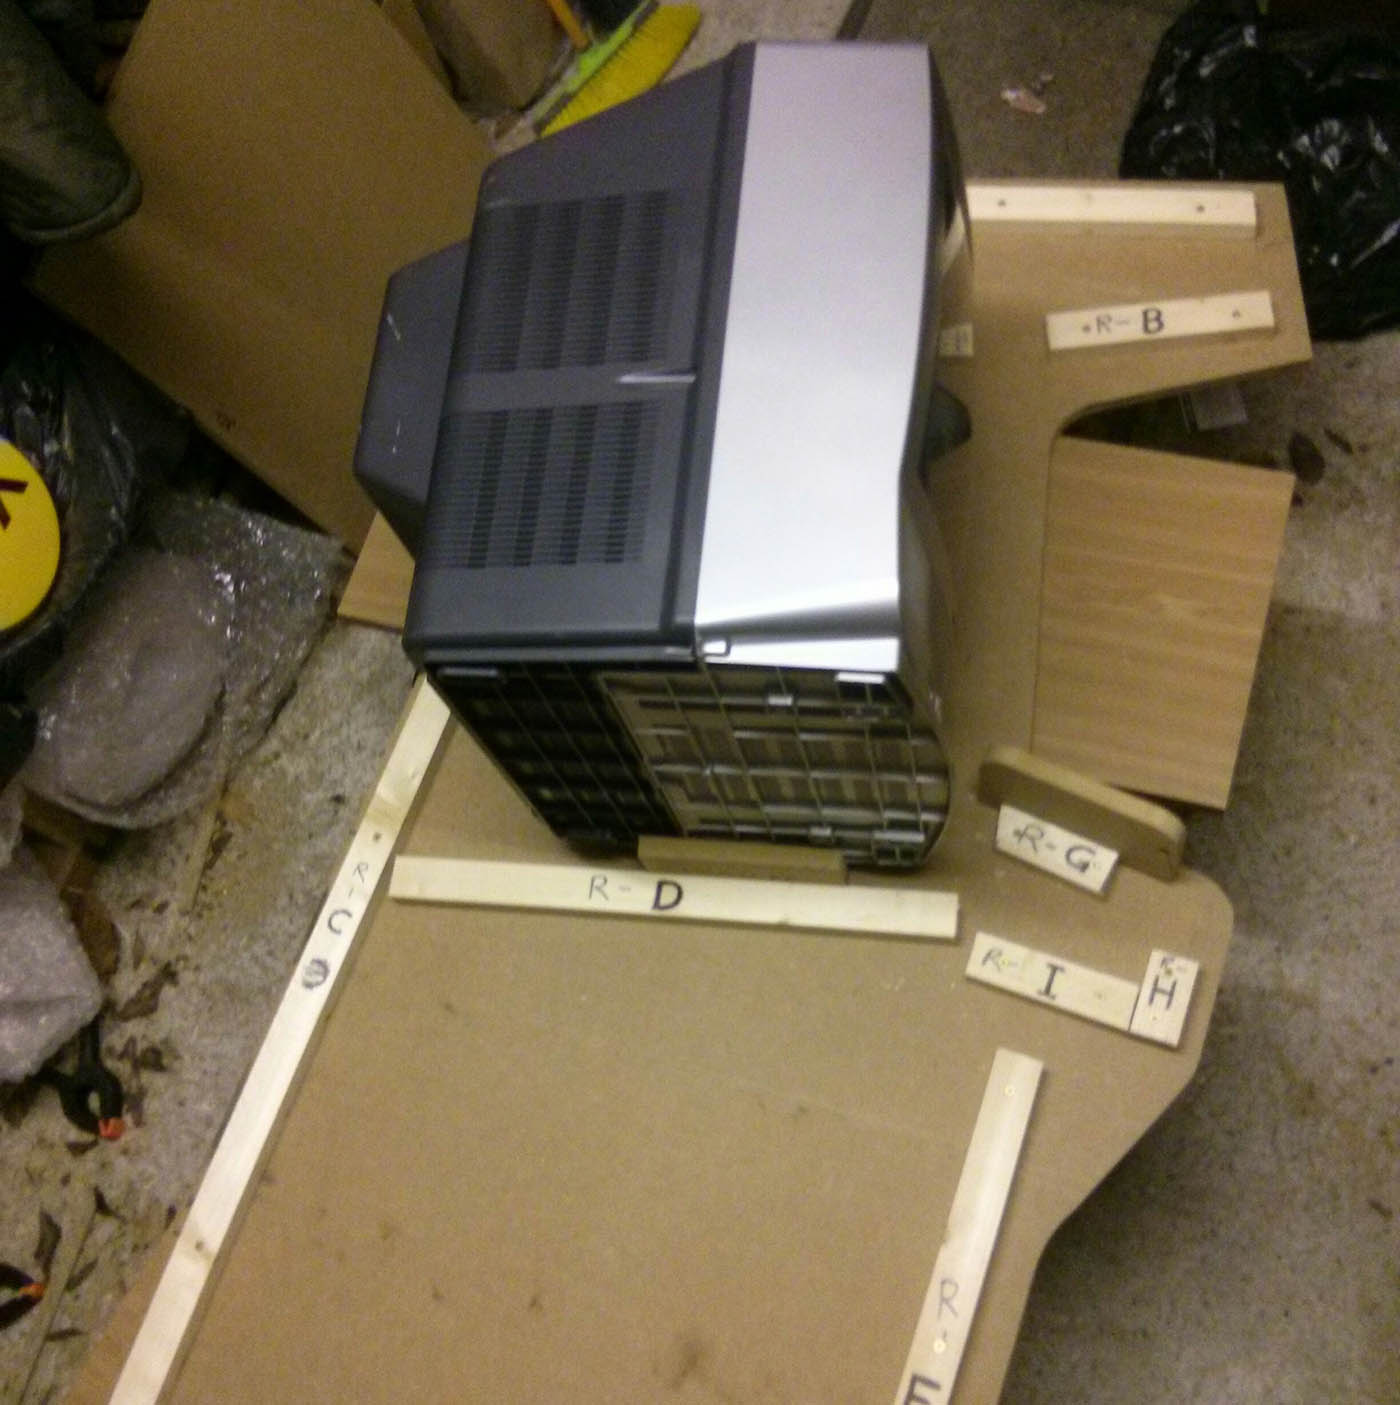
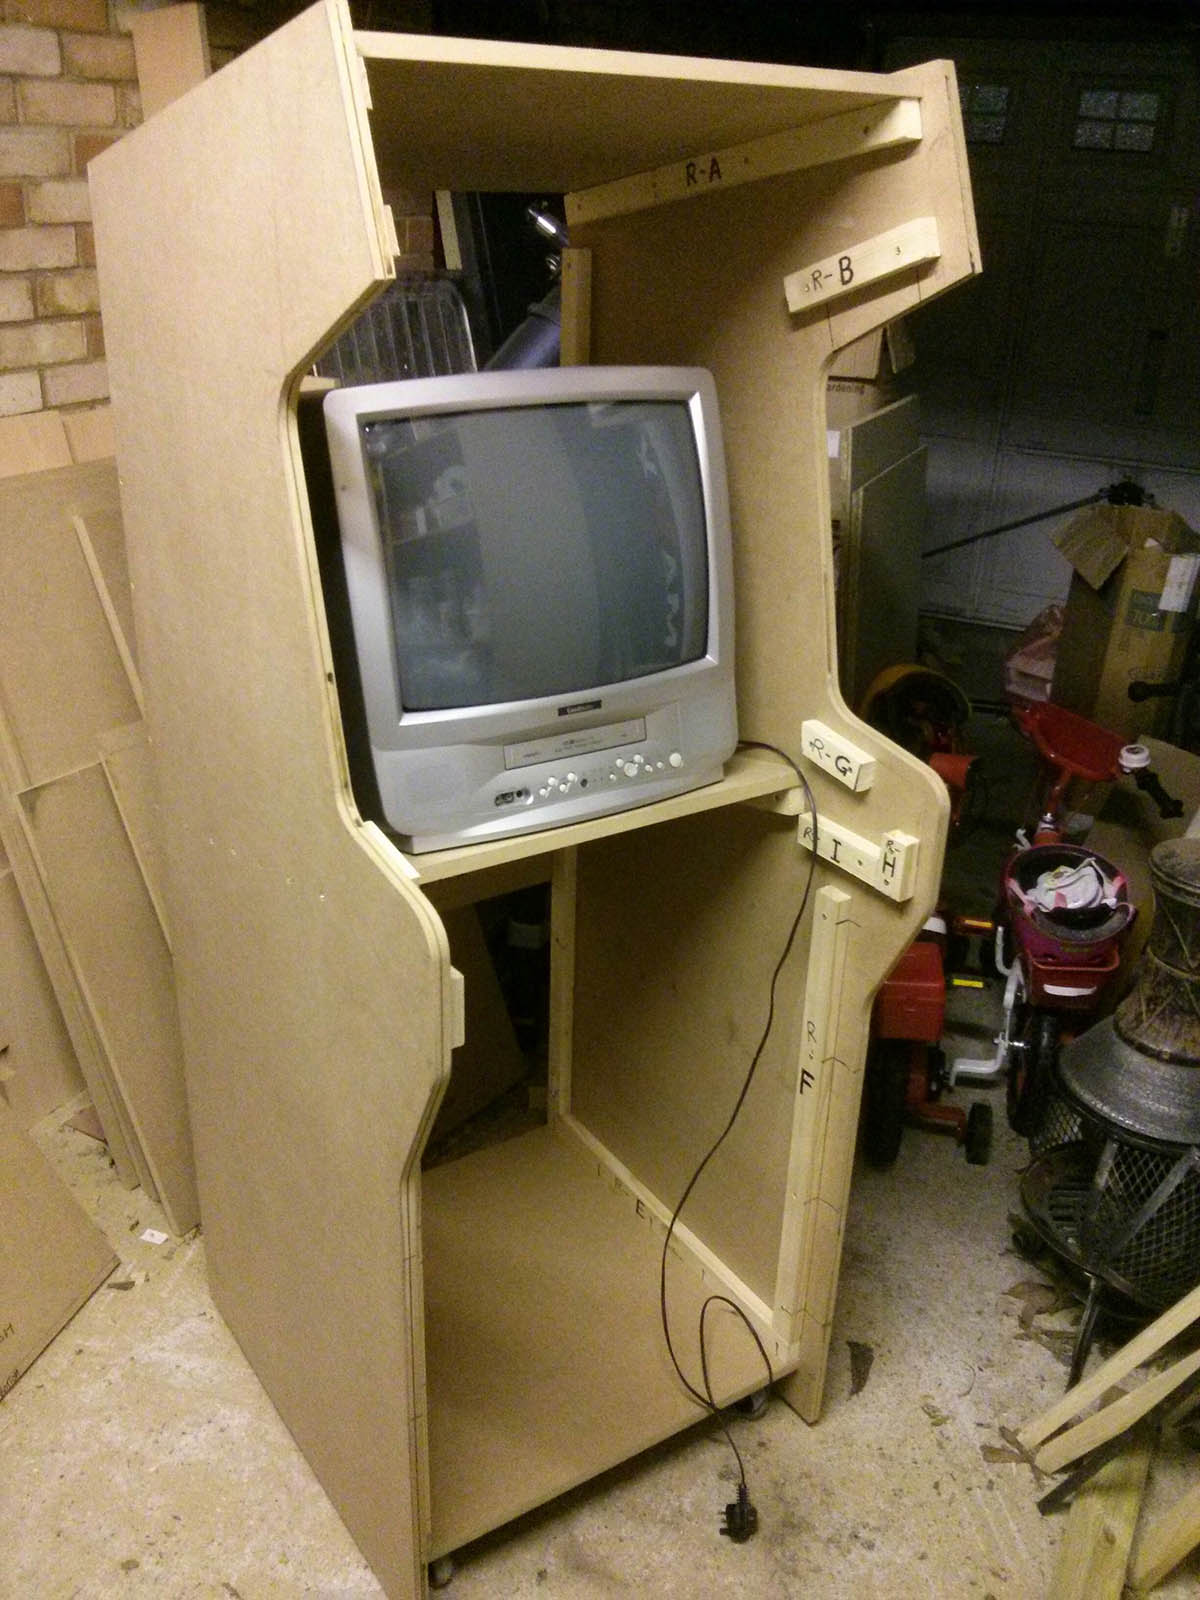
I also took the opportunity to check that the TV would indeed fit.
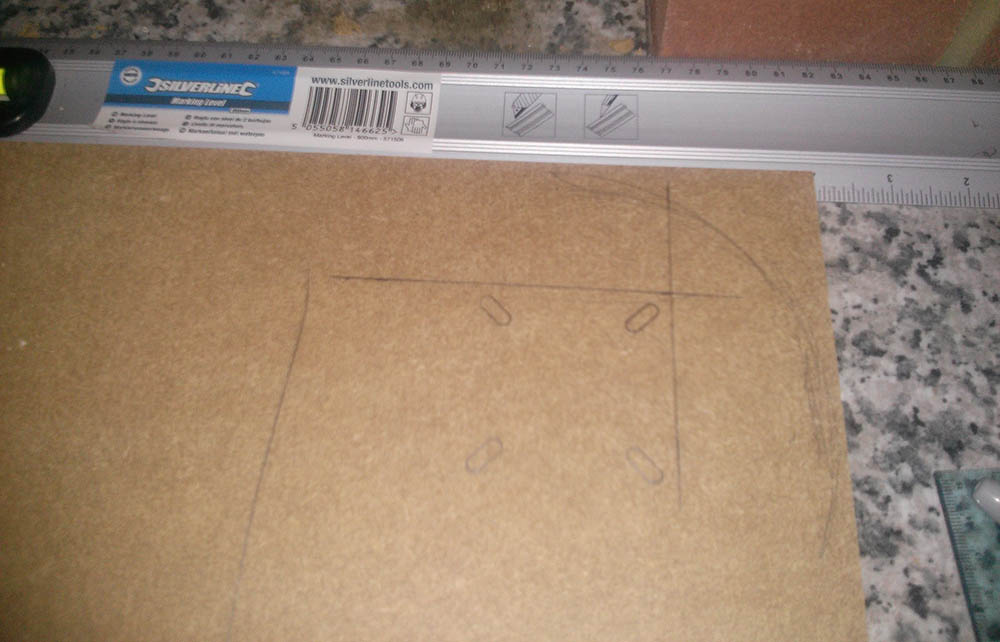
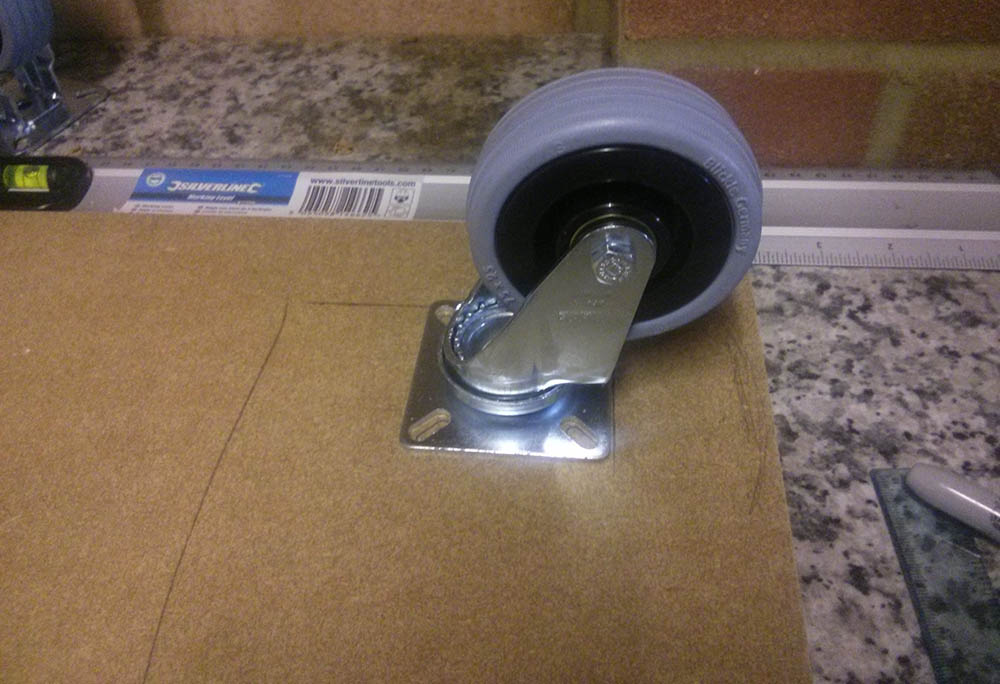
One thing I did before I started putting it together though was to attach the castors to my base. This was an easy job. I then watched and re-watched these two videos from Abs and Neg before I began putting my own cabinet together. The first thing I did was to pre-drill some holes where I knew I would be screwing the panels into. I knew I would be screwing from the outside of the cabinet side into the edge of the base panel. As I knew the thickness of the base panel (18mm) I could measure 9mm out from the base baton and pre-drill some holes all the way through the sides and countersink these from the outside. I did this for all the panels that I knew I would be drilling into from the outside. These included the base, the TV shelf and main back central panel. These were the main structural panels. I chose not to drill in all the other panels this way as it would mean lots of polyfilling in order to paint over them on the side. The other ones like the top panel and the speaker grill weren’t really structural or load bearing so I knew I could just screw these into the batons. This also meant I could remove those ones later if I had to access anything. But the three I mentioned above I really wanted to make extra strong so I started by screwing into them from the outside sides. I pre-drilled all those holes as I mentioned.
I was then ready to screw the panels in, so I began my laying one of my sides down on a couple of benches and I lined up the base panel vertically, held it in place with some clamps and then screwed in the screws from underneath. I repeated this process with the TV shelf panel and the back central panel. So I had one side of the machine lying horizontally and I had three of these 624mm wide panels sticking up vertically from it. While drilling screws into these panels I tried to have them clamped in two axis so that they wouldn’t move, but once they were in I could remove some clamps and just have them clamped in one axis to make sure they didn’t wobble over due to gravity and pull on the screws too much.
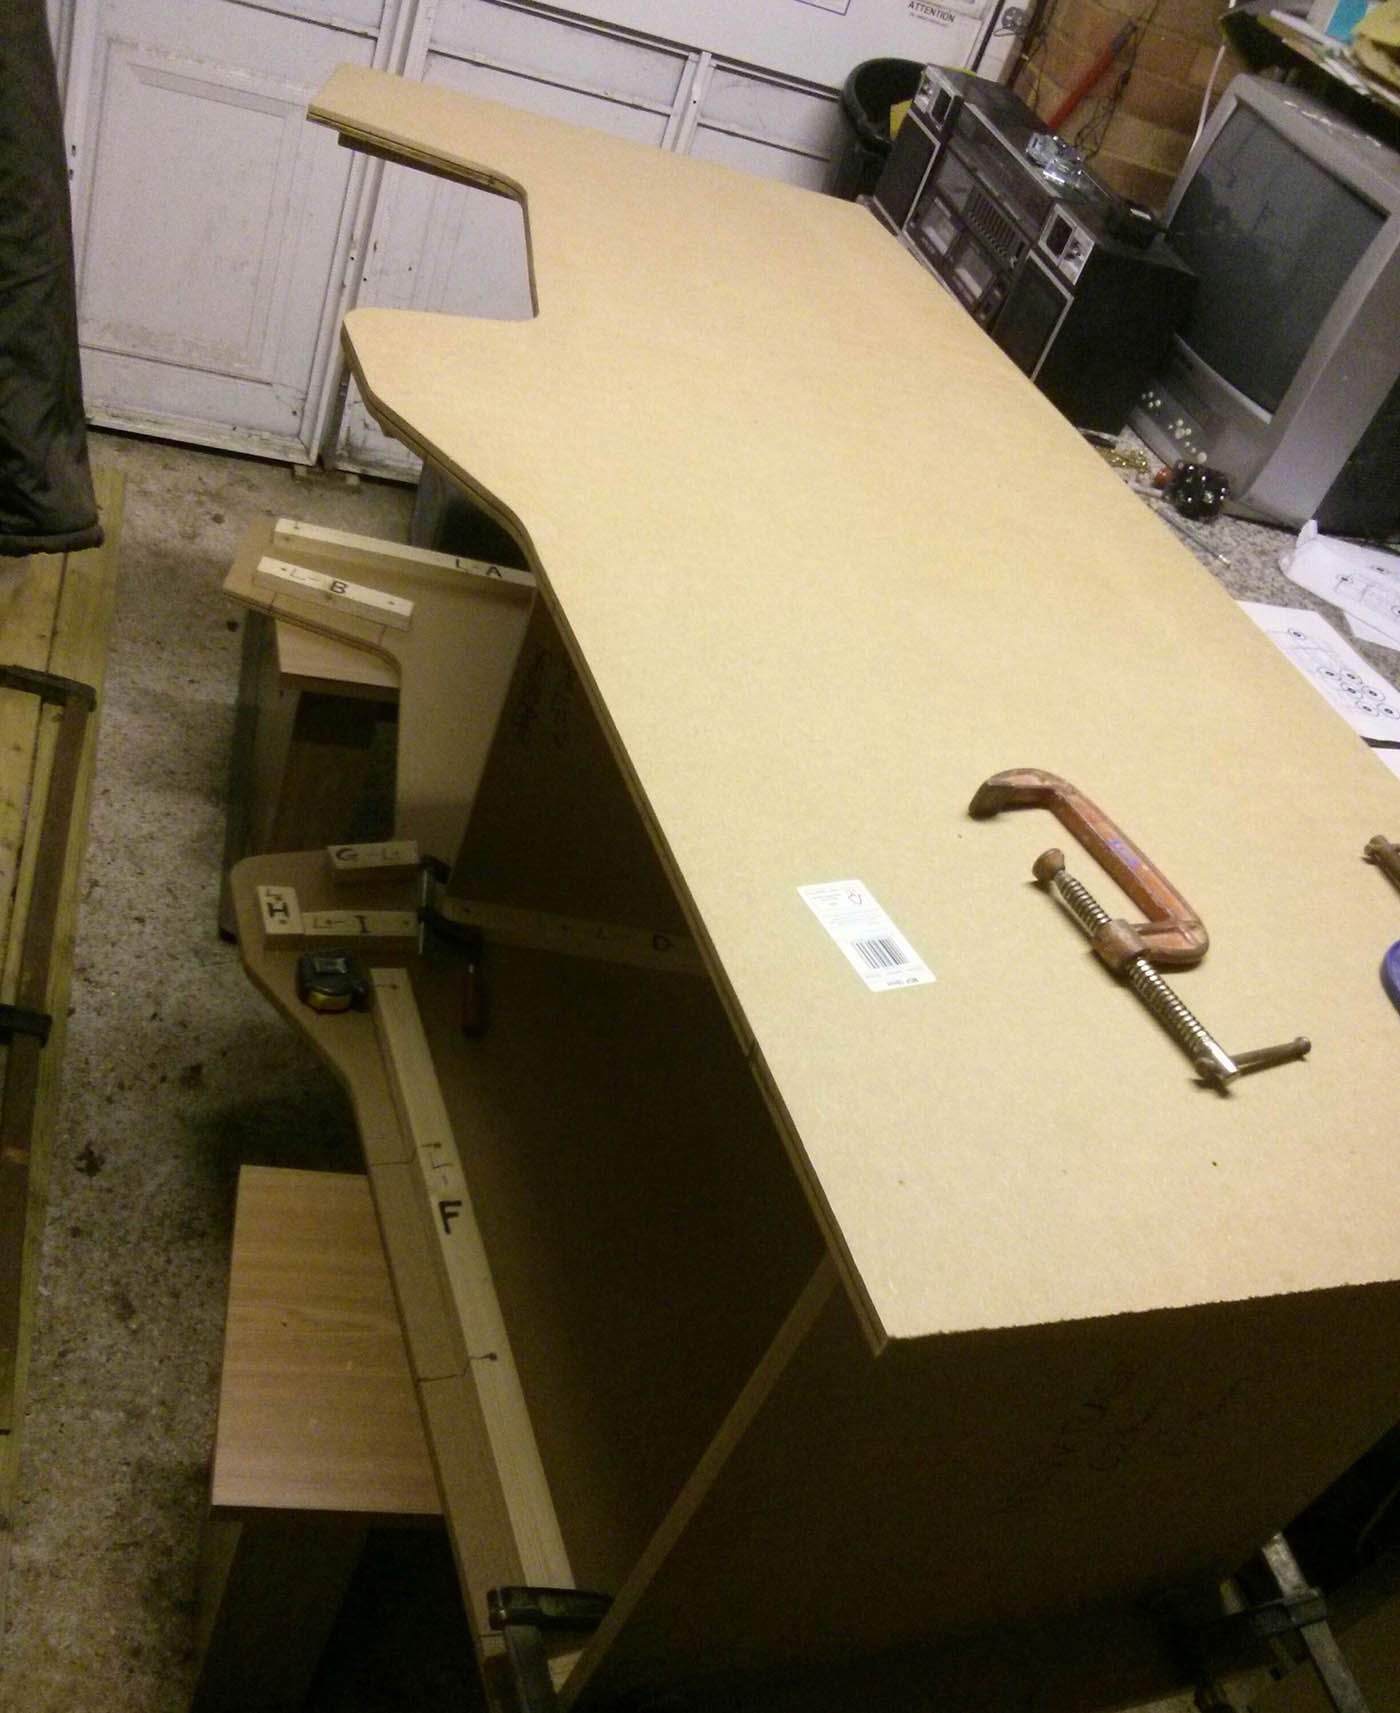
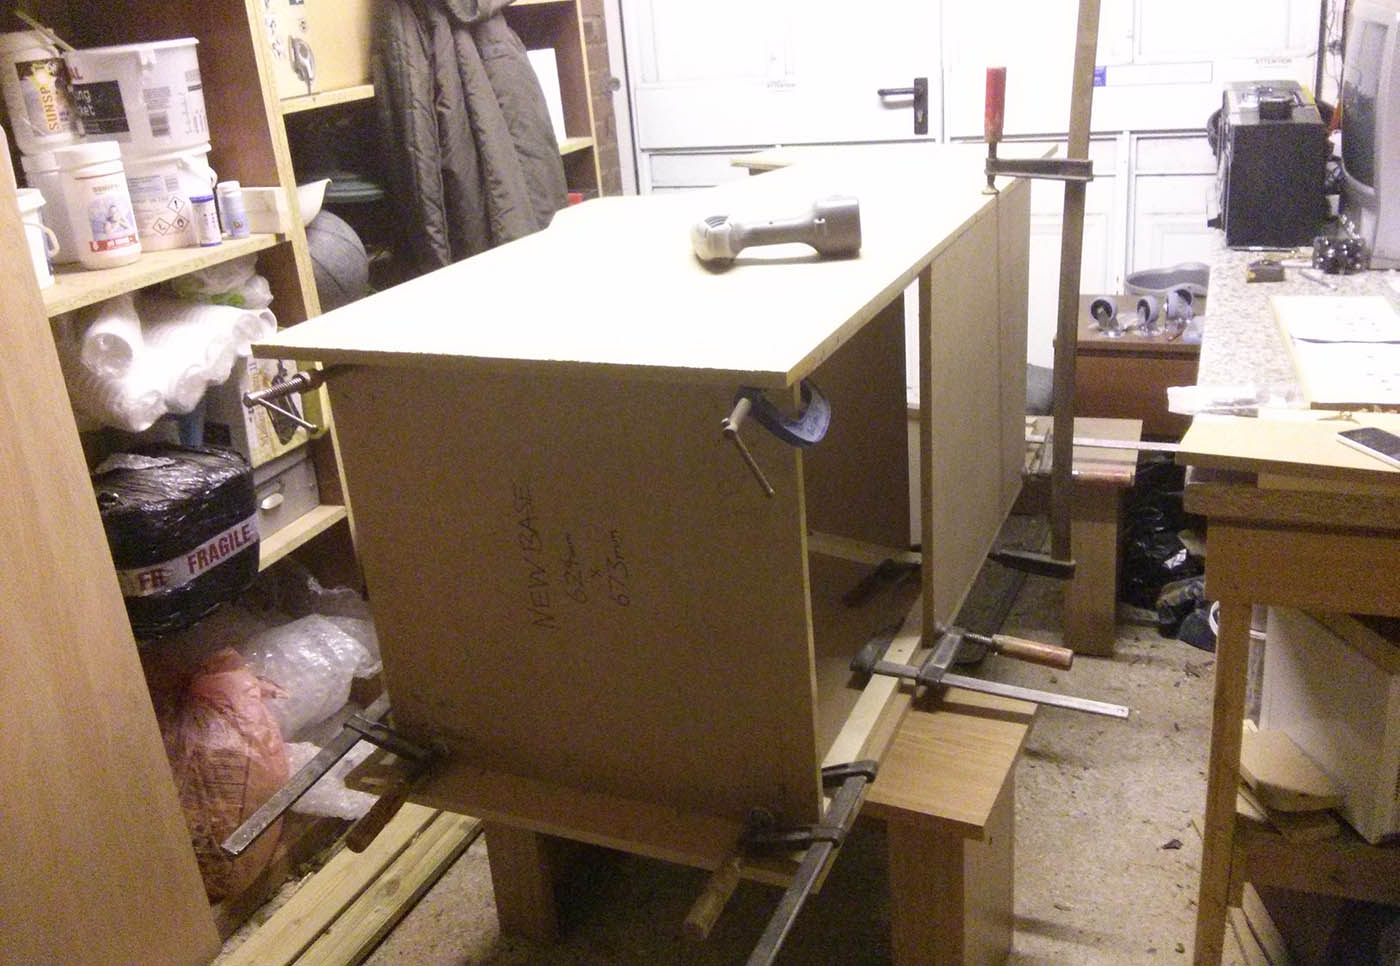
At this stage I was ready to put the other side on. It’s pretty easy to do this as you just line up the batons so that the panels touch the batons in the same way as they do on the other cabinet side. Once you are happy that they are all aligned I just drilled screws in from the top, so from the outer edge of the other cabinet side into the other edge of the panels. Now the moment of truth was to pull the cabinet up and stand it on the ground. This is a great moment as it all starts to take shape as an arcade cabinet and you can really get a sense of the size of it. The whole shape looked good to me, the castors on the base were working well and it all seemed to be square. It was pretty wobbly at this point but that’s normal. Once the rest of the panels are in place, and the weight of the TV is bearing down on it, the wobbling is greatly reduced.
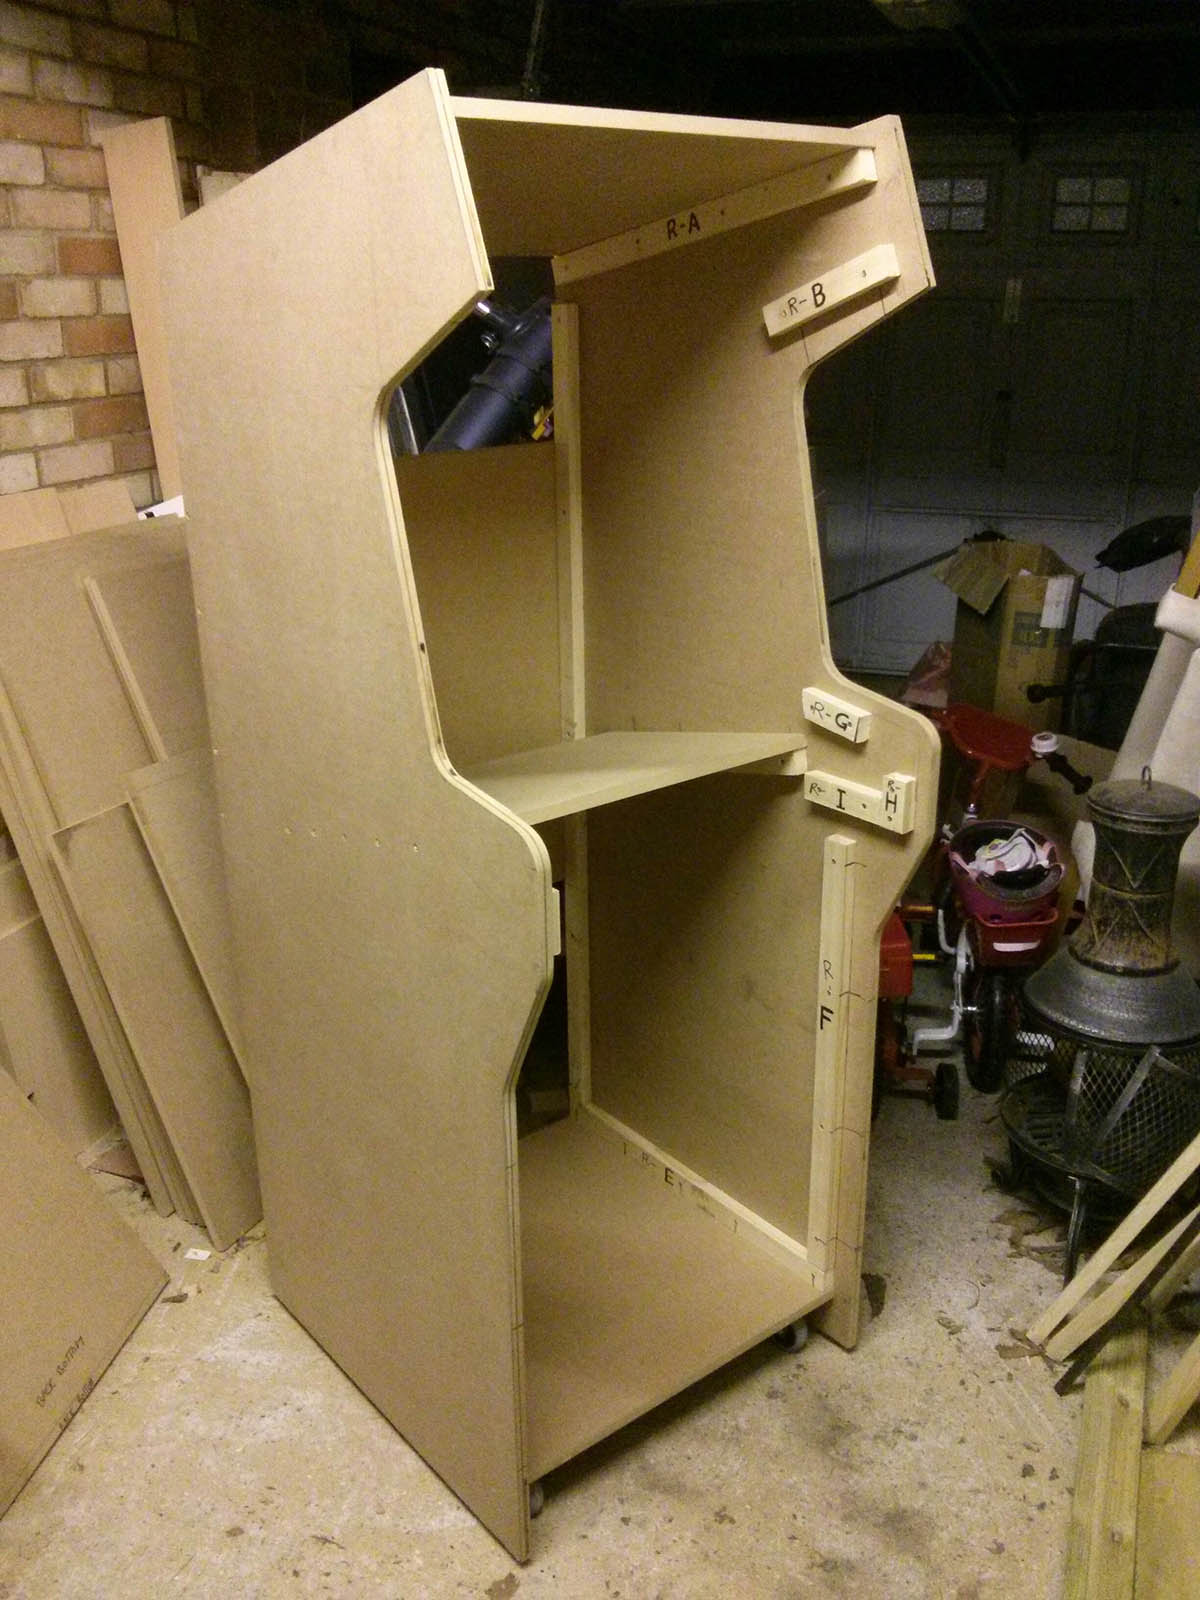
I added some of the other panels, in some cases just to check they fit, as I would be taking them off again right away to continue to allow me access to parts of the cab. Other panels included the top, the speaker grill, the control panel bottom, the coin door/kickplate and the three back panels. I had chosen to add the back in three parts. Top (small), middle (big) and bottom (medium). When I added all these panels too it really started to look like a proper arcade machine. Exciting times.
Now, normally what most people online recommend is to just drill the batons in for now, put the whole cabinet together, as I have just done, to test it is all straight etc, and then take it all apart again so that you can ‘screw and glue’ all the batons into place. But to be honest I didn’t do that. Originally I was really paranoid about the strength and stability of the cabinet and wanted to be absolutely certain it wouldn’t fall apart. I was planning on screwing and glueing all the batons, screwing the sides to the panels and also the panels to the batons (so that each panel was screwed in two different ways) and also add angle brackets to the structural panels too for extra security. Most people online recommend at least the gluing and also screwing in at least one of the ways I’ve done, not necessarily both directions of screwing. My father-in-law agreed that my original plan was probably overkill, although it wouldn’t hurt, but a deciding factor was that I wanted to have as much flexibility in the future as I could. If I glued everything then I wouldn’t be able to take it apart. There is also the risk that if I took the batons off to glue them then they might not be perfectly aligned when I put it back together again. So in the end I only glued the batons for the base and for the TV shelf as these there the two taking the most structural strain. I also did screw these ones from two different directions as mentioned above. I didn’t bother with the angle brackets though. And all the other batons and panels were just screwed in one direction. Once I had put the cabinet together it was pretty obvious that it was strong enough. I also chose not to double-screw the back middle panel, as I had originally planned, as it became apparent after building the cabinet that it would be easier to access and remove the TV from the rear instead of through the front as I had planned. So I couldn’t screw the back panel from the sides of the cabinet. I only screwed the back panel from the rear into the batons.
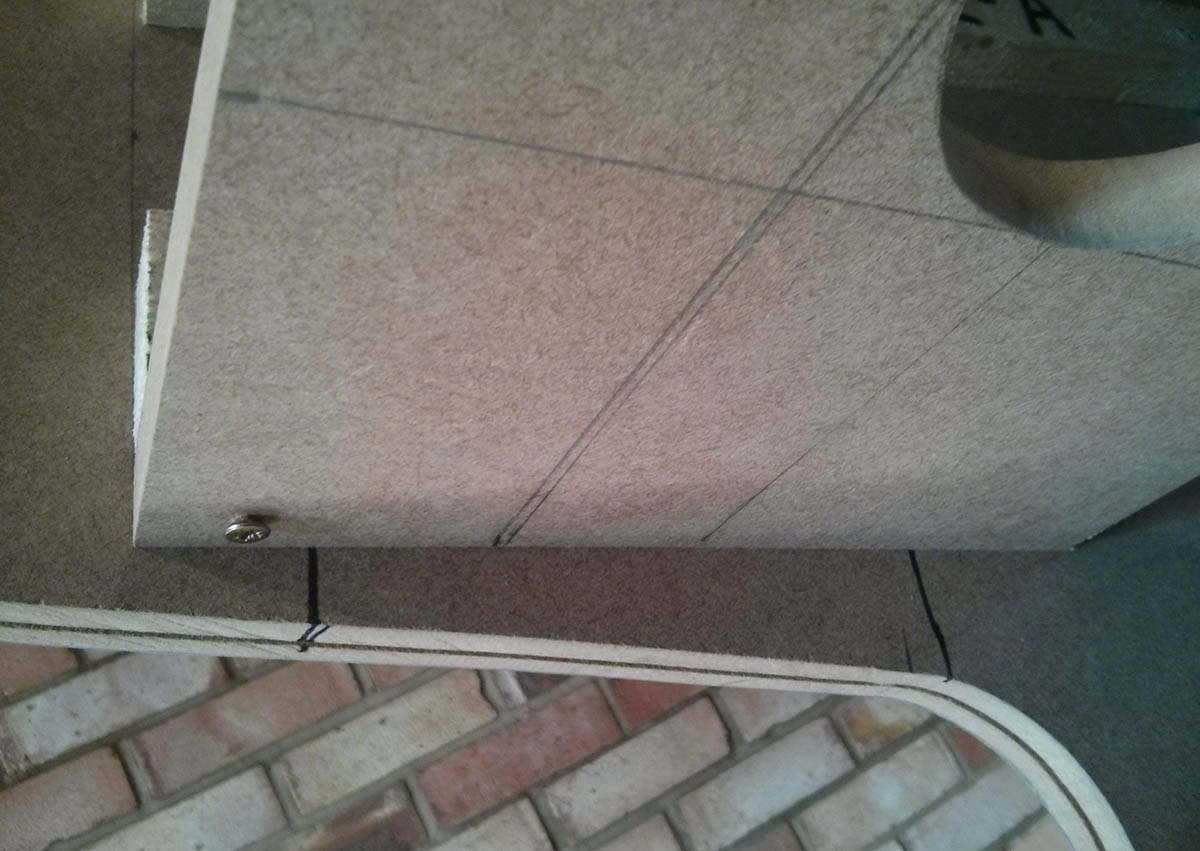
One thing that I had seen other people do which proved to be invaluable was to mark on the very edge of the cabinet if there was a screw further inside. It meant that if I was drilling new holes from the outside I wouldn’t drill into a screw. See pics below.

I was very happy that all the panels fit very well and everything was stable and square. Next up… the control panel.
And don’t despair. If you’re not great at DIY stuff and are having trouble building your own arcade cabinet, then the other option is to look into a third party arcade builder such as Bespoke Arcades.
————–
Here’s a list of all the posts about my arcade build.
Part 1
Part 2 – Decisions
Part 3 – Cabinet Design
Part 4 – Control Panel Plans
Part 5 – Initial Questions and Concerns
Part 6 – Online Resources
Part 7 – Cabinet Plans
Part 8 – Buying and Cutting the Wood
Part 9 – Tools and Materials
Part 10 – Building the Cabinet
Part 11 – Building the Control Panel
Part 12 – Sanding and Painting
Part 13 – The Coin Door
Part 14 – Artwork
Part 15 – Printing and Applying the Vinyl
Part 16 – Adding all the T-moulding
Part 17 – The TV Monitor
Part 18 – Making the Bezel
Part 19 – The Marquee
Part 20 – Installing the Electronics
Part 21 – Setting up MAME
Part 22 – Issues to Watch Out For
Part 23 – The Finished Cabinet
Brian
Apr 23, 2024 -
This design is awesome very well detailed, my email is [email protected] could u email me the plans please