
When I started this project I really didn’t know what I was going to end up with. I was taking a gamble as I didn’t have much experience making physical things with my hands. All in all I am extremely pleased, nay over the moon, with how it turned out. Nevertheless, there are always things that could be done better if I was to make another cabinet. Some are things I just didn’t think about when planning, some are things that are hard to visualise until it’s too late, and some were just plain mistakes. Here are a few things I can share in terms of things that I could do better or things I can advise you to watch out for. In no particular order.
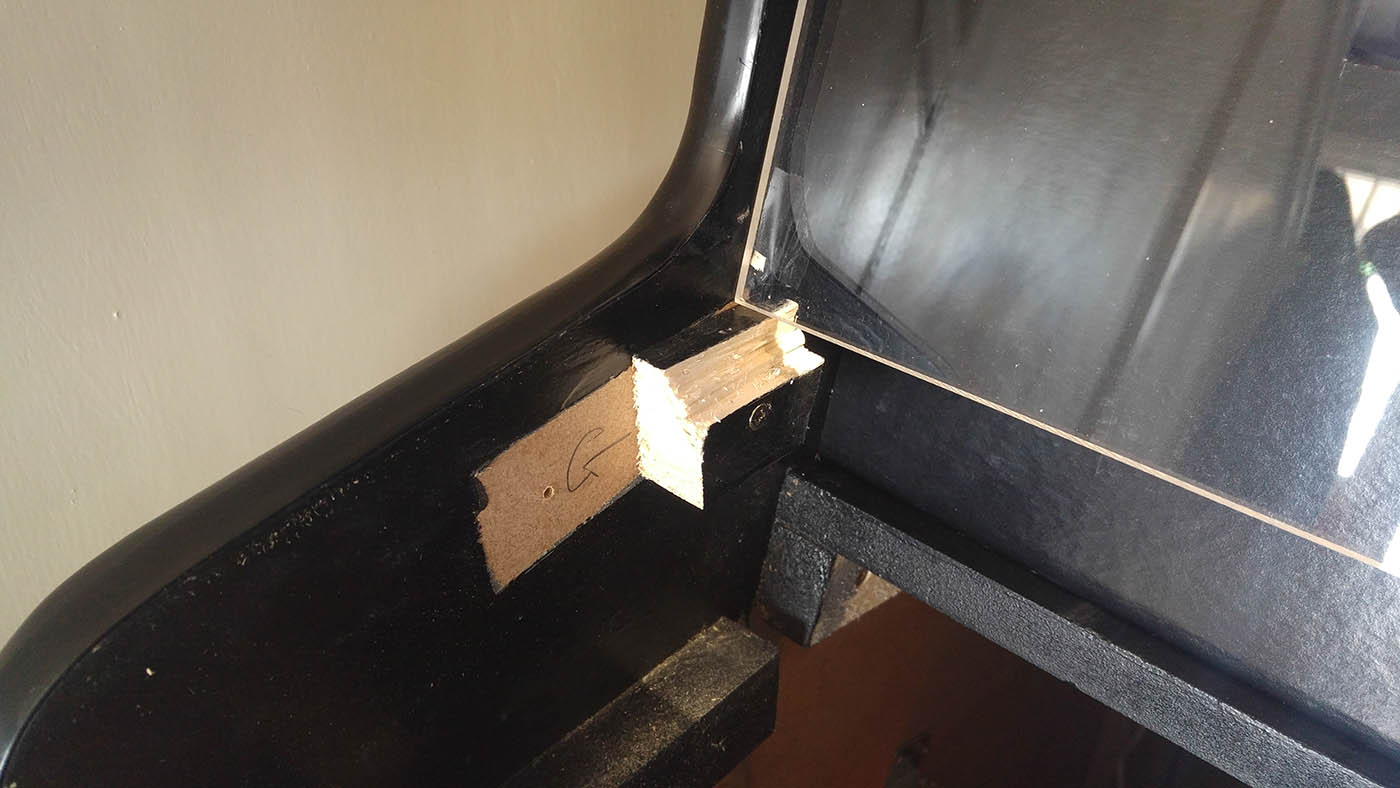
Control panel not closing properly after I installed the joystick
I had measured all the parts of the control panel and how all the wood would fit together etc, but I didn’t allow for the bulky parts of the joystick on the underneath side of the control panel top. After I installed the joystick and I tried to shut the control panel again I realised the joystick base was hitting the baton that the control panel rests on. Luckily I was able to remove some of the baton and still have enough baton left for the control panel to rest on. Just one of those things that is very hard to plan for before you start the actual building.
Wires getting in the way of the coin door
My plan was just to have all the wires hanging down on in the inside of the cabinet. Tied together with cable ties but still just hanging down. Should be fine. And I was going to have the coin door opening so I could reach inside. No problem there. But I forgot that the coin door actually had a big bulky bit on the inside of the door which sticks out inside the cabinet. If the wires hang down around this bit (which they do) then the bit of the door that sticks out will snag on the wires and pull them as the door opens. The first time I opened the coin door I nearly ripped out all of my wires that I had carefully plugged into the controller board. What I did to fix this was to attach a very thin wooden rod across the whole width of the cabinet, just above the height of the door and also inset about 10 inches, (I think I just attached it with angle brackets) and this managed to push the wires back deeper inside the cabinet before they then drop down, thus keeping them out of the way of the door.


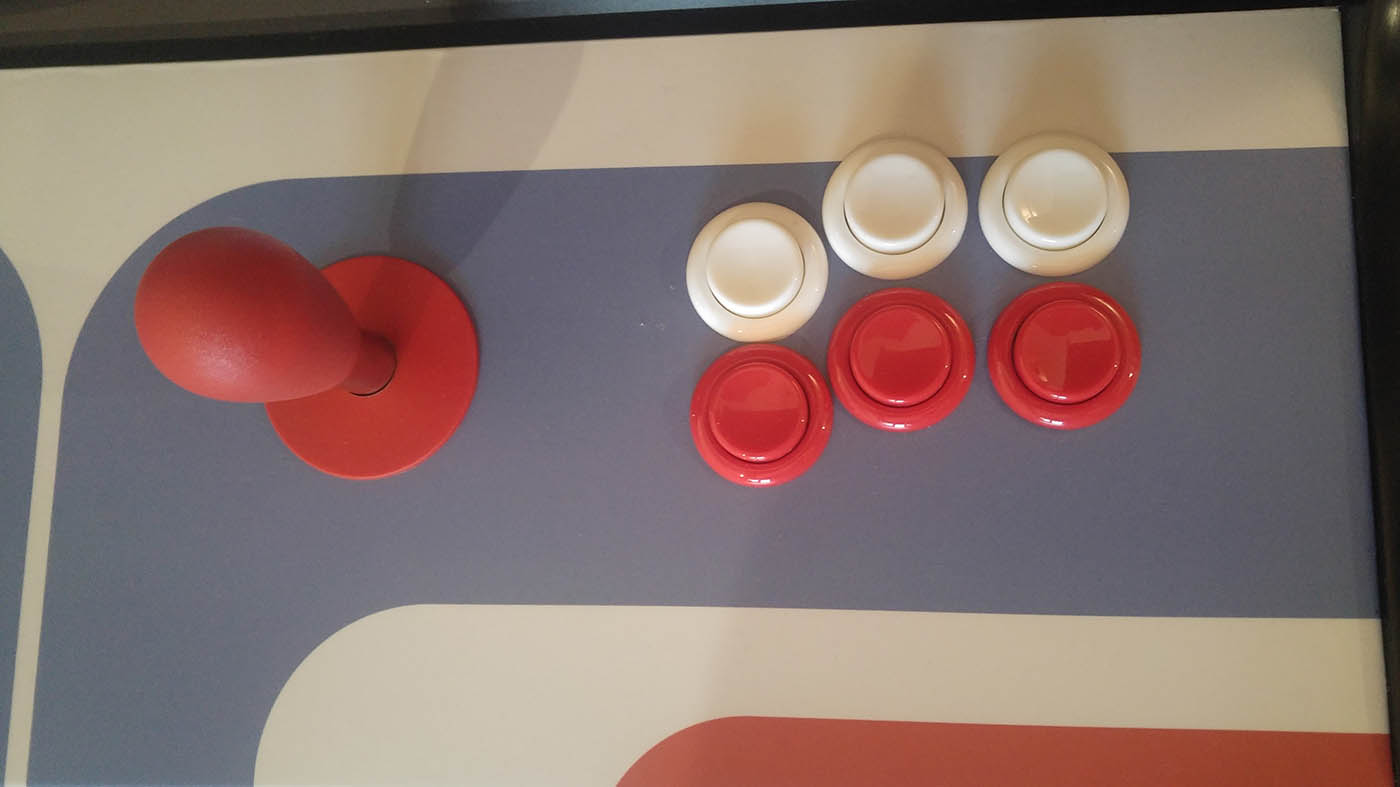
Aligning the control panel artwork
I mentioned this one in the vinyl post, but I slightly rushed this and forgot about the vertical alignment and now the buttons slightly overlap the blue stripe instead of sitting perfectly inside it. It doesn’t affect the look hugely and not many people would notice it but it’s still something I’m a bit annoyed about not spotting while I was doing it.
TV remote control
I forgot to check on the TV if there was a manual button to switch to AV mode, and there wasn’t, so I was scrambling to find a remote control online in order to get it in time for my party. I know I ended up with a better solution from my neighbour, with my SCART switching power supply, but I should have been more aware of this issue during the build.
Bezel
I still think the bezel is possibly the hardest part to get right of a CRT arcade build. I just need to spend more time trying to get the curves right to build a better one of my own.
T-moulding
I perhaps just slightly rushed this as there are two bits where it doesn’t quite sit 100% flush. You just need patience as you go round.
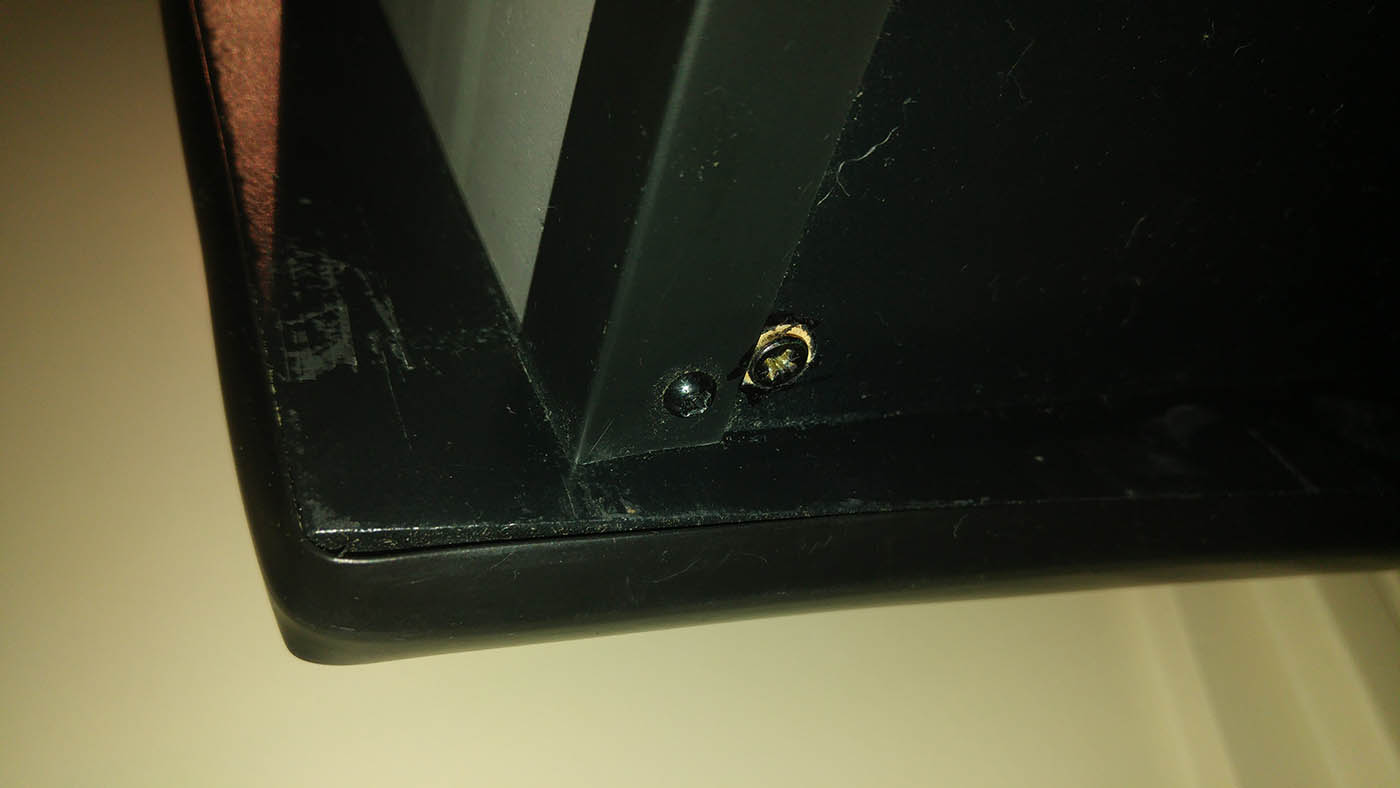
Screws a bit misaligned in the marquee
When I was screwing the speaker grill into the batons I wasn’t thinking about how I would be securing the marquee later on and I ended up putting screws too near the front. When I came to screwing in the marquee support it ended up slightly covering one of screws in the speaker grill and it means I can’t cover that screw with a cap now. A reasonably minor issue but it’s an example of the sort of thing that can catch you out if you’re not planning everything ahead.
Batons leaving shadow in marquee
Like I explained in the post about the marquee was how the batons got in the way of the light and you can see them from the front of the marquee. Still not quite sure how to get around that one!
Control panel too snug for the overlay
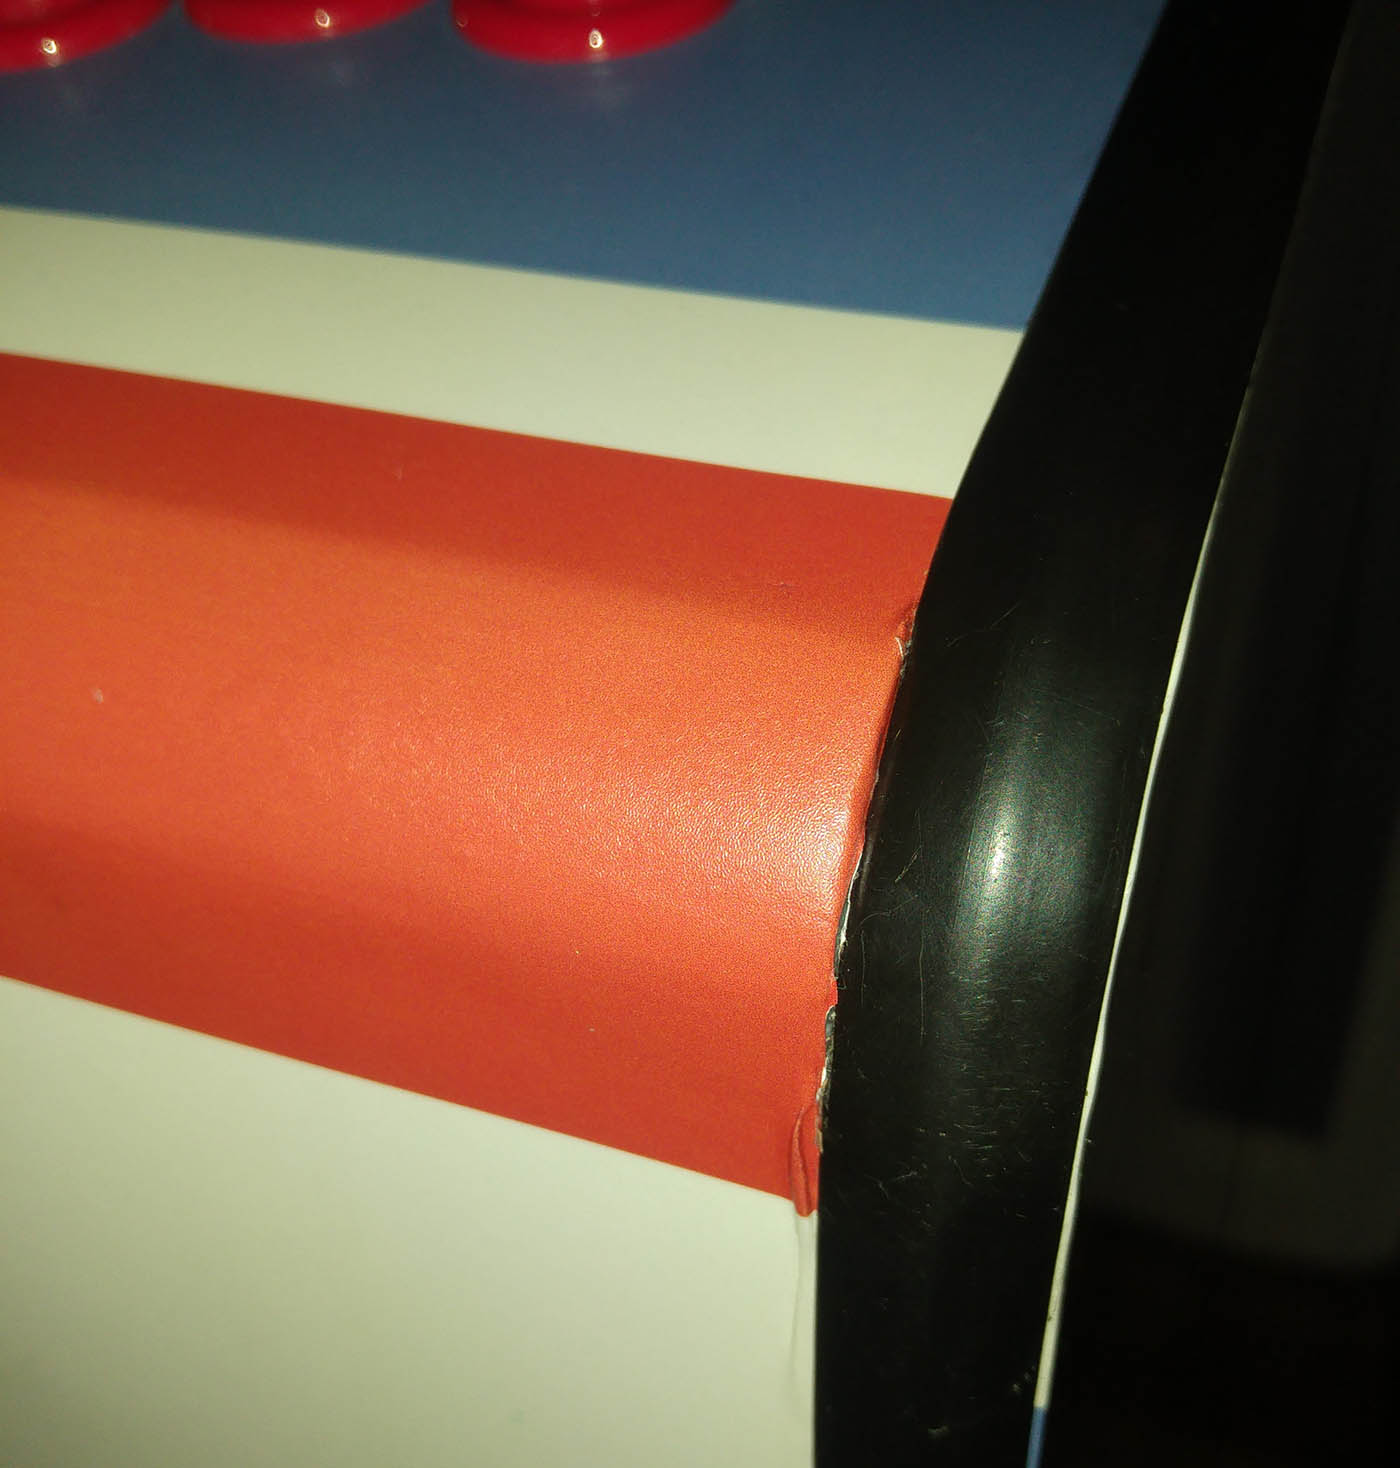
I measured everything very carefully and it once the wood stage was all built it all fitted absolutely perfectly. What I hadn’t really catered for, however, was that the vinyl on the control panel adds a millimetre or three onto the total width, and the t-moulding also sticks out ever so slightly, so what was perfectly snug now becomes every so slightly too tight. It’s not been too bad but the control panel vinyl did get a little bit ruffled around the edges in places.
I can’t really think of anything else. I’m quite a meticulous planner so that certainly helped me catch most issues before they happened. All the above are pretty minor issues anyway, and are just things that I would try to watch out for next time around.
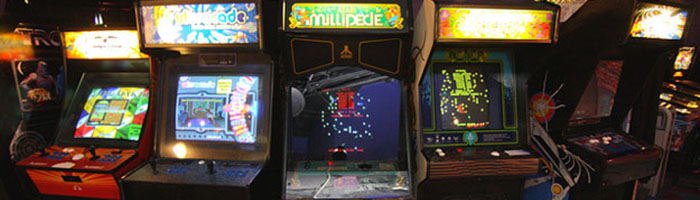
Here’s a list of all the posts about my arcade build.
Part 1
Part 2 – Decisions
Part 3 – Cabinet Design
Part 4 – Control Panel Plans
Part 5 – Initial Questions and Concerns
Part 6 – Online Resources
Part 7 – Cabinet Plans
Part 8 – Buying and Cutting the Wood
Part 9 – Tools and Materials
Part 10 – Building the Cabinet
Part 11 – Building the Control Panel
Part 12 – Sanding and Painting
Part 13 – The Coin Door
Part 14 – Artwork
Part 15 – Printing and Applying the Vinyl
Part 16 – Adding all the T-moulding
Part 17 – The TV Monitor
Part 18 – Making the Bezel
Part 19 – The Marquee
Part 20 – Installing the Electronics
Part 21 – Setting up MAME
Part 22 – Issues to Watch Out For
Part 23 – The Finished Cabinet
Bill B
Oct 1, 2016 -
Nice cabinet, and some great ideas I wouldn’t have thought of like the hinged control panel, and nice tips on the painting. Planning my own machine currently, really appreciate the effort you’ve put into documenting this!
The solution that immediately springs to mind for your marquee shadowing would have been to route a groove into the surrounding cabinet panels to retain the marquee rather than bracketing it. A bit late now, most likely, for your build.
Retromash
Oct 1, 2016 -
Hi Bill. Thanks a lot for your comments. Very good suggestion about the marquee groove. I’m just now sure how lots of other MAME cabinet builds that I researched had the batons for their marquee and I don’t think they had shadowing. Maybe they just gave the marquee a border which covered up this baton area. I’ll maybe see if I can make some modifications to apply your suggestion. Thanks again.
David Andrew Marchant
Aug 26, 2020 -
To get rid of the shadows you can place a couple of fresnel lenses behind the marquee.
That way it gets all the light. And they are cheap to buy and easy to cut.
Retromash
Aug 26, 2020 -
Great idea. Thanks a lot David.