
The marquee was another area that I had problems researching how other people had done it, and the arcades that I saw down our local seafront all seemed to be made in different ways. So I kind of had to work out for myself how to do this part. A lot of it was also hard to pin down until I had actually built the rest of the cabinet.
Obviously I placed batons above and below where the marquee was going to go, as per most people’s designs online. I also worked out the dimension of the perspex I was going to need. My main thing I wasn’t sure about was how to attach the perspex and marquee artwork on there.
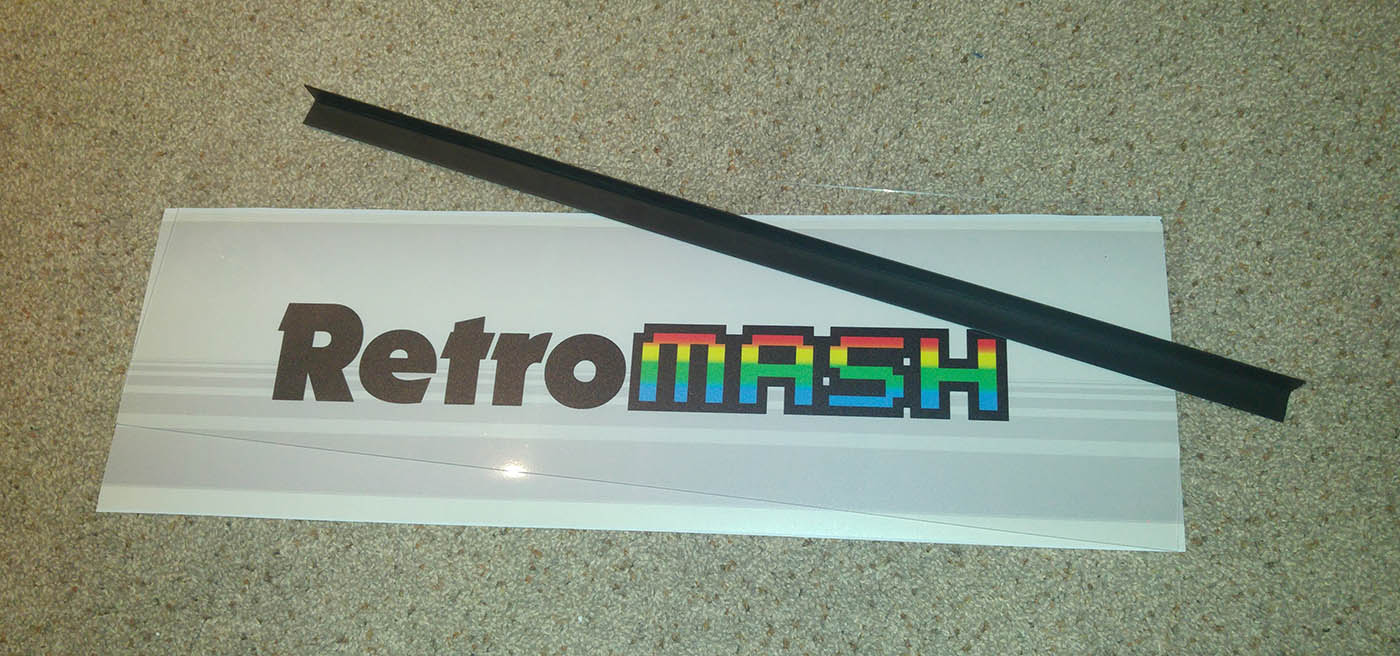
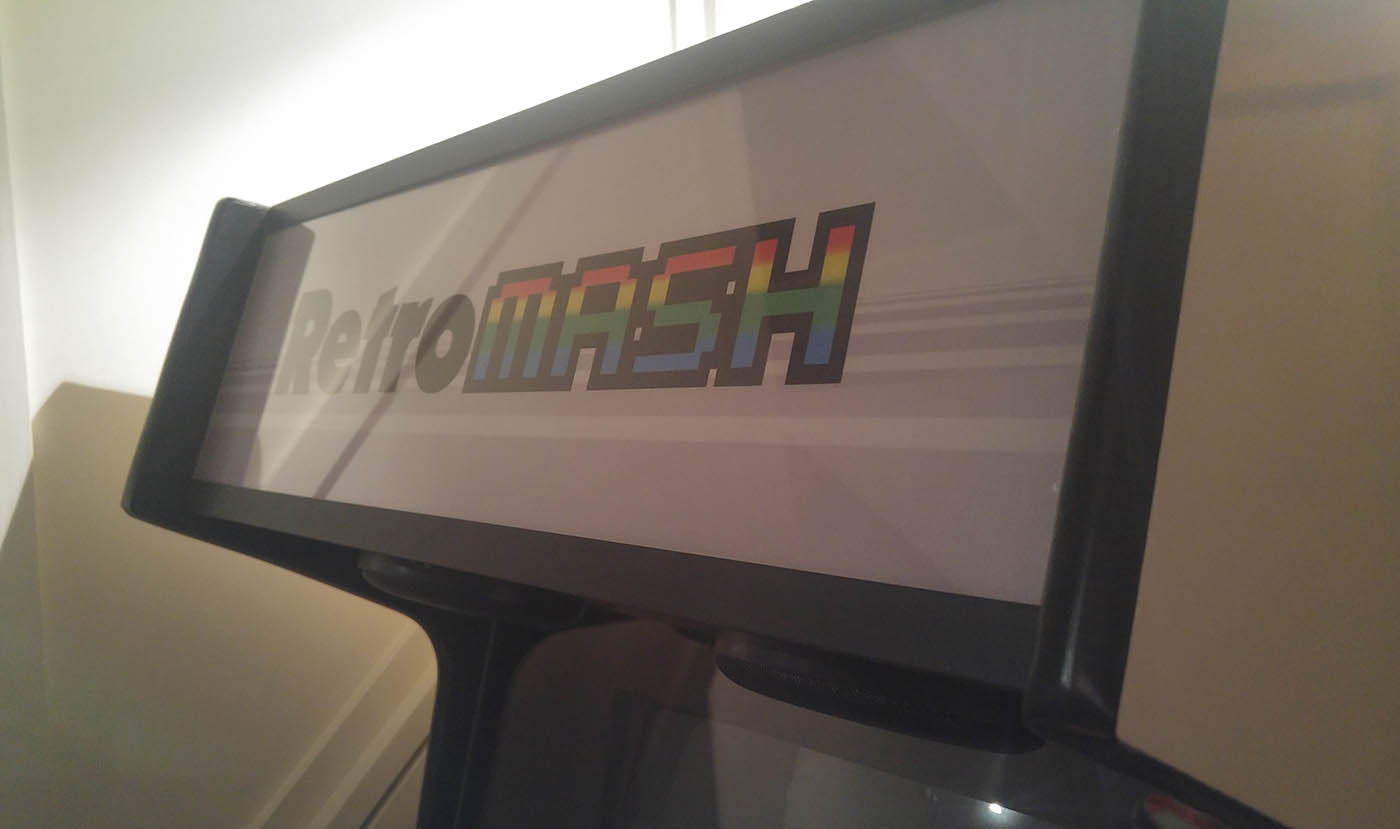
I’ll talk first about the perspex and the artwork. I got two pieces of perspex, both 2mm thick, cut to the dimensions that I had worked out. The next question was the artwork. I wasn’t sure how to print this. Some people say they get their artwork printed onto the perspex itself, but I was just wary about that because I wasn’t totally 100% sure that my perspex measurements were right. Other people just said they printed it out on normal paper and put it between two sheets of perspex, but I thought it might not look as good. I ended up finding a local printer who could print onto light box film. It’s the kind of stuff you get those modern bus stop adverts printed on, where the advert poster is placed over a big light box. It arrived very quickly, only cost about £10 and looked absolutely perfect.
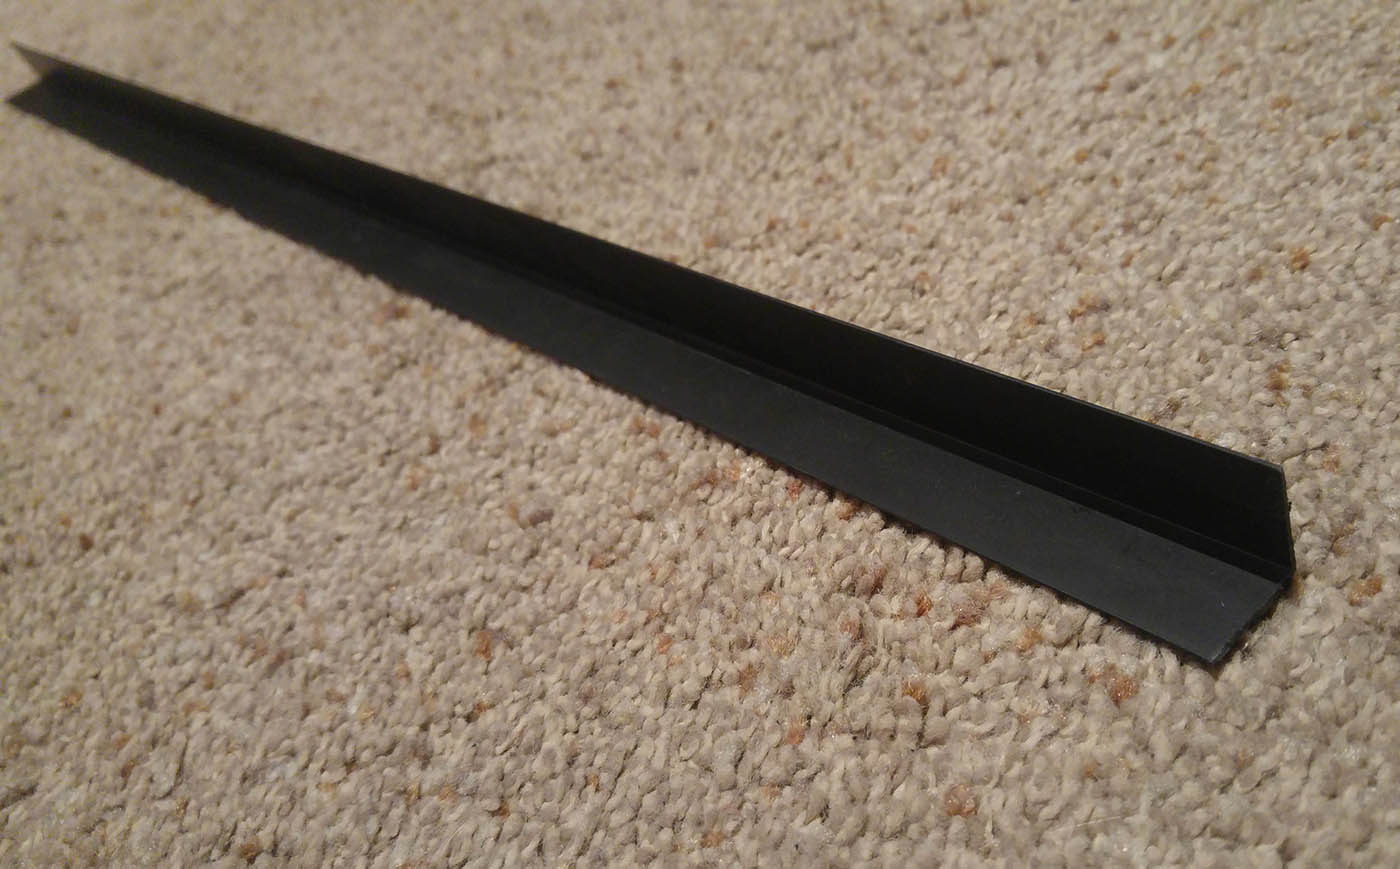
Now I had all the elements and knew how thick they were etc I knew how I was going to attach them. I went to B&Q and got some black plastic angle strips. I’m not sure what you call them but it’s basically a 90 degree L-shape, like an angle bracket, but you buy it in metre long strips or longer. I bought a long one and then cut it down to the exact size I needed using a little hacksaw. I just held the perspex in place with this angle strip under the bottom edge and screwed it in place. Then I just added the top one easily to finish it off. The two panels that make up the top of the cabinet and the speaker grill are both not quite at right angles to the marquee. It wasn’t really an issue though as the plastic angle strip is pretty flexible and I just had to put in screws far enough to hold the marquee in place. The shape adapted enough and was strong enough. It worked really well and looks fine for my tastes.
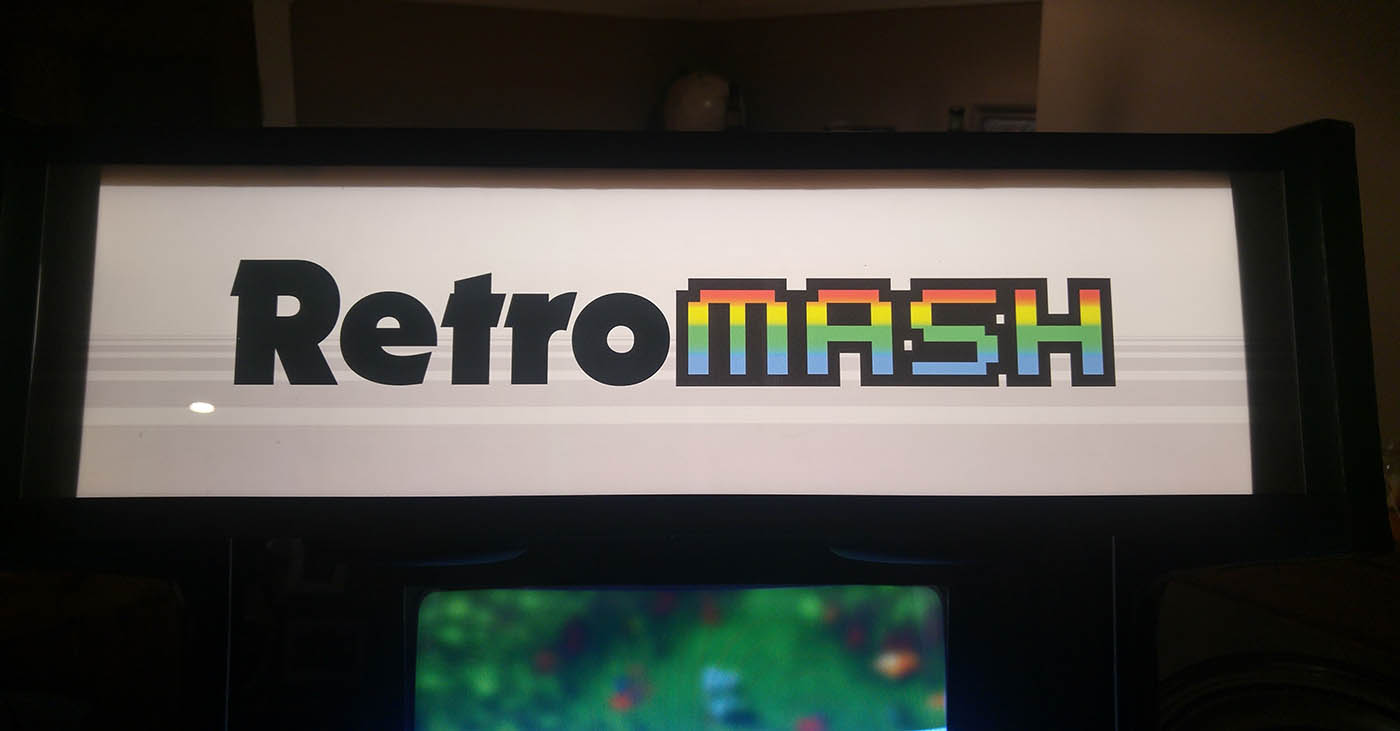
The one bit I wasn’t totally happy with, and to be honest I’m not totally sure how I would do it better next time, is the fact that you can basically see the ends of the batons at the top and bottom of the marquee on each side. The batons that the top and speaker grill attach to. They block the light and therefore you see big dark patches where those batons are. I could perhaps shorten these batons and somehow still attach those panels on, and then bring the light forward in the cabinet so that it is able to shine all the way to the front. It did look very strange and I actually had to put more bits of wood behind the marquee to join up the gap so that there is now a full vertical column of wood you can, instead of two bits at the top and bottom. I made the dark area bigger but so that it wouldn’t stand out as much. It’s not ideal but again not many people notice it because they’re not looking out for it.

The other crucial part of the marquee of course is the light, but I will mention that in more detail in the next post about electronics.
Here’s a list of all the posts about my arcade build.
Part 1
Part 2 – Decisions
Part 3 – Cabinet Design
Part 4 – Control Panel Plans
Part 5 – Initial Questions and Concerns
Part 6 – Online Resources
Part 7 – Cabinet Plans
Part 8 – Buying and Cutting the Wood
Part 9 – Tools and Materials
Part 10 – Building the Cabinet
Part 11 – Building the Control Panel
Part 12 – Sanding and Painting
Part 13 – The Coin Door
Part 14 – Artwork
Part 15 – Printing and Applying the Vinyl
Part 16 – Adding all the T-moulding
Part 17 – The TV Monitor
Part 18 – Making the Bezel
Part 19 – The Marquee
Part 20 – Installing the Electronics
Part 21 – Setting up MAME
Part 22 – Issues to Watch Out For
Part 23 – The Finished Cabinet
Building a Home Arcade Machine – Issues | Retromash
May 31, 2016 -
[…] leaving shadow in marquee Like I explained in the post about the marquee was how the batons got in the way of the light and you can see them from the front of the marquee. […]
Mike
Jul 6, 2018 -
I am having a hard time finding the Retro font type. I swear it looks so familiar but it’s just not ringing a bell to me. Any help?
Rayfreeman
Jun 19, 2019 -
Arcade machines are a much safer than a home gaming console’s the should put the gaming console company outt- of – business than start opening up more arcades and start making more arcade cabinets when i’ve was a little kid at the time I’ve was about 8 years old when I’ve started playing at arcades
Al
Jul 20, 2021 -
For the marquee use smaller battens mate preferably square battens, also arcades have a white wood board sat back about a foot which fills the entire marquee section which the strip light is bolted onto this distributes the light evenly and wont show the battens.
https://flic.kr/p/2kwEGx9
Megalocade
May 7, 2022 -
Always leave about an inch and half space between the end of the battens and the Marquee Plexiglass this will be enough for the light to get in there and light the Marquee fully, also dont go any bigger than 20mm for battens around the Marquee.