

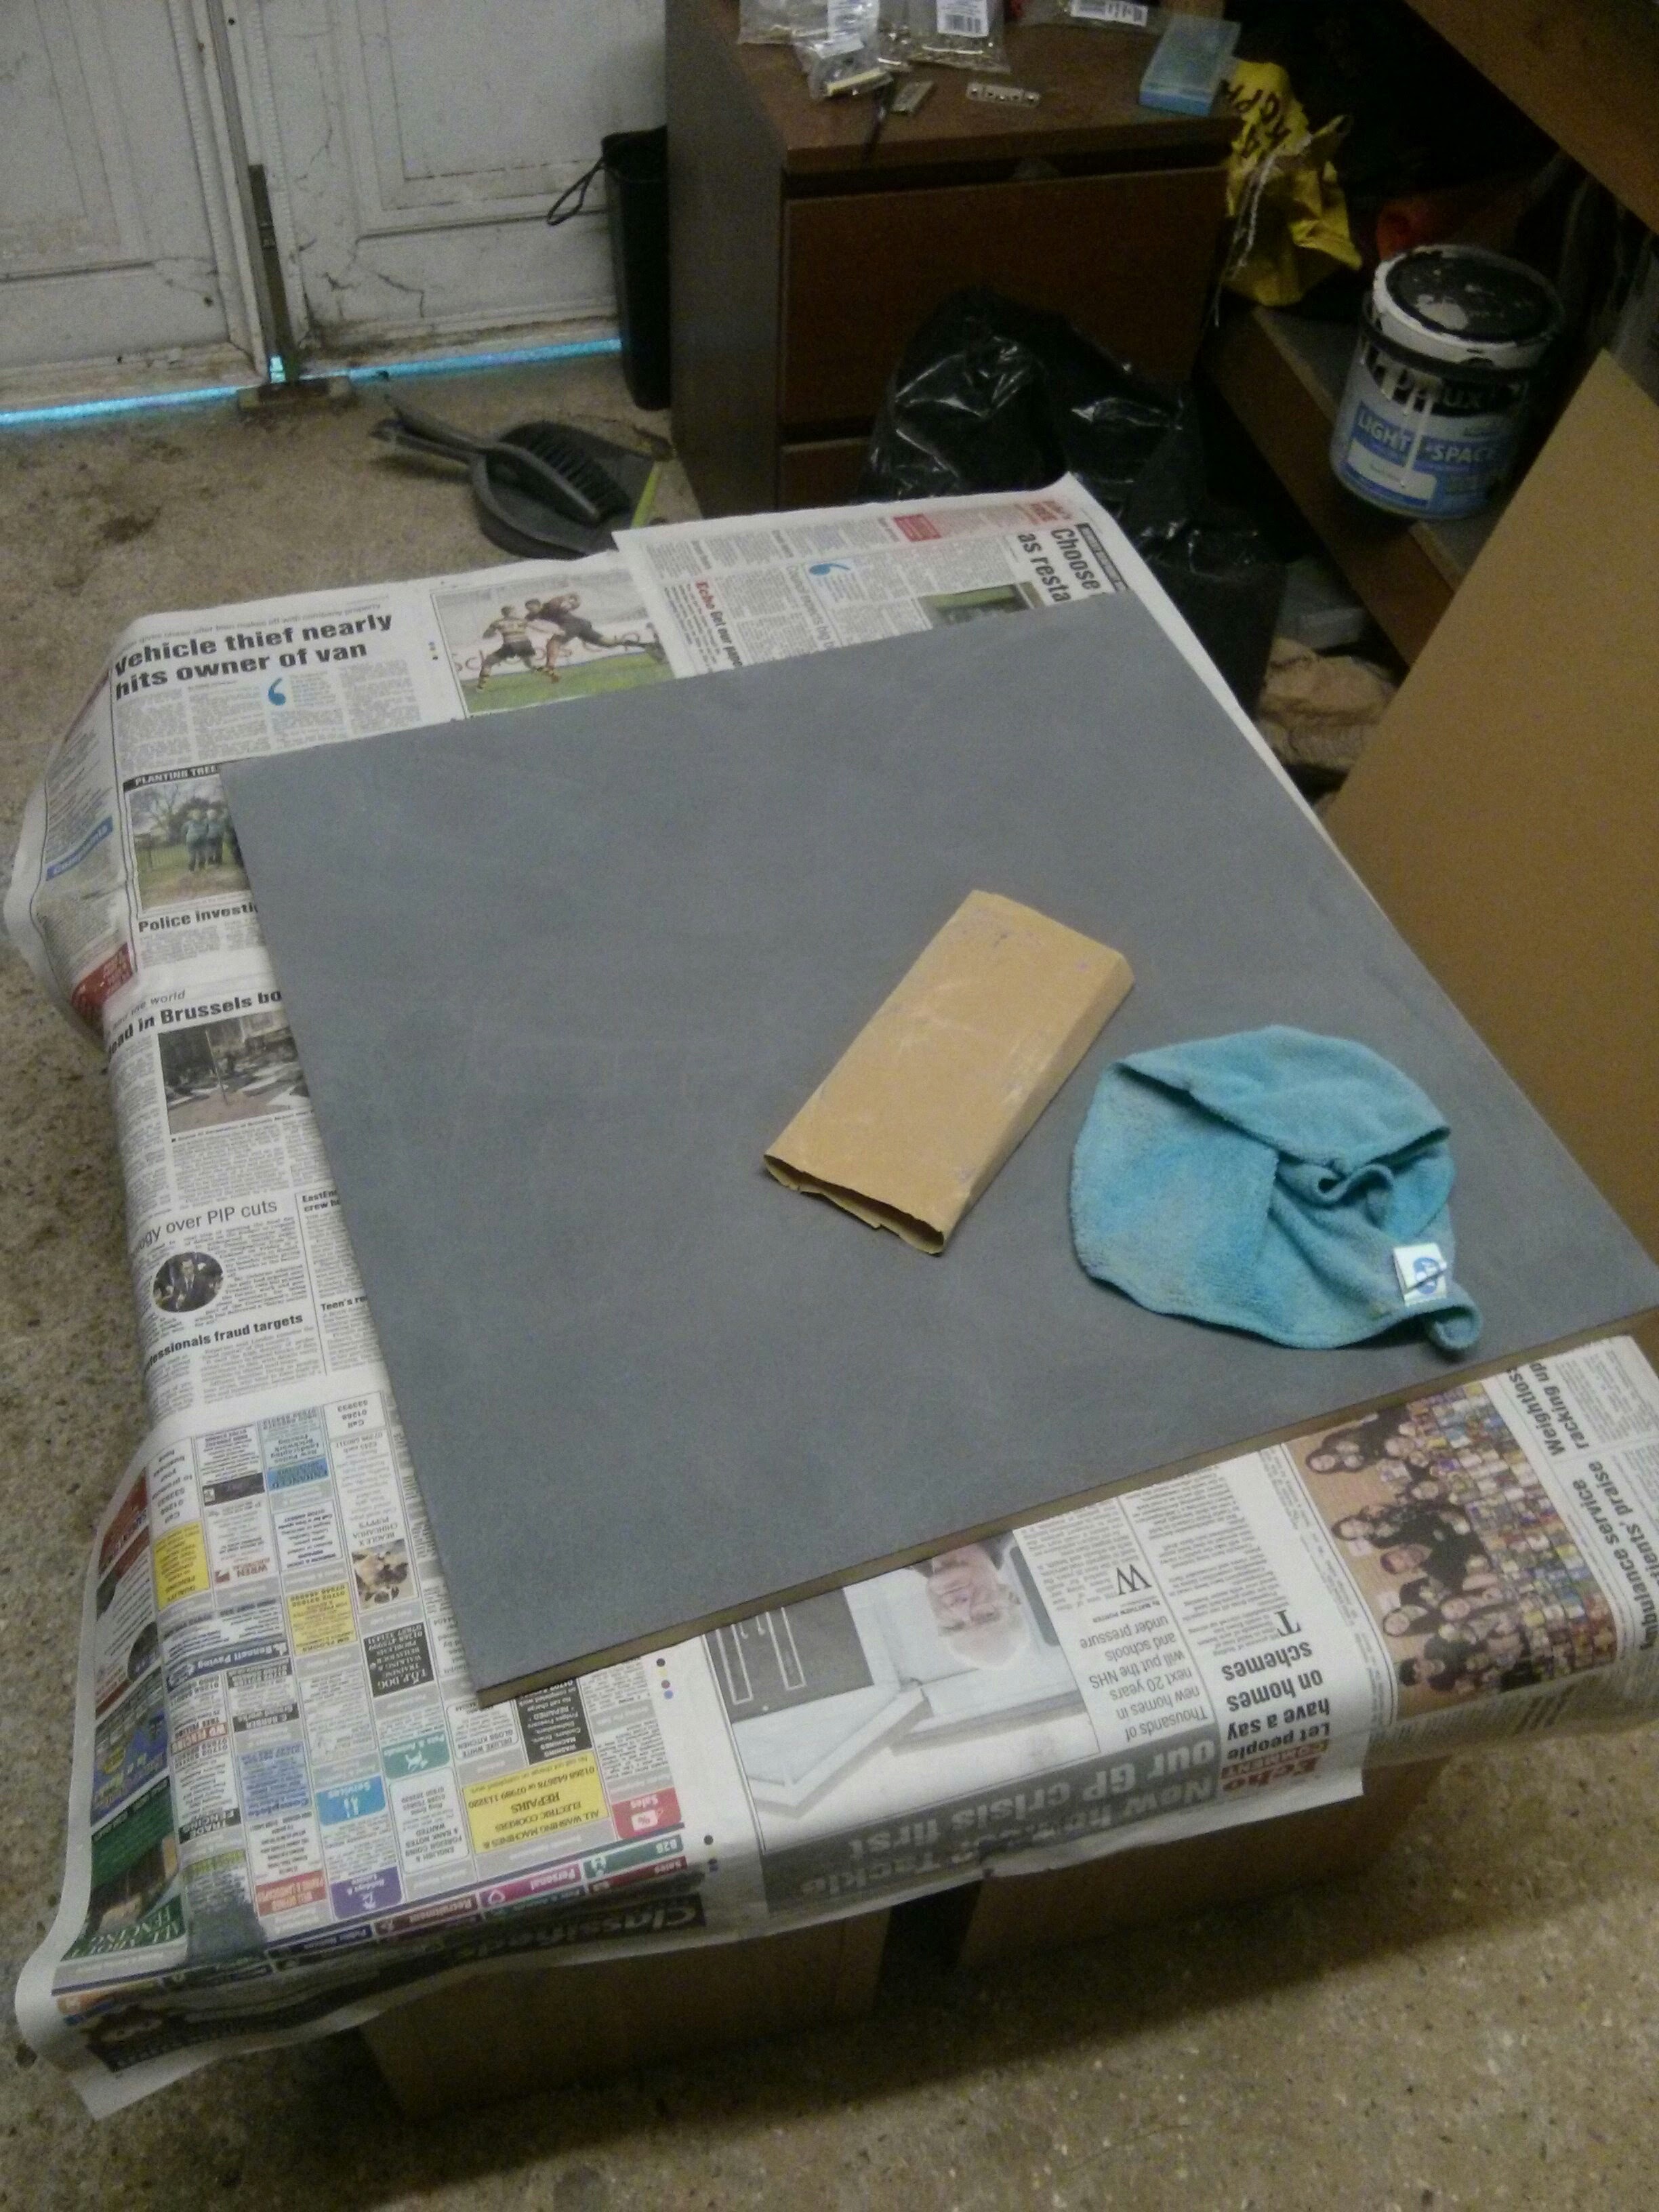
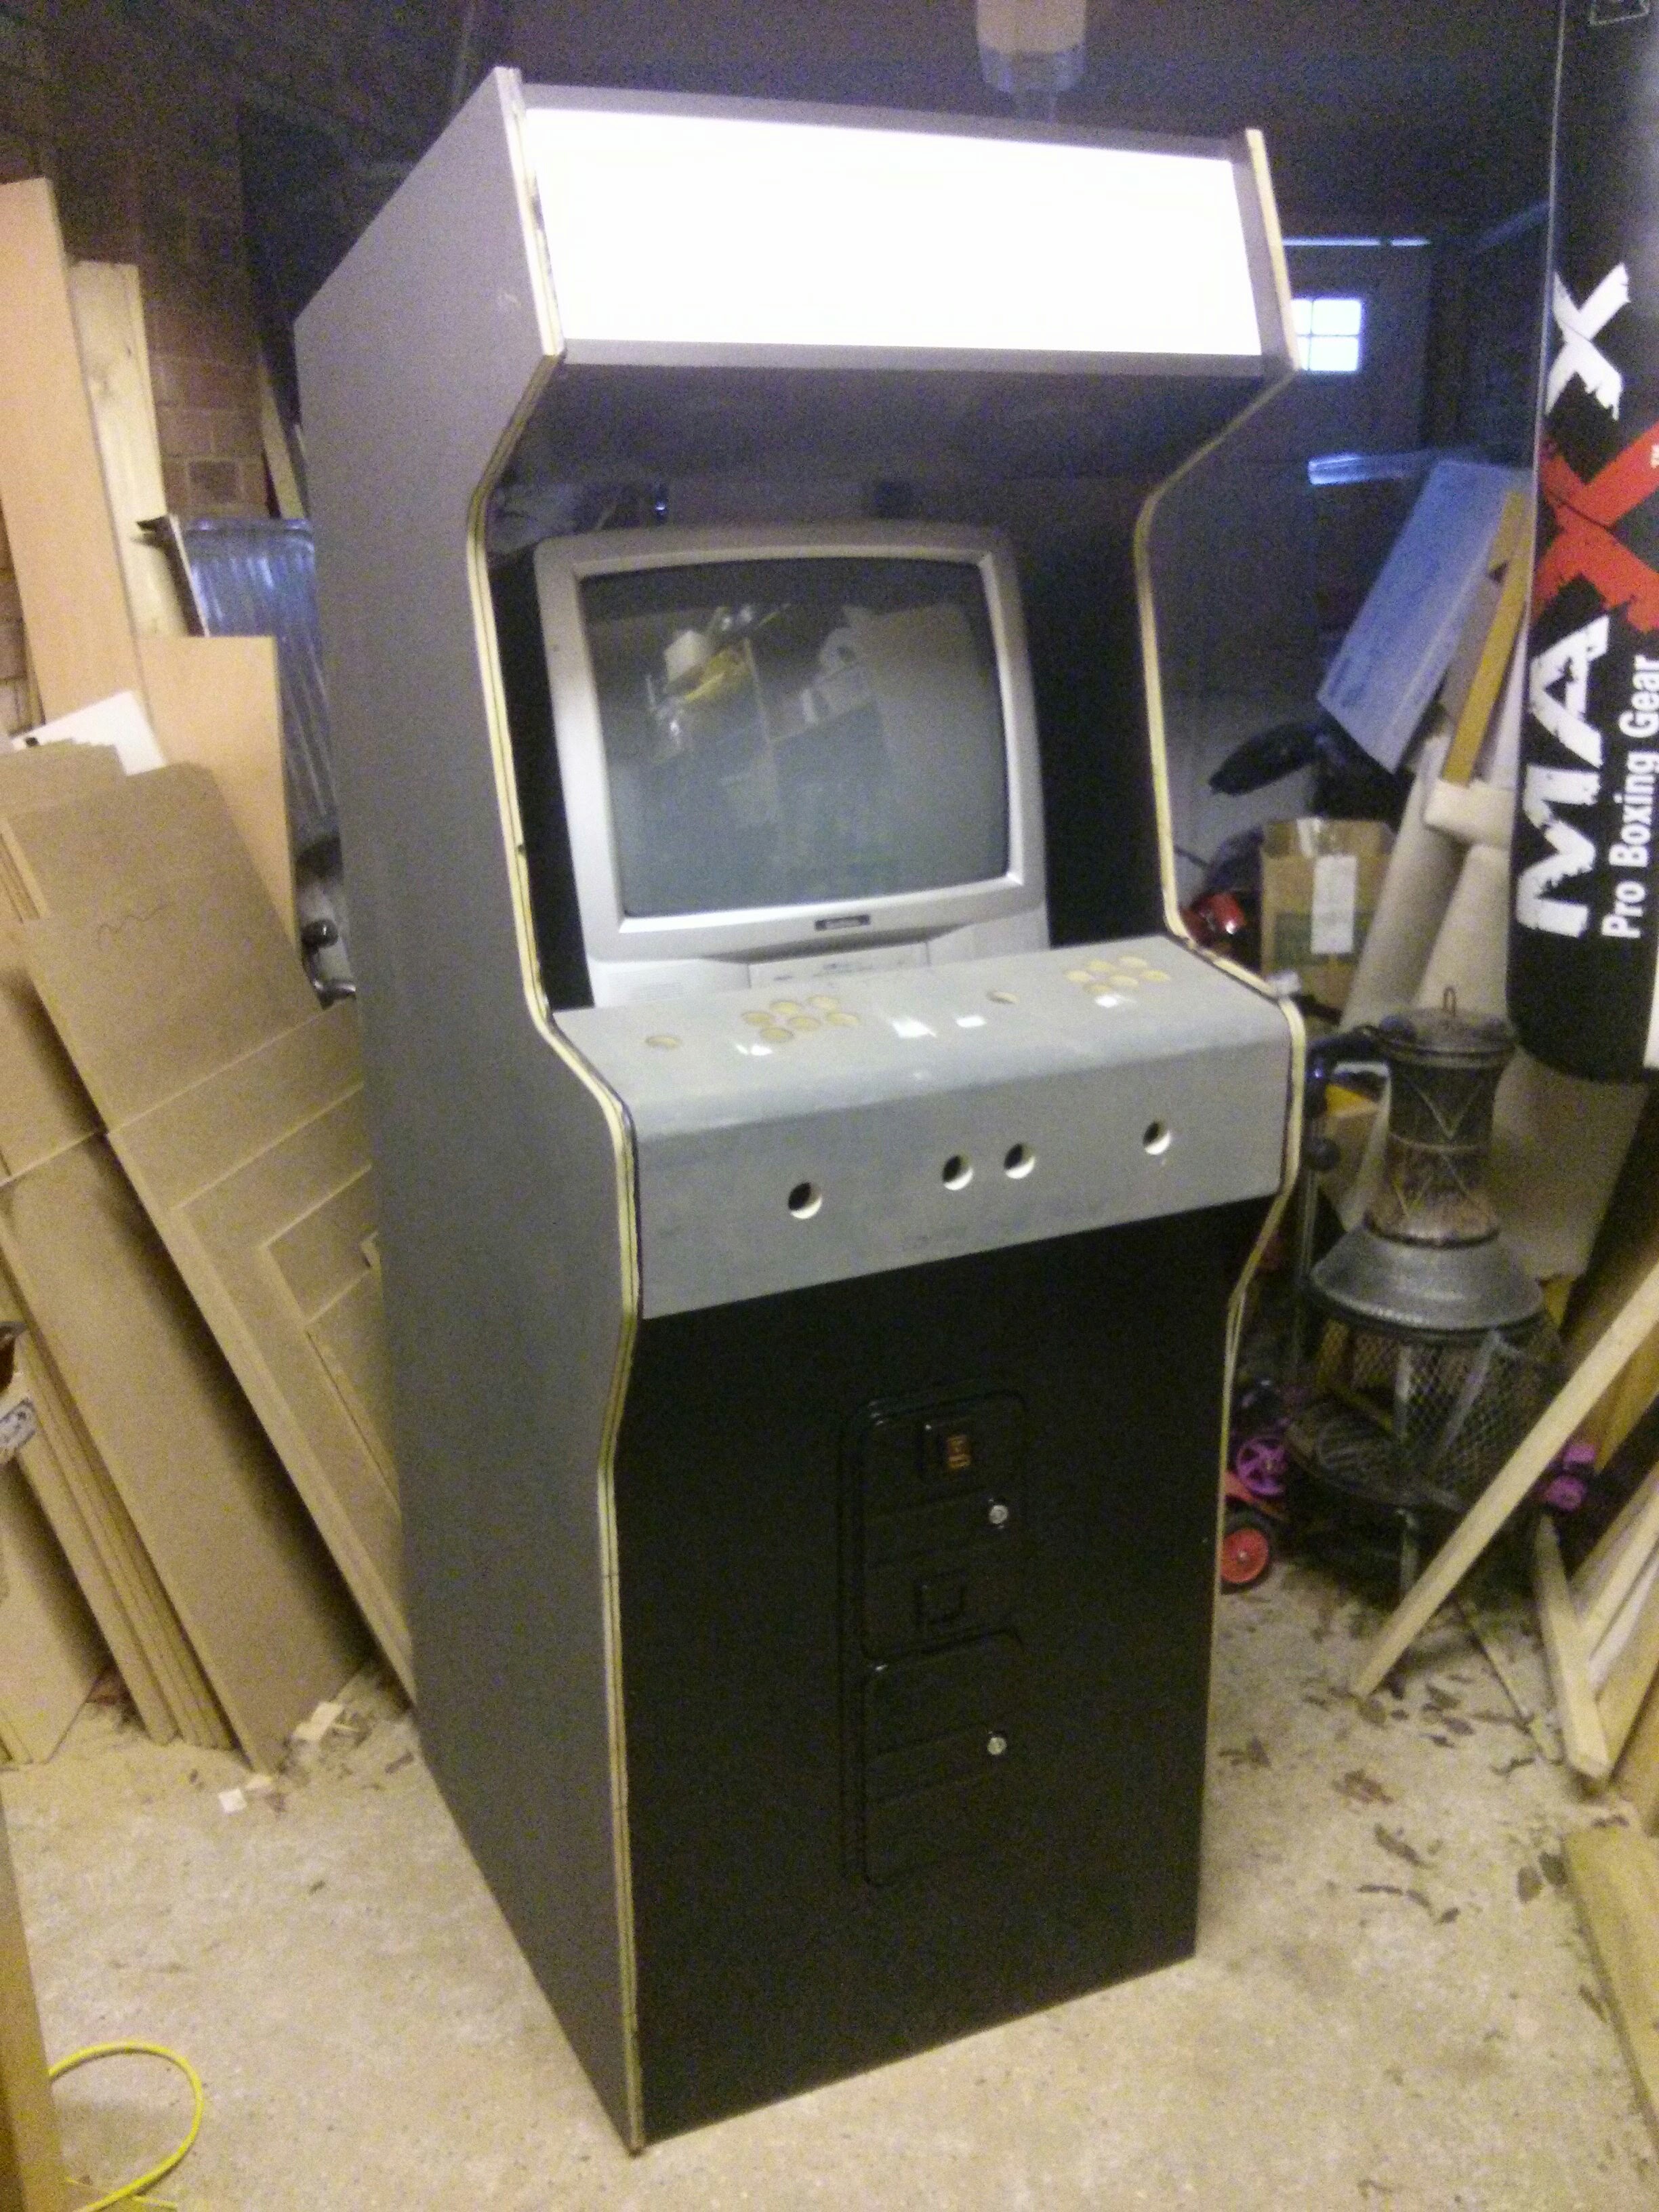
The arcade machine was basically all built at this stage and I had to prepare it for painting. Before doing my research I would probably have just painted it there and then, after maybe giving it a quick sand down very roughly. But the more I read, the more people were all saying how crucial the sanding process is. I really did learn a lot about sanding during this build. Before doing this I had only really ever bought ‘Rough’, ‘Medium’ and ‘Fine’ sandpaper, without paying any attention to the grit number on the back (roughly about 40-120 for those standard ones). But for this project I ended up getting higher grit numbers up to 1000. More on that later.
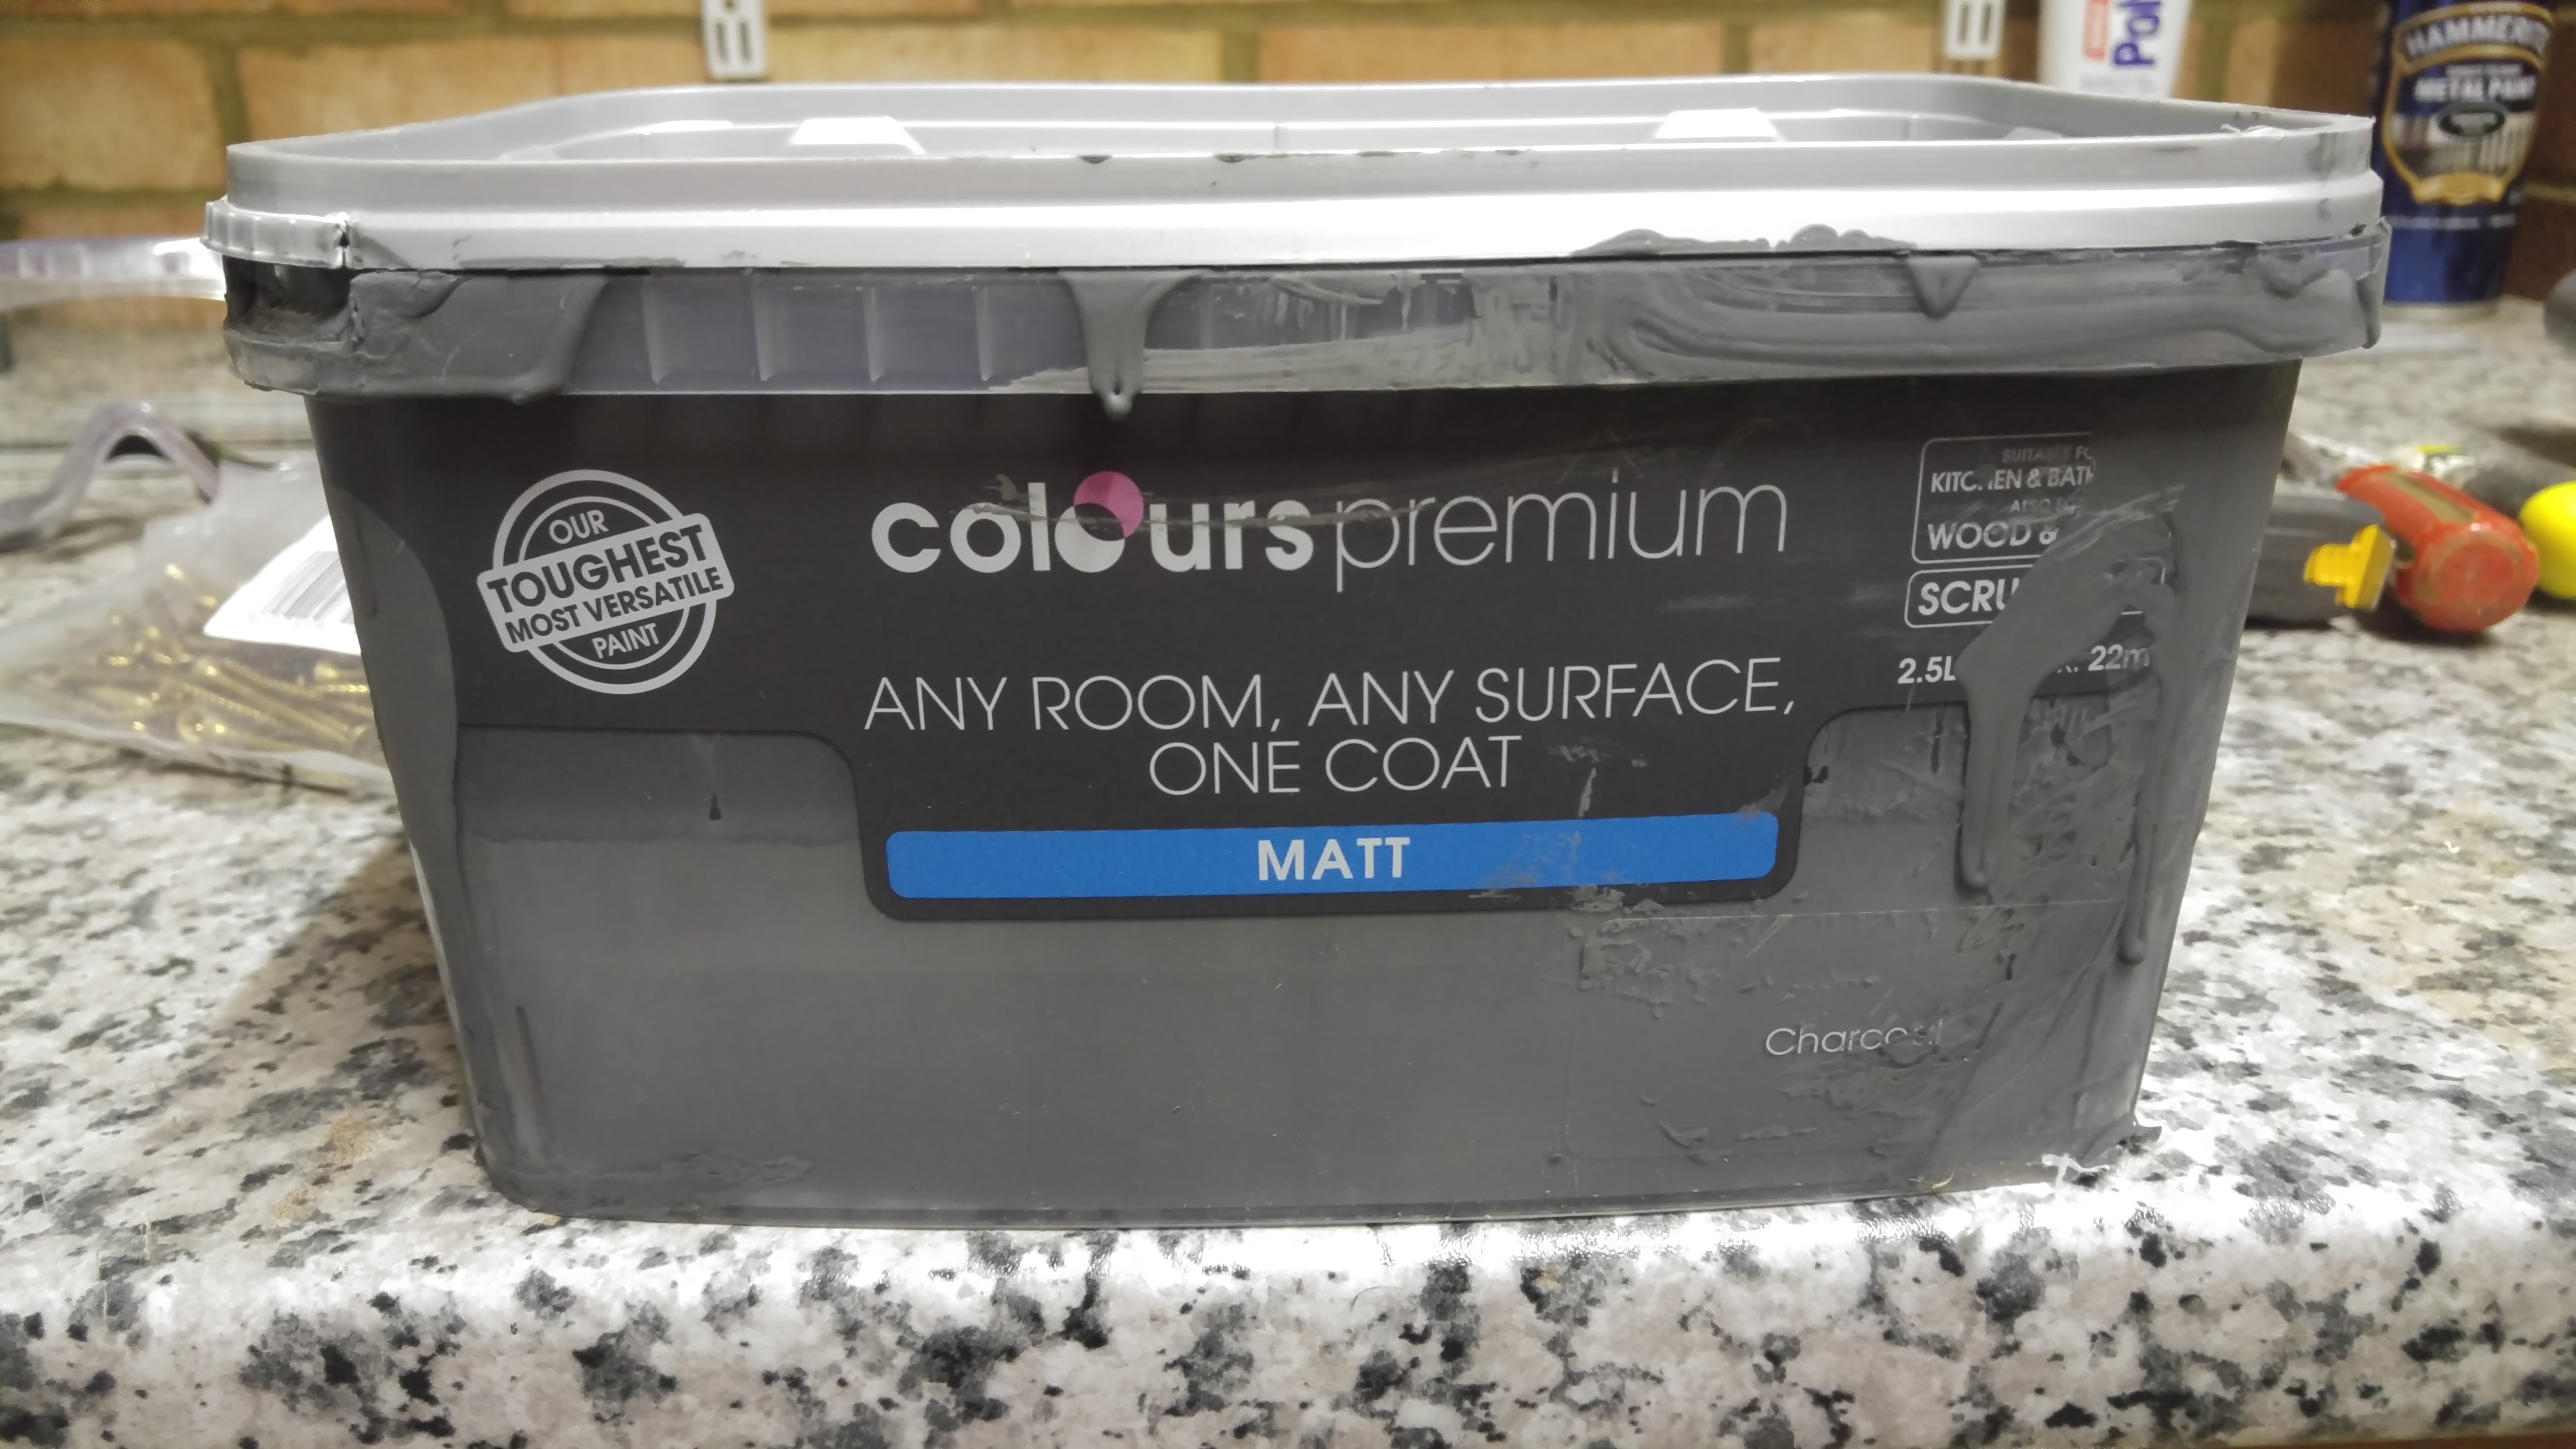
I had also researched a lot about the paints online. Many other people had strong opinions about what sort of paint to use on MDF and what not to use if you were applying vinyl stickers on top. Many said that water based paints would make MDF swell, or water based paints or paints with silicon (I think) wouldn’t allow vinyl stickers to stick properly to them. Most people recommended specific oil based paints. Some felt very strongly about it. But despite all these warnings I always found some people who said they used water based paints and everything was totally fine. So I ended up going for water based paints because it was just easier all round.
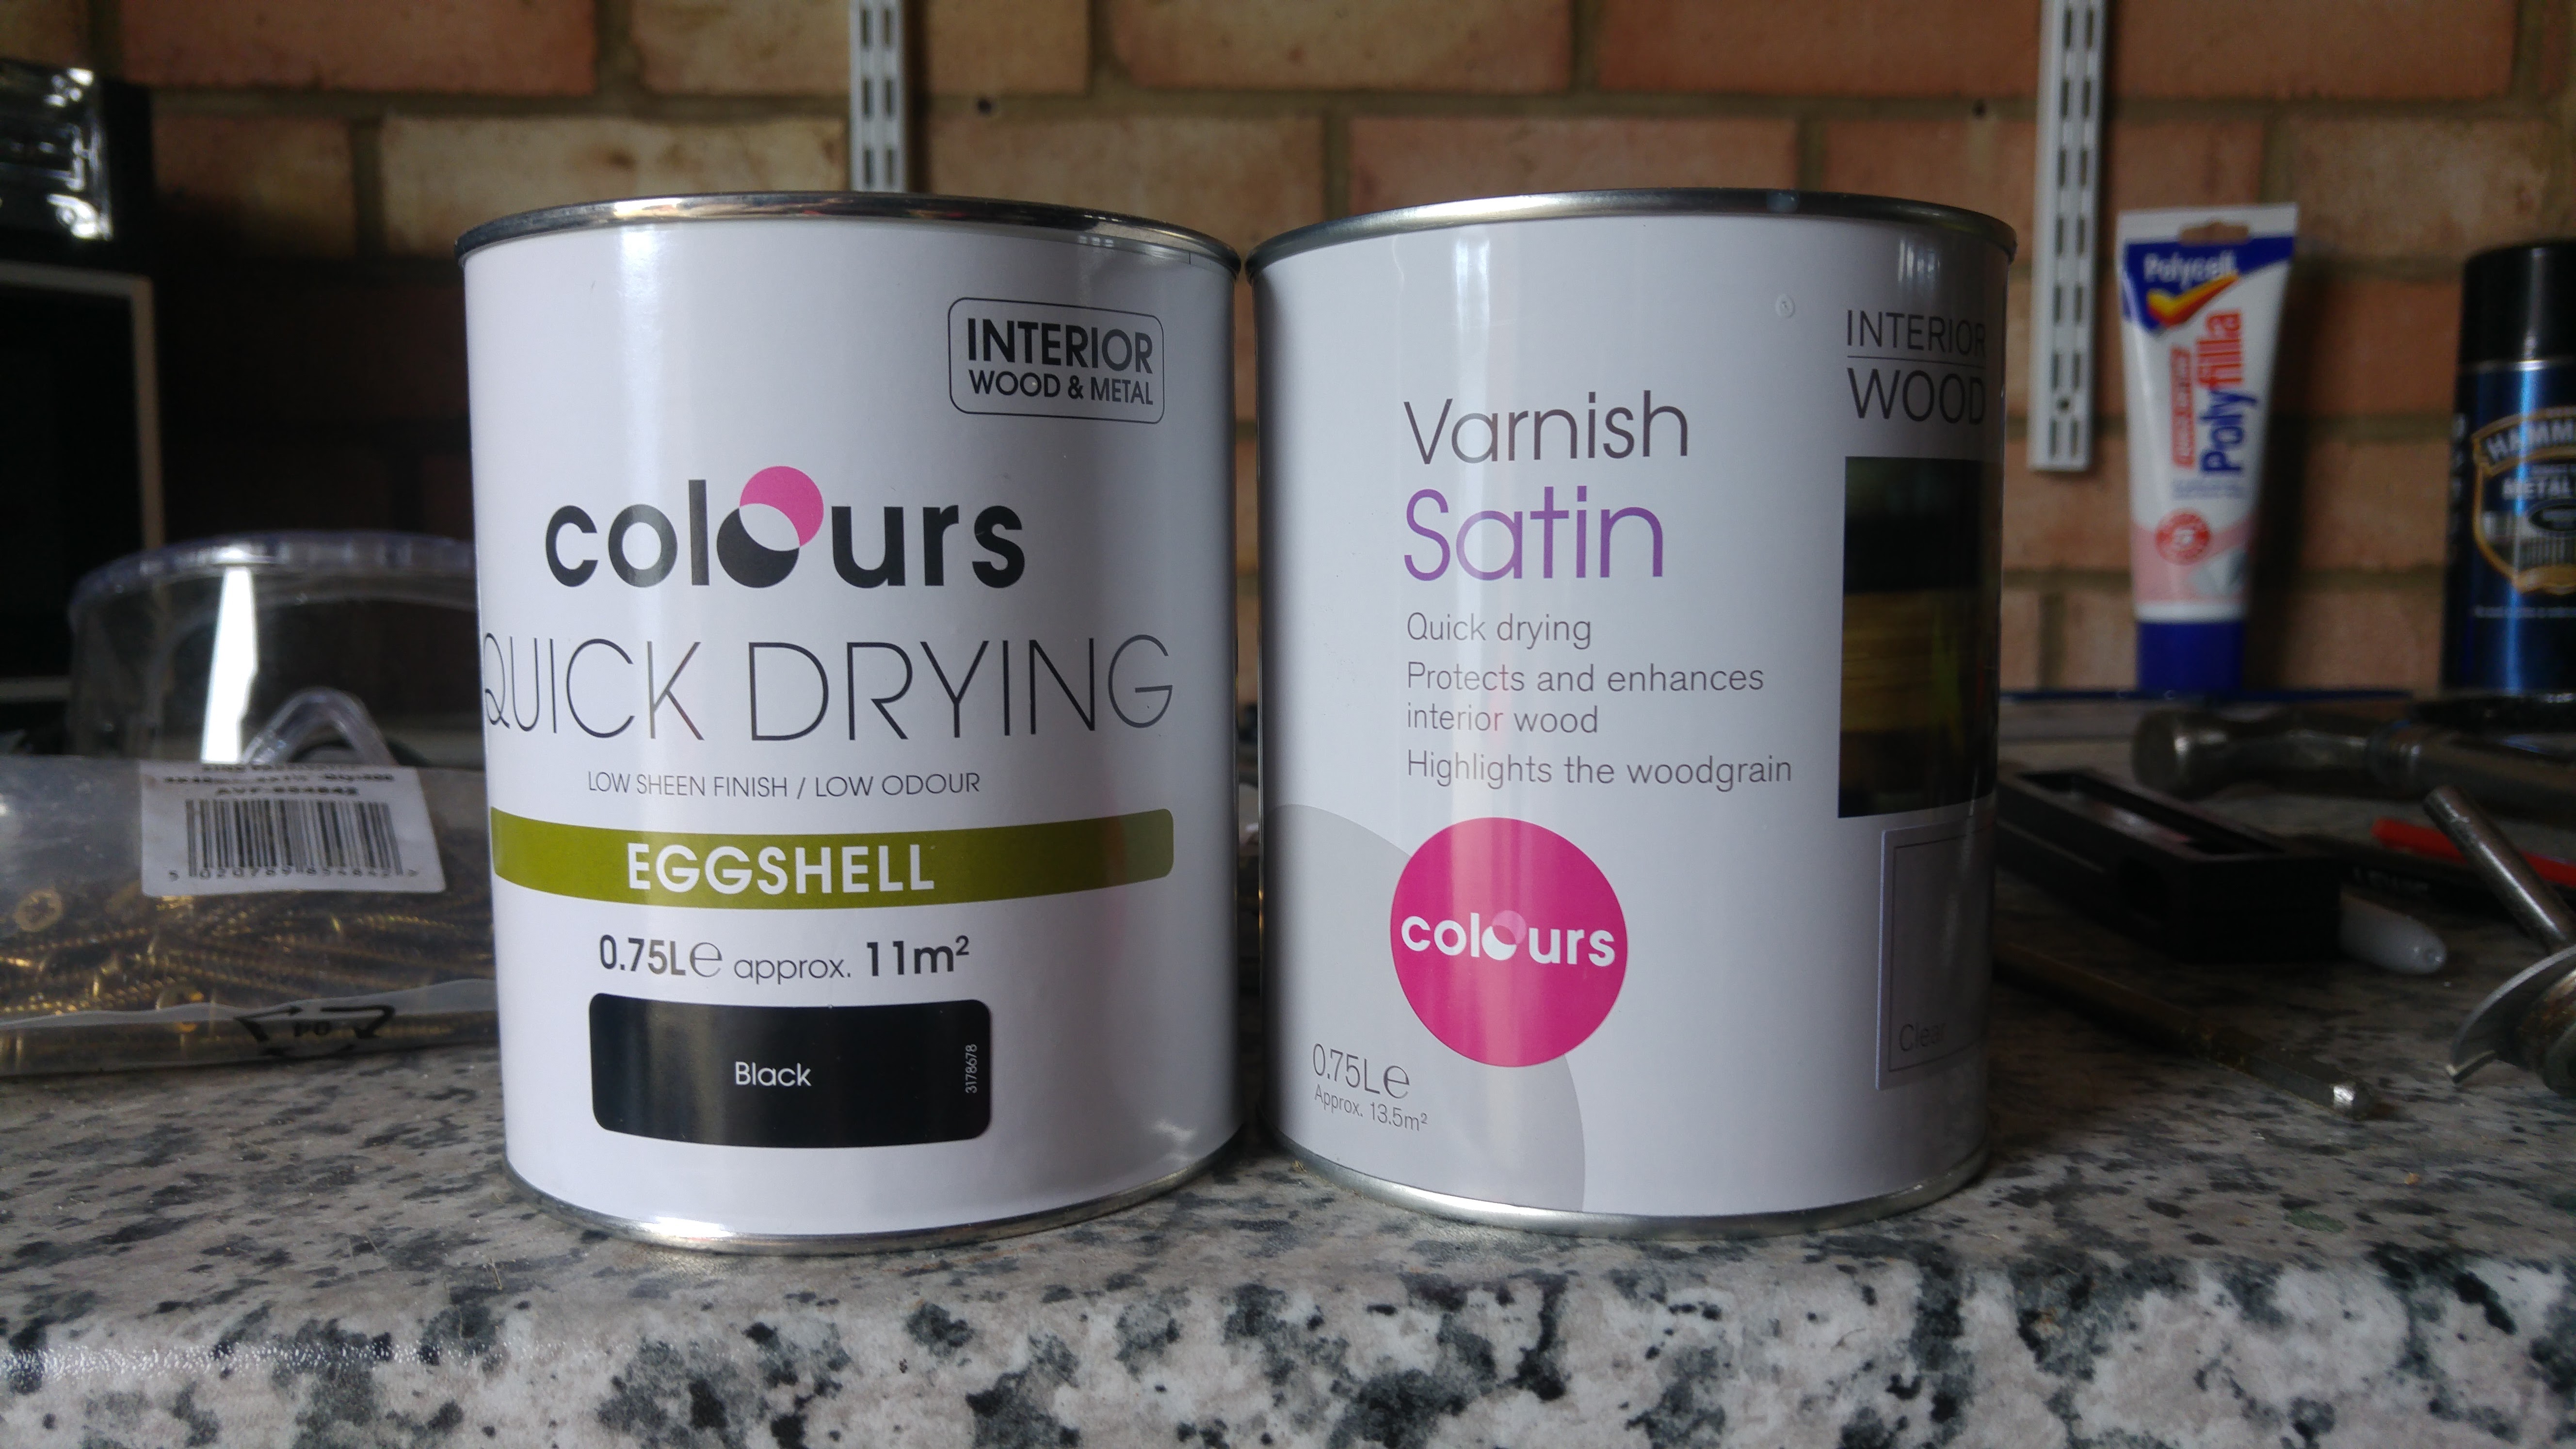
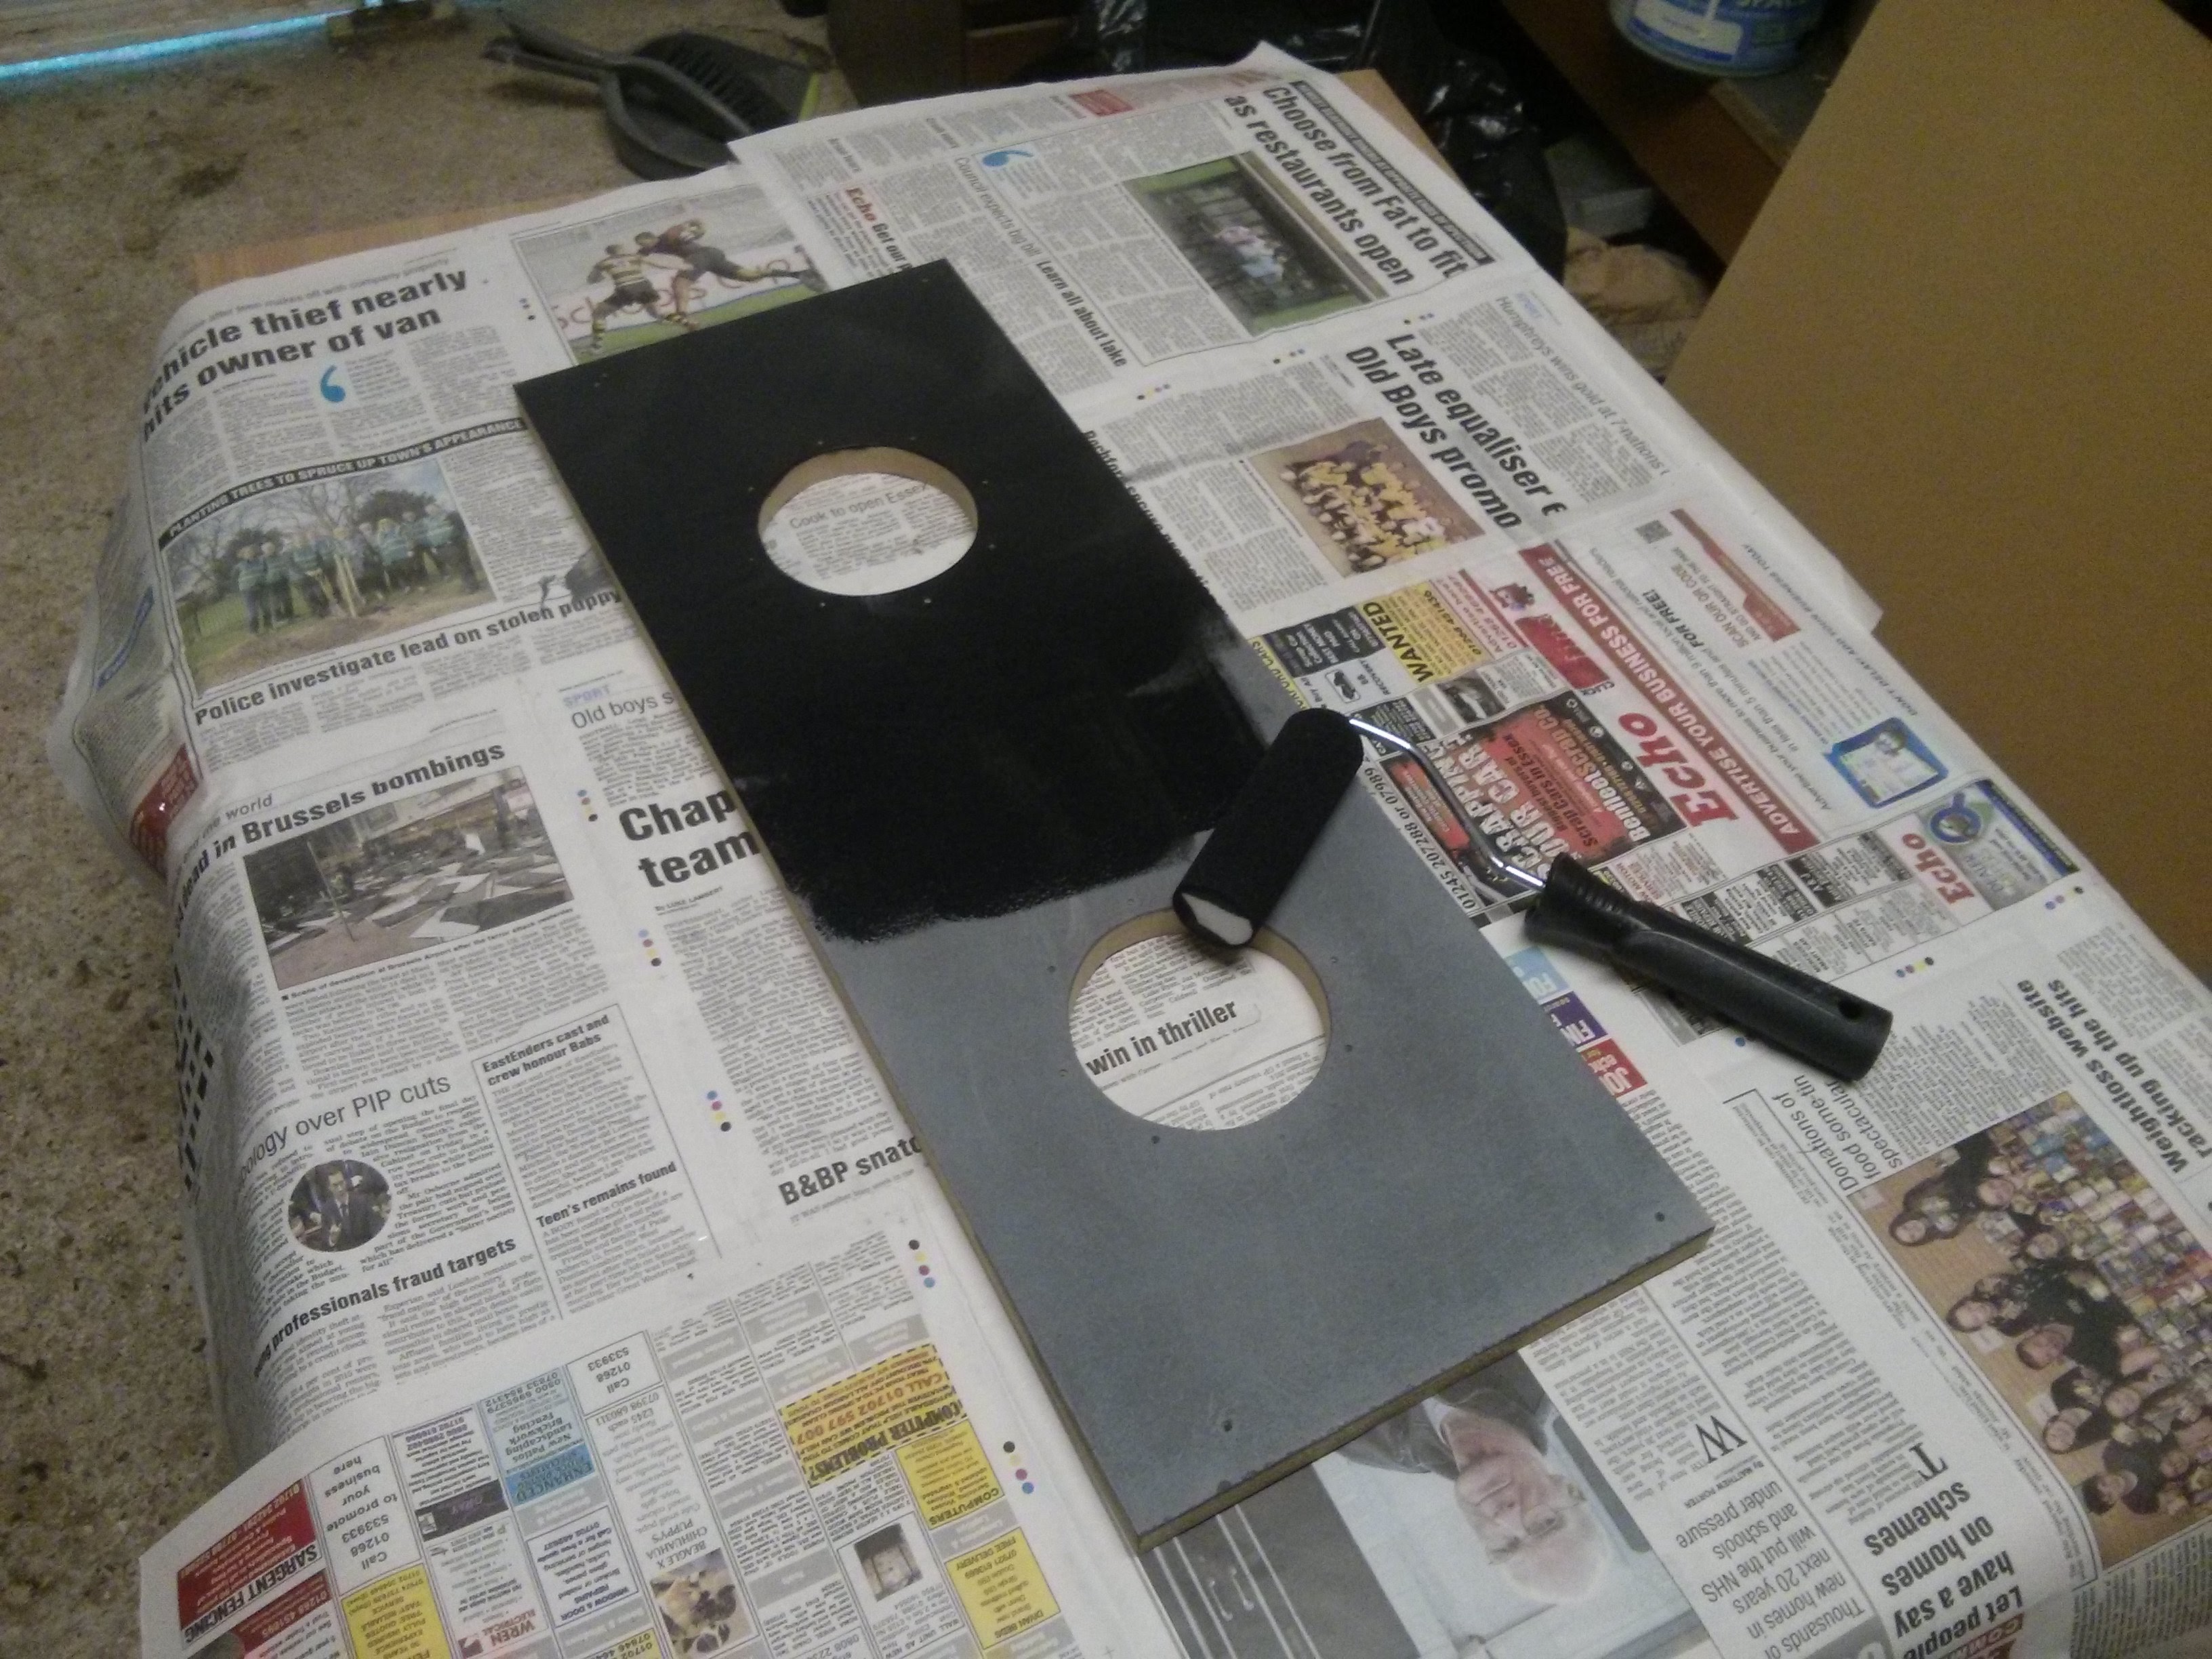
Some people had also said you should apply 2-4 coats of primer and then 4-8 coats of your top coat paint. I really felt that this was slightly over the top for my own requirements, particularly as some people even said you should leave each coat for 1 week to fully dry. I didn’t really have 6-12 weeks to paint my cabinet. I had about 1 week. So water based paint was the way to go. I just got a standard general use primer and also an egg shell top coat. I personally chose to apply the paint with a small, foam roller as I wanted to paint without brush marks.
I did do some rough sanding before painting the first coat of primer. Then my new sanding technique came into play. In my research I had discovered ‘wet sanding’. Never heard of this in my life before. But it’s very common in sanding car panels. And the ultra fine ‘wet and dry’ sandpaper I bought was specifically marketed for cars. They only cost about 50p-70p per sheet by the way, although you do go through sheets of the fine stuff very quickly. But I heard that you should use the wet sanding technique to make sure you are getting rid of all the little bits of wood while you sand. I gave this a go and it worked amazingly. The wood was feeling so smooth, but it was also making one hell of a mess and taking off more of the paint than I was expecting. In retrospect I am assuming that the wet sanding technique is only really meant to be used if you have used oil based paint, not water based paint. Seriously, it was such a mess as the wet sandpaper took off lots of the paint which became all slimy. So from the next coat onwards I just used the dry sanding technique with the same fine sandpaper, just without the water, and it worked fine.
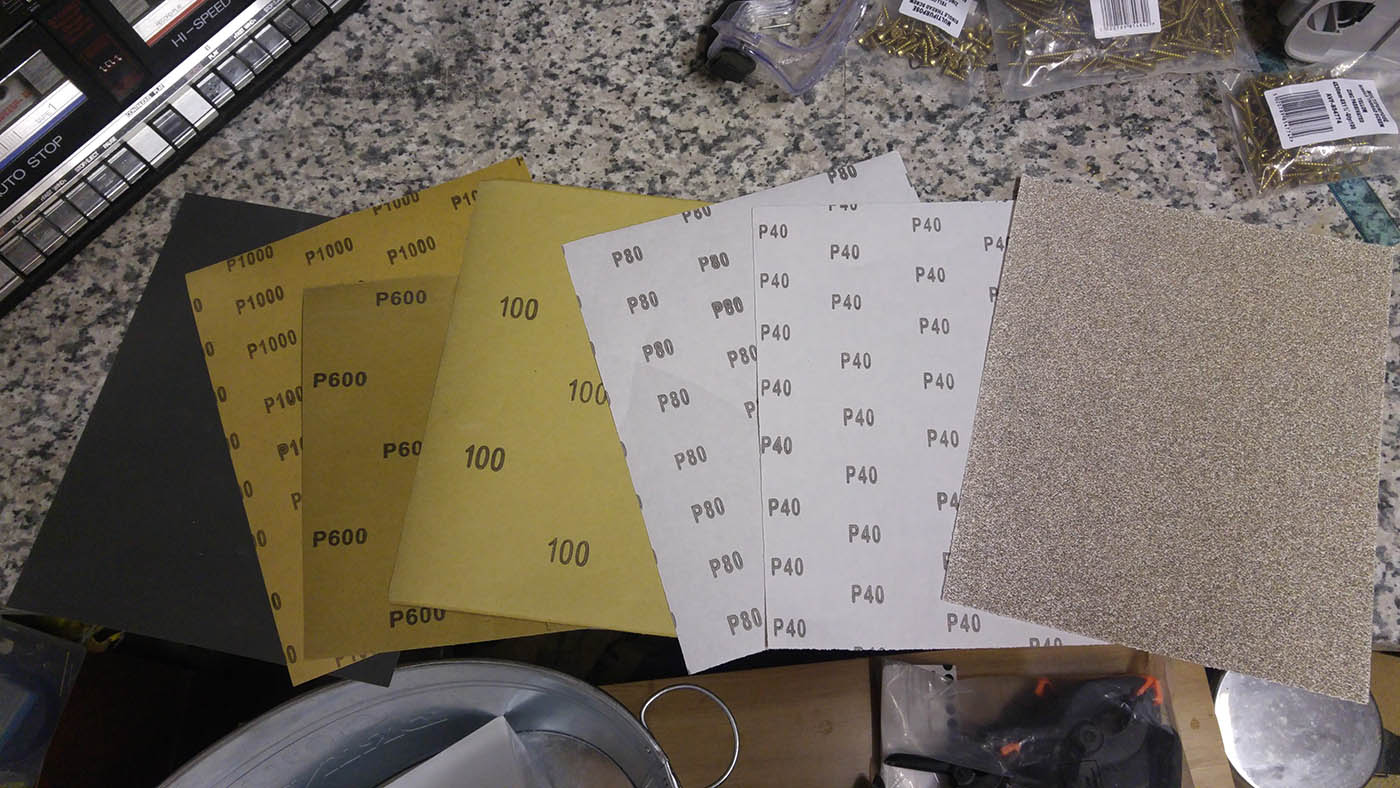
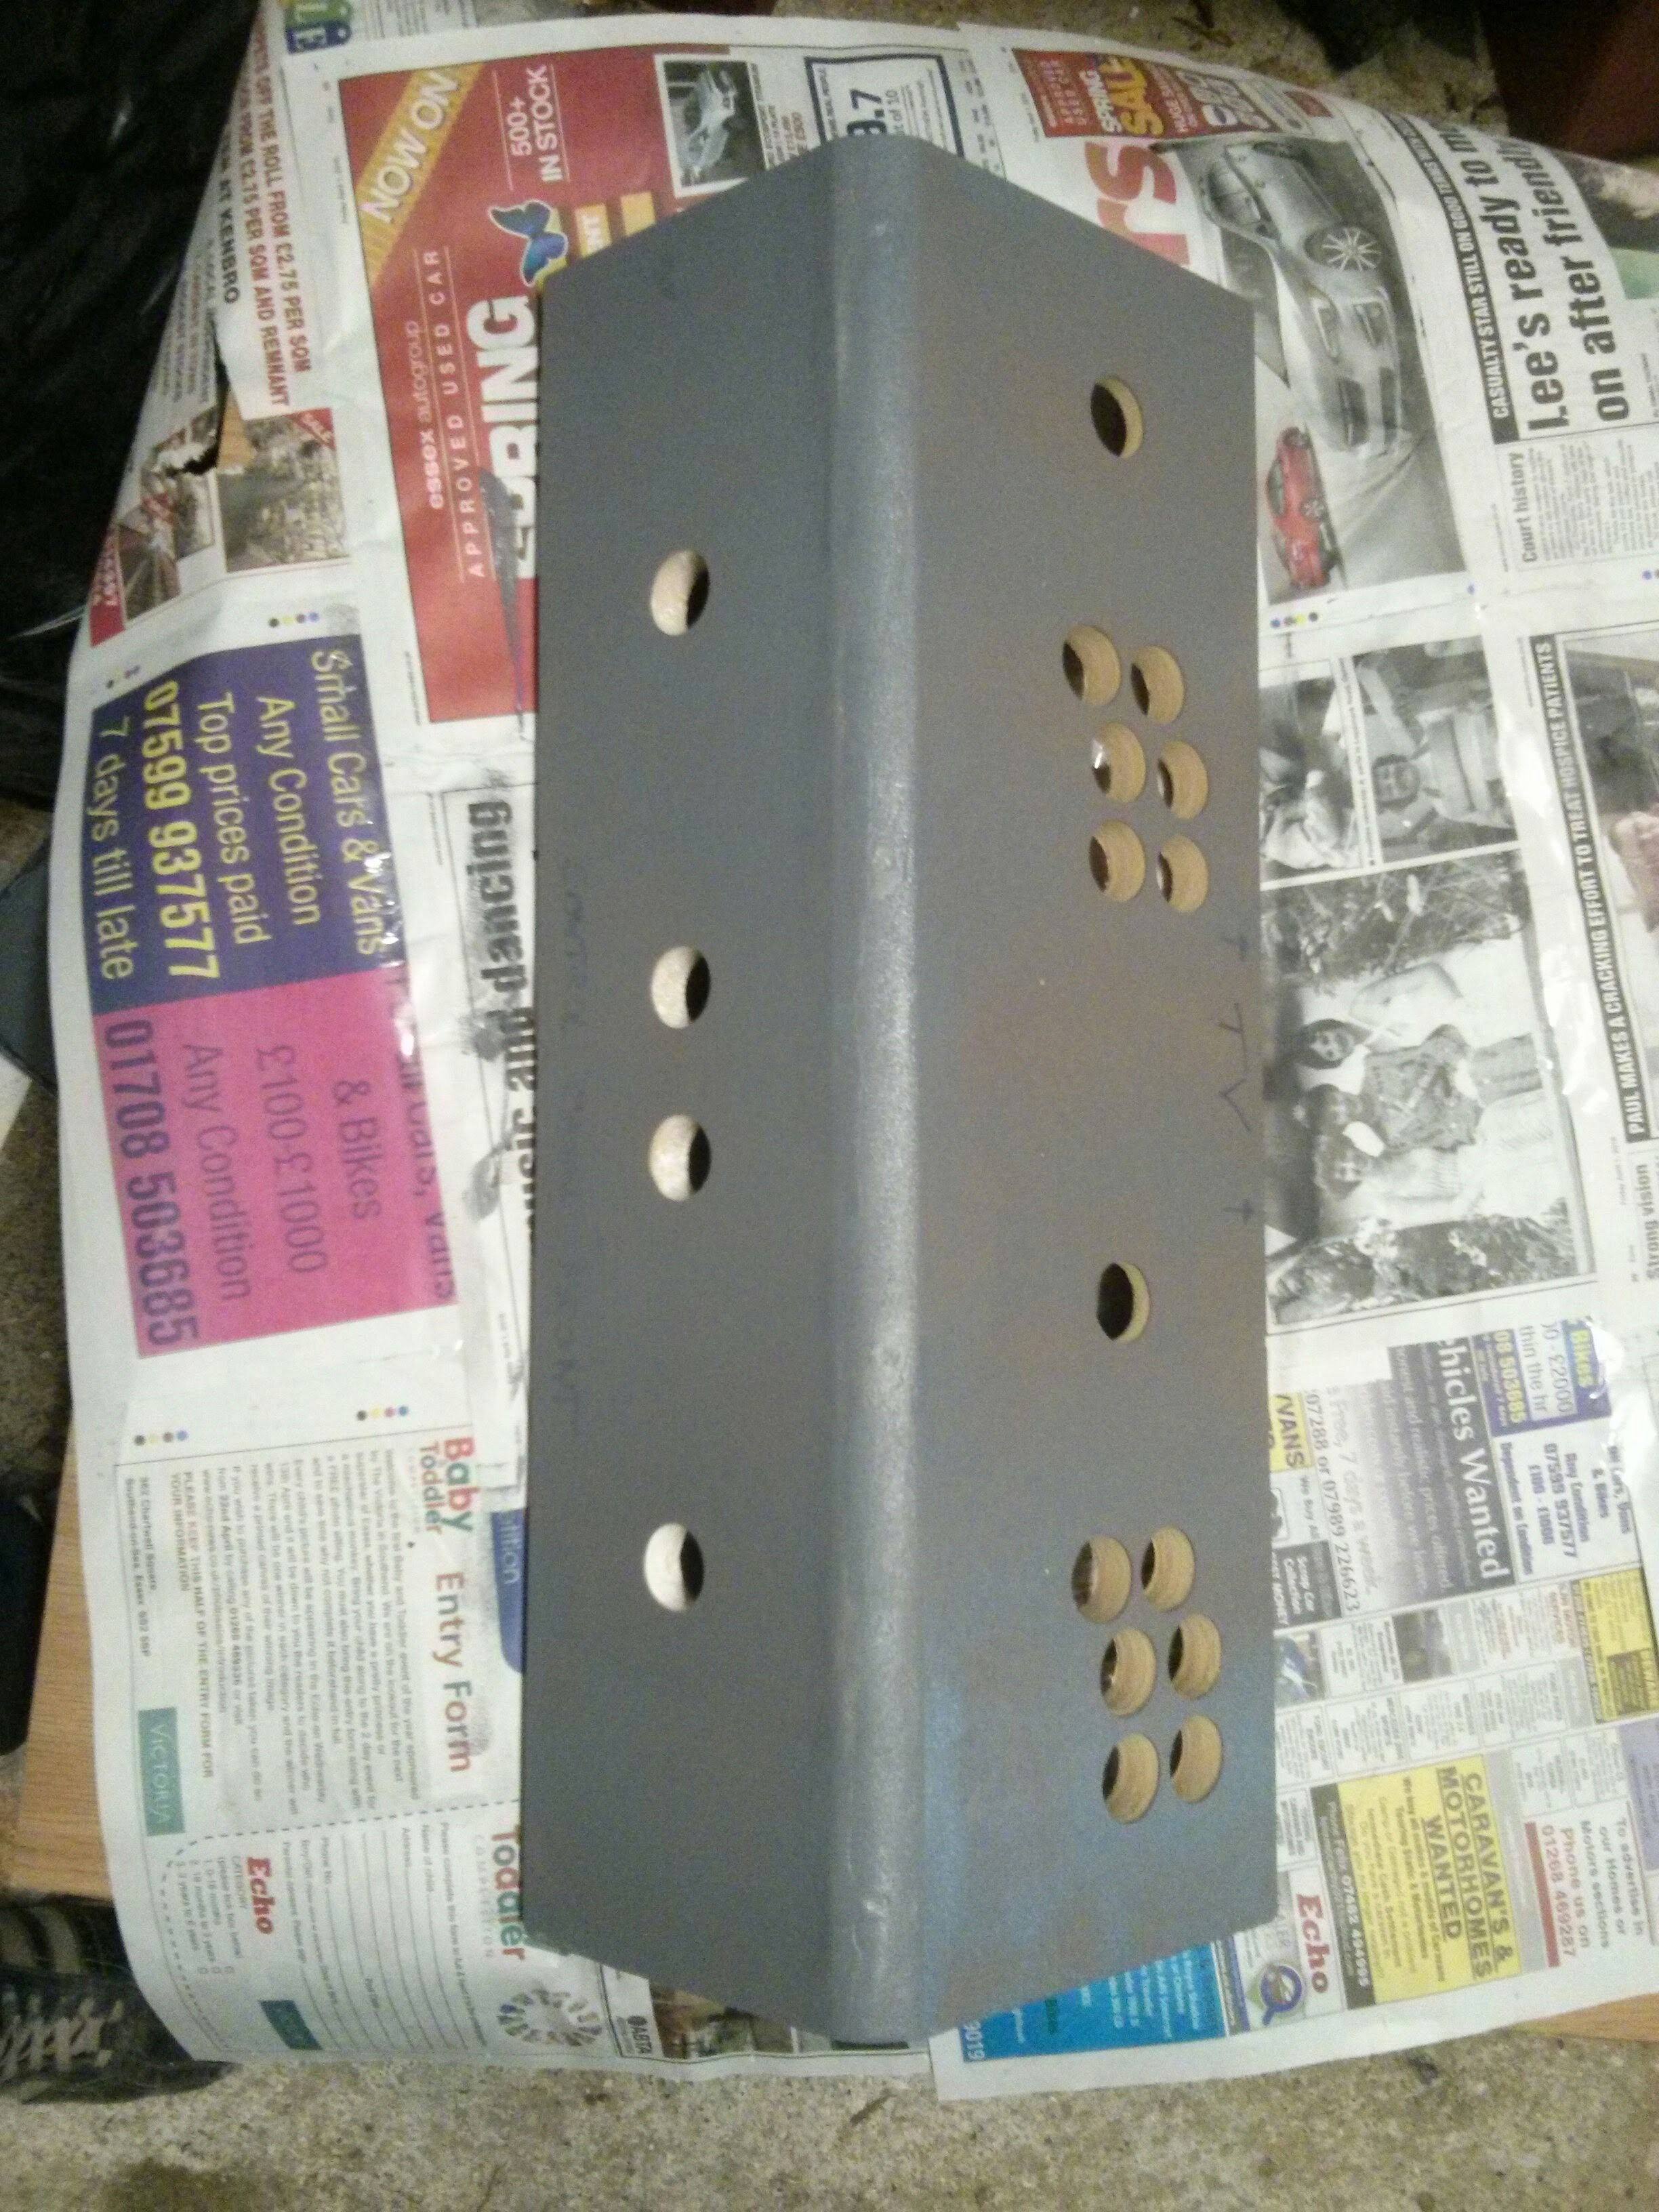
Basically it’s just a case of painting, sanding, painting, sanding etc. And I would leave a day between each paint to let it dry overnight before sanding. I did two coats of primer I think and possibly 3 or 4 coats of top coat, sanding each one with progressively finer sandpaper ending on 1000 grit as that’s the finest I could get hold of. But trust me, it felt sooooo smooth after using this process and using the 1000 grit paper. My wife said it felt like suede in the end, and she’s totally right. It was great. I was very impressed with how well the sanding went. I know some people like their cabinets to be as smooth as glass or like a car and you can get it like that if you do it even more carefully than I did but I was perfectly happy with the smoothness that I got. I also didn’t have to be too worried about how the paint looked on the side of my cabinet as I was going to be adding full length vinyl stickers all down the sides. And for the black bits I wasn’t really stressing about getting them perfectly smooth anyway.
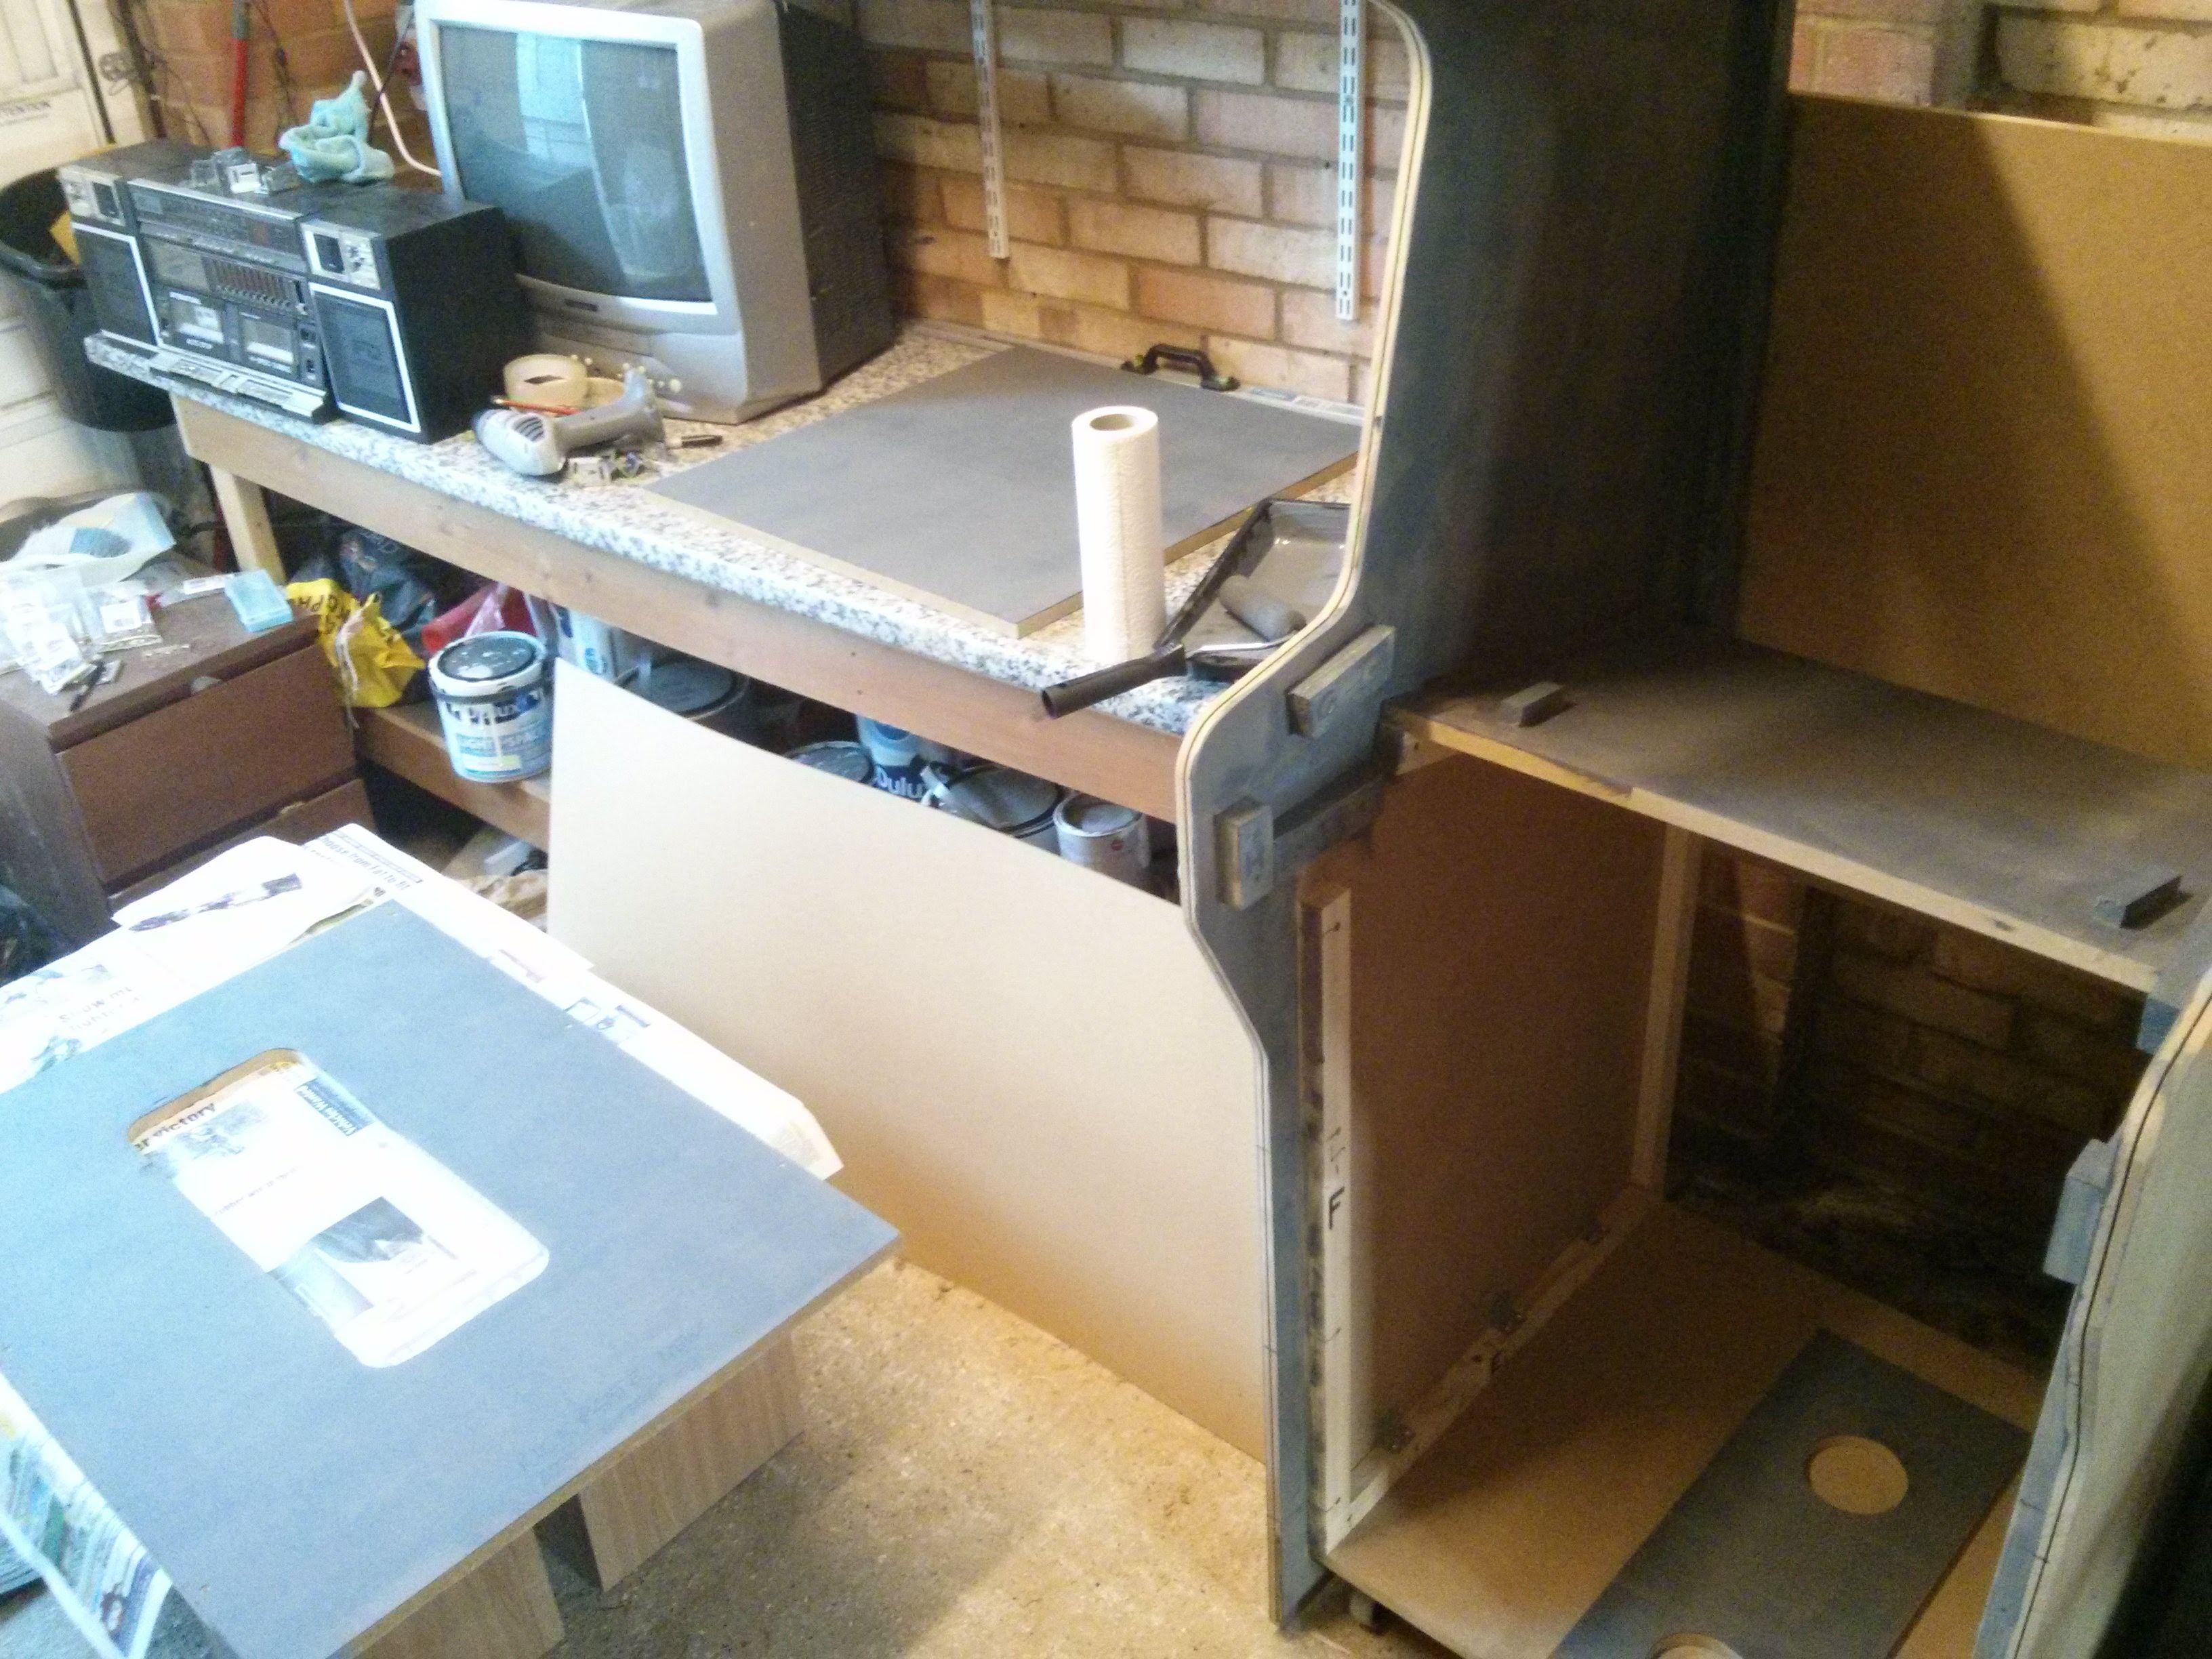
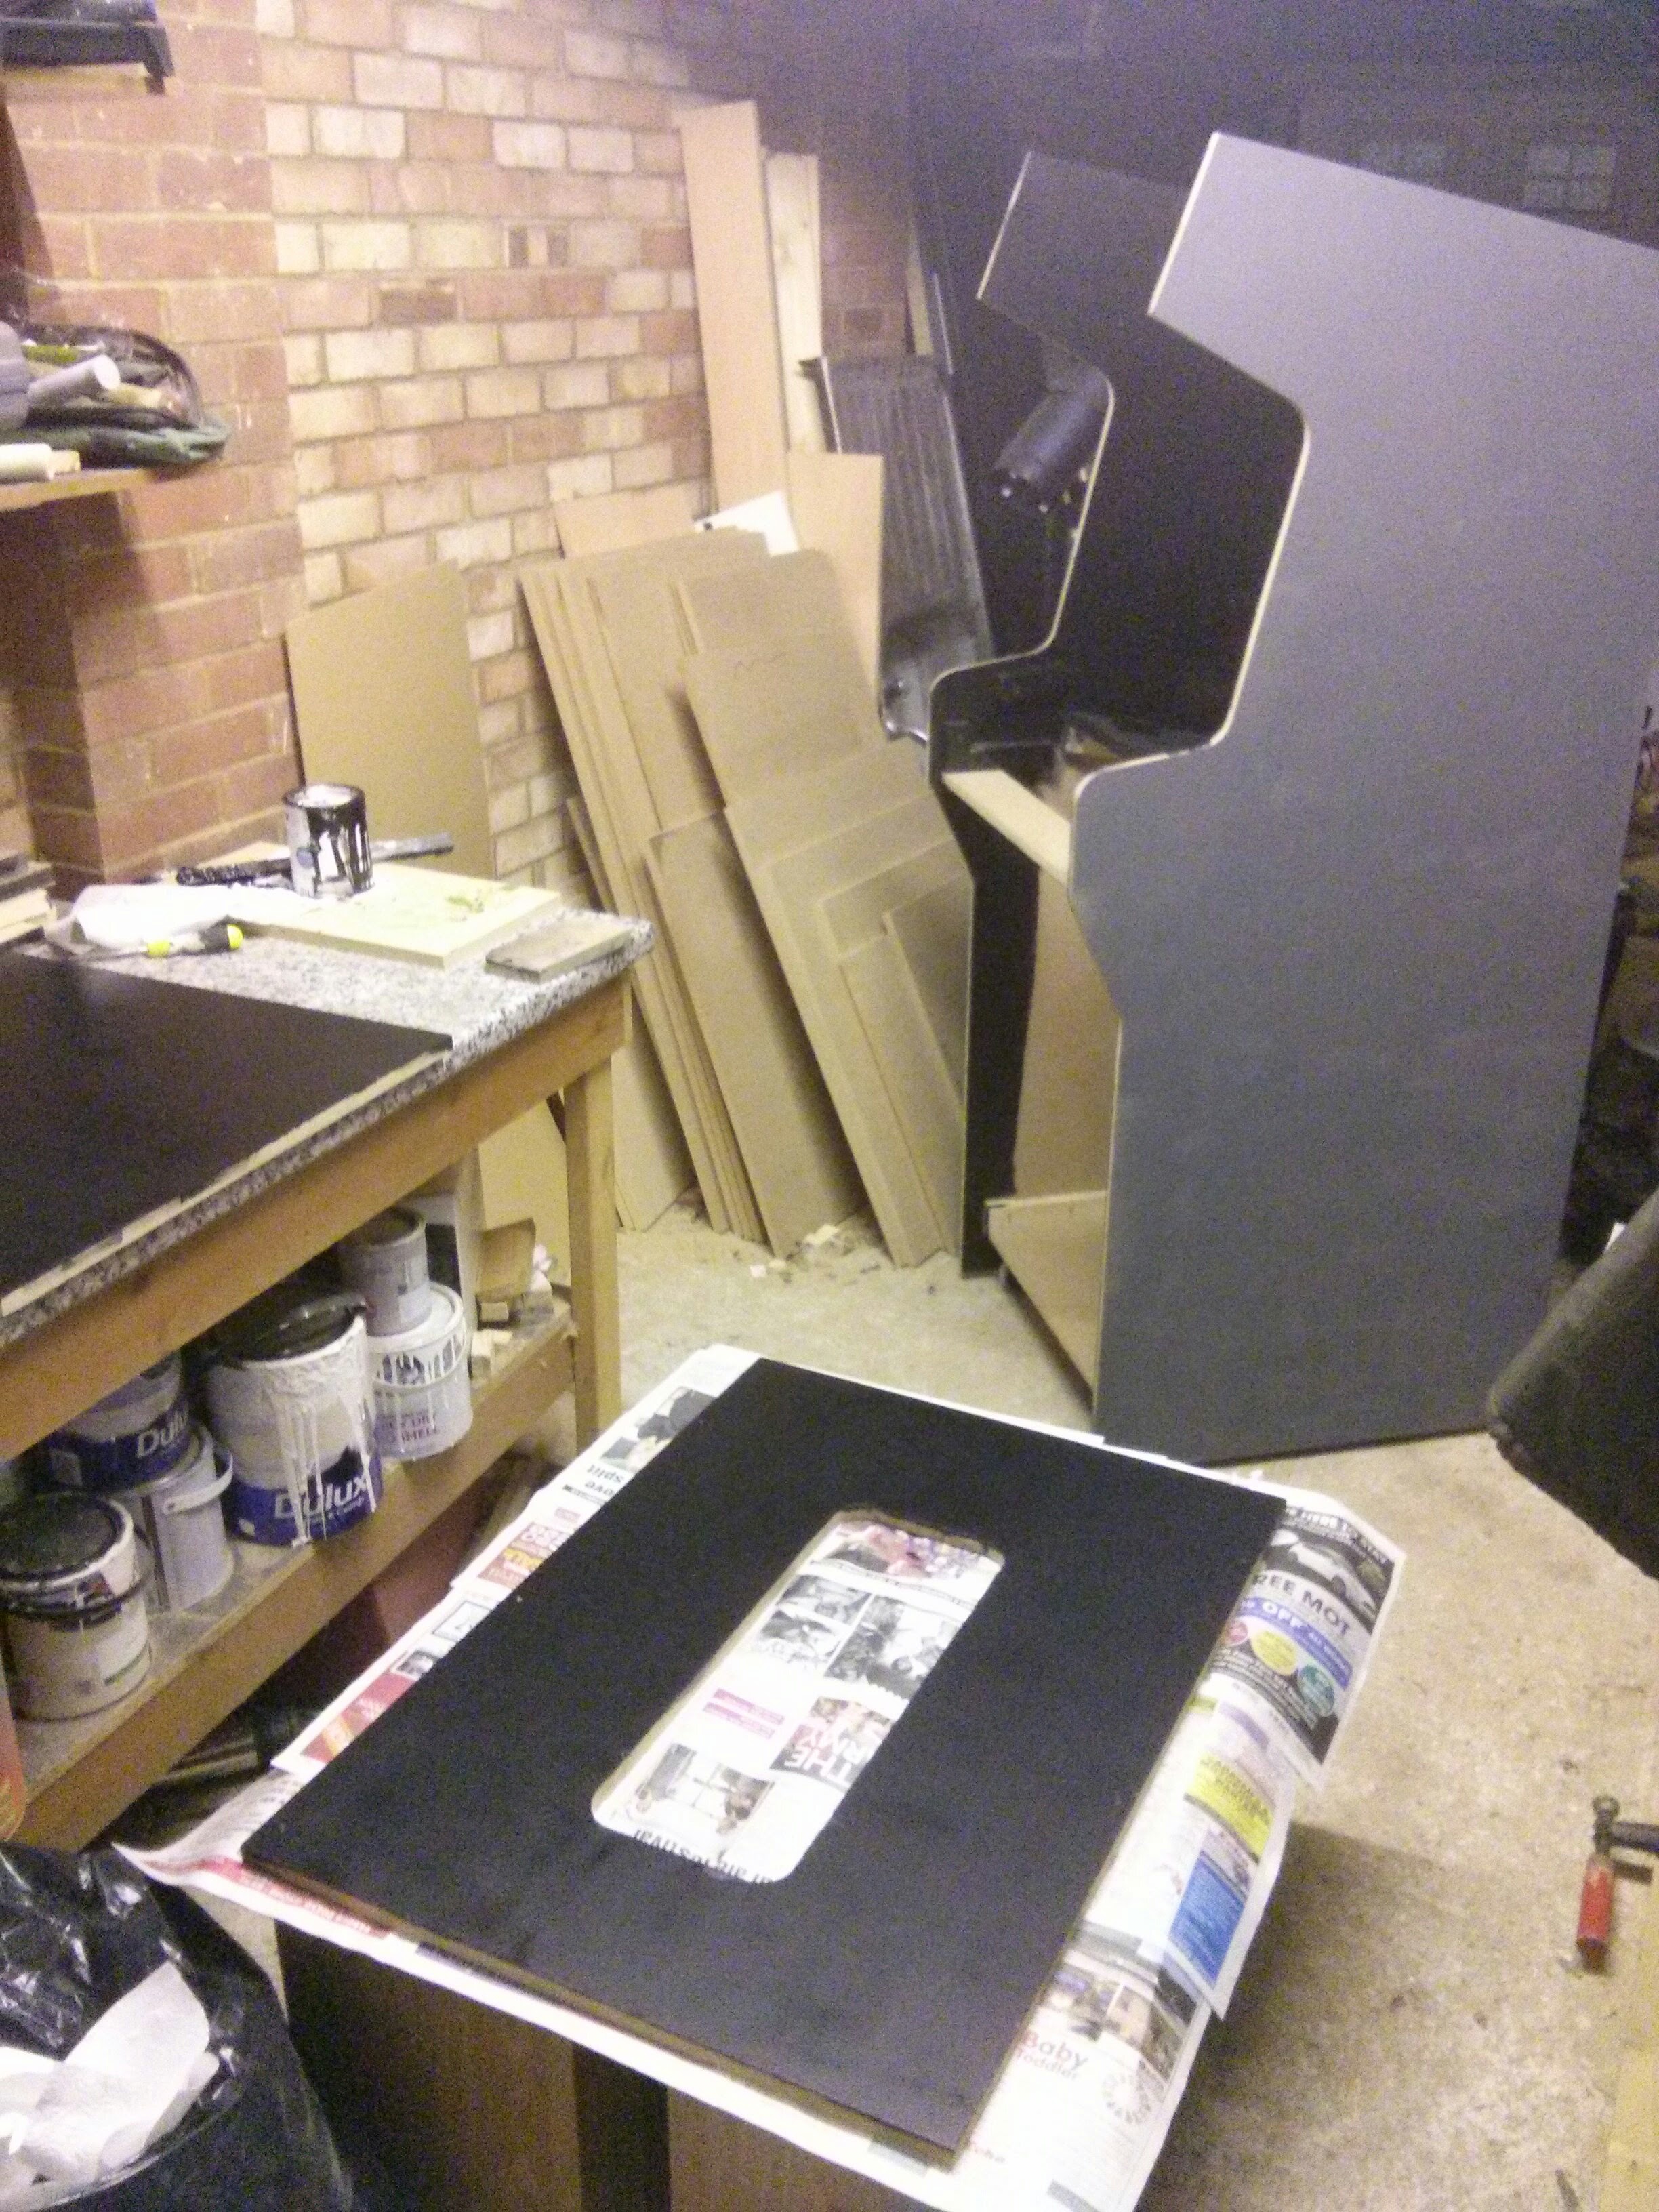
Although I learnt a lot from the new sanding techniques and enjoyed the outcome, this really was the most frustrating phase of the build for me. Just because you are doing the same thing every day and you then just have to sit and wait for a day until you can do the same thing again. And you have to be very careful about dust getting into your workspace when you’re painting. So it was a slow, frustrating week but it was great to have the painting all done in the end.
Lastly, I did also apply two coats of a varnish after doing the painting. I didn’t want it to be too glossy but I did want some protection as I knew it might scuffed a fair bit and also the panels might be removed and attached quite often and therefore it might get scratched without some protection.
Here’s a list of all the posts about my arcade build.
Part 1
Part 2 – Decisions
Part 3 – Cabinet Design
Part 4 – Control Panel Plans
Part 5 – Initial Questions and Concerns
Part 6 – Online Resources
Part 7 – Cabinet Plans
Part 8 – Buying and Cutting the Wood
Part 9 – Tools and Materials
Part 10 – Building the Cabinet
Part 11 – Building the Control Panel
Part 12 – Sanding and Painting
Part 13 – The Coin Door
Part 14 – Artwork
Part 15 – Printing and Applying the Vinyl
Part 16 – Adding all the T-moulding
Part 17 – The TV Monitor
Part 18 – Making the Bezel
Part 19 – The Marquee
Part 20 – Installing the Electronics
Part 21 – Setting up MAME
Part 22 – Issues to Watch Out For
Part 23 – The Finished Cabinet
Stuart
Nov 21, 2019 -
I’m loving this series! Can you explain why you need to paint at all if you’re adding vinyl over it? Or why it has to be smoothed out after you paint?
Retromash
Nov 22, 2019 -
You know what Stuart? I’m really not totally sure. I just know that people said it was recommended. I guess it makes the vinyl stick better or I think if there are lumps on the surface, even really small lumps, then the vinyl highlights those lumps and it can look really bad in bad light. I’m sure it’s not 100% essential, particularly if you are covering the whole thing with vinyl. Cheers.
James Kelly
Feb 20, 2021 -
Thanks for sharing this article. The sanding part is very important for me.