
Sewing clothes is a fun and creative way to make your own unique style. There are many styles to choose from, but one of the most popular has always been retro clothing. Retro fashion was trendy in the 1960s, 70s, and 80s! It’s all about that vintage look that never goes out of style. This article will cover what you need to get started and how to sew your fabulous clothes.
What you Need
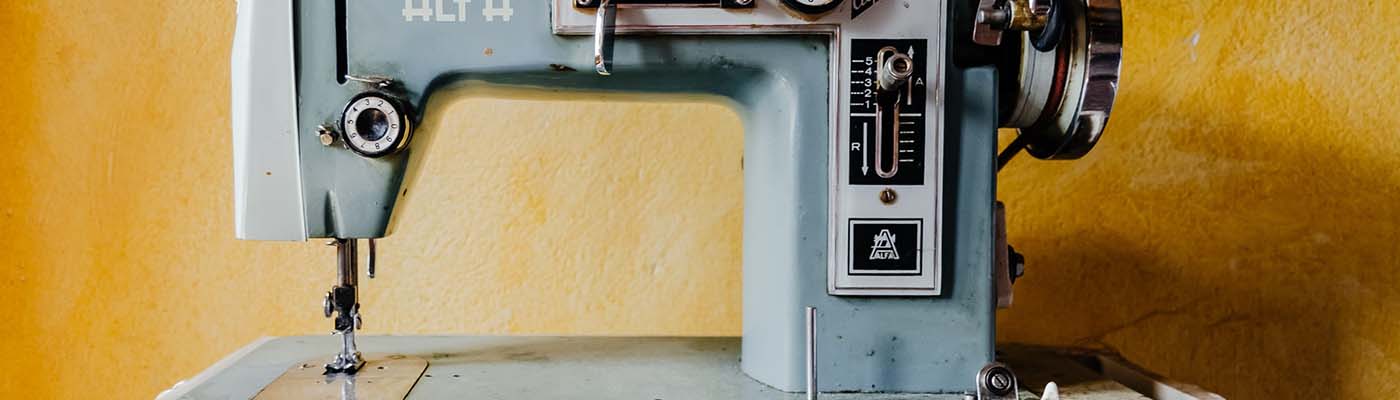
To get started, you will need some essential sewing tools. These include a sewing machine, fabric scissors, pins, needles, thread, and a seam ripper. You’ll also need to find the best vintage fabric for your clothes. You can find them at craft felt fabric stores or online so just make sure to choose a style that matches the look you’re going for. It’s also vital to determine what type of material will work best for your clothes. For example, if you want a very tight outfit with lots of stretches, then spandex or lycra is the way to go; however, making something looser and more casual than cotton would be better suited.
Investing in a few sewing books or online tutorials is also a good idea if you’re new to sewing. This will help you learn the basics and start your projects.
Sewing Tips
- When sewing, always use a straight stitch. It is the most basic stitch type, perfect for most projects.
- For curves, use a zigzag stitch. This will help keep your fabric from bunching up or stretching out.
- To make sure your seams are strong and will hold up over time, use a zigzag stitch or a French seam.
If you’re not sure how to sew a particular type of seam, many online tutorials can help. Just do a quick search for the type of seam you want to learn.
How to Sew
First, you’ll need to choose what kind of clothes you want. Do you want a dress? A skirt and top combination? What about pants or shorts?
Next, gather all your supplies and get ready to sew. You’ll have to choose a pattern for your clothes. If you are making something using a material, you must use suitable fabric and stretchiness. After selecting your desired style, measure and cut out all pieces according to the directions on the pattern.
It will help if you cut your fabric to the correct size. You can find a sizing chart online or in your sewing book. Once you have the accurate measurements, use fabric scissors to cut out the shape of your clothing item. Be sure to leave a small hole to turn it in later, and don’t forget the second piece of fabric!
You will need to measure and cut out two pieces front and back and two waistband pieces for the pants or skirt. The two sides will be the same, except for the hemmed edges.
The waistband is a separate piece that will go around your waist. It needs to be cut on the fold, so you end up with two identical pieces. Once you have cut all your parts, it’s time to sew them together.
Use pins to pin two pieces of fabric together, right sides facing each other. Sew along the edges using a straight stitch and leave an opening for turning inside out later. When you’re done with one seam, repeat on any other seams that need it until all your clothing pieces are sewn together.
Now do the same thing with the waistband pieces, pinning the right sides together and leaving an opening.
As for stitching everything to ensure it doesn’t come undone, you will need a sewing machine later on! Be sure to leave long tails of thread at either end so that you can tie them off when finished or use something like dental floss. You could also hand-sew the pieces together, but it will take much longer.
Once you have sewed everything together, it’s time to turn your clothing right side out! Use a seam ripper to cut the small hole you left earlier carefully, and then use your fingers or a chopstick to push the fabric through. Iron it flat once everything is turned inside out and then topstitch around the edge. This will give your clothes a more finished look.
Voila! You’re now a retro fashion designer! Have fun with it, and be sure to show off your creations on social media using the hashtag #retroclothes.