
Right from the start one of the key parts of the arcade machine that I was thinking about was the TV monitor. I always wanted to use a CRT instead of a flatscreen. I felt pretty strongly about that. I just like the curve and pixelated effect of the CRT screens, and of course it’s how arcades were originally meant to be played. I just wasn’t sure where I was going to get one though. Obviously eBay would hopefully have been a good source but I wasn’t sure how large they would be or how much the postage would cost.
I was extremely glad, therefore, when, very early on, I just stumbled across a 20” TV when out at a car boot sale with Ally @theretrohunter. I couldn’t believe my luck. It was literally about 3 weeks after I had decided I definitely wanted to build my own arcade machine. And the good news was it only cost me £5. Absolute bargain, and the bonus is that it’s one that has a built in VCR. It’s a 20” Goodmans TVC202TS and seemed perfect for the job.
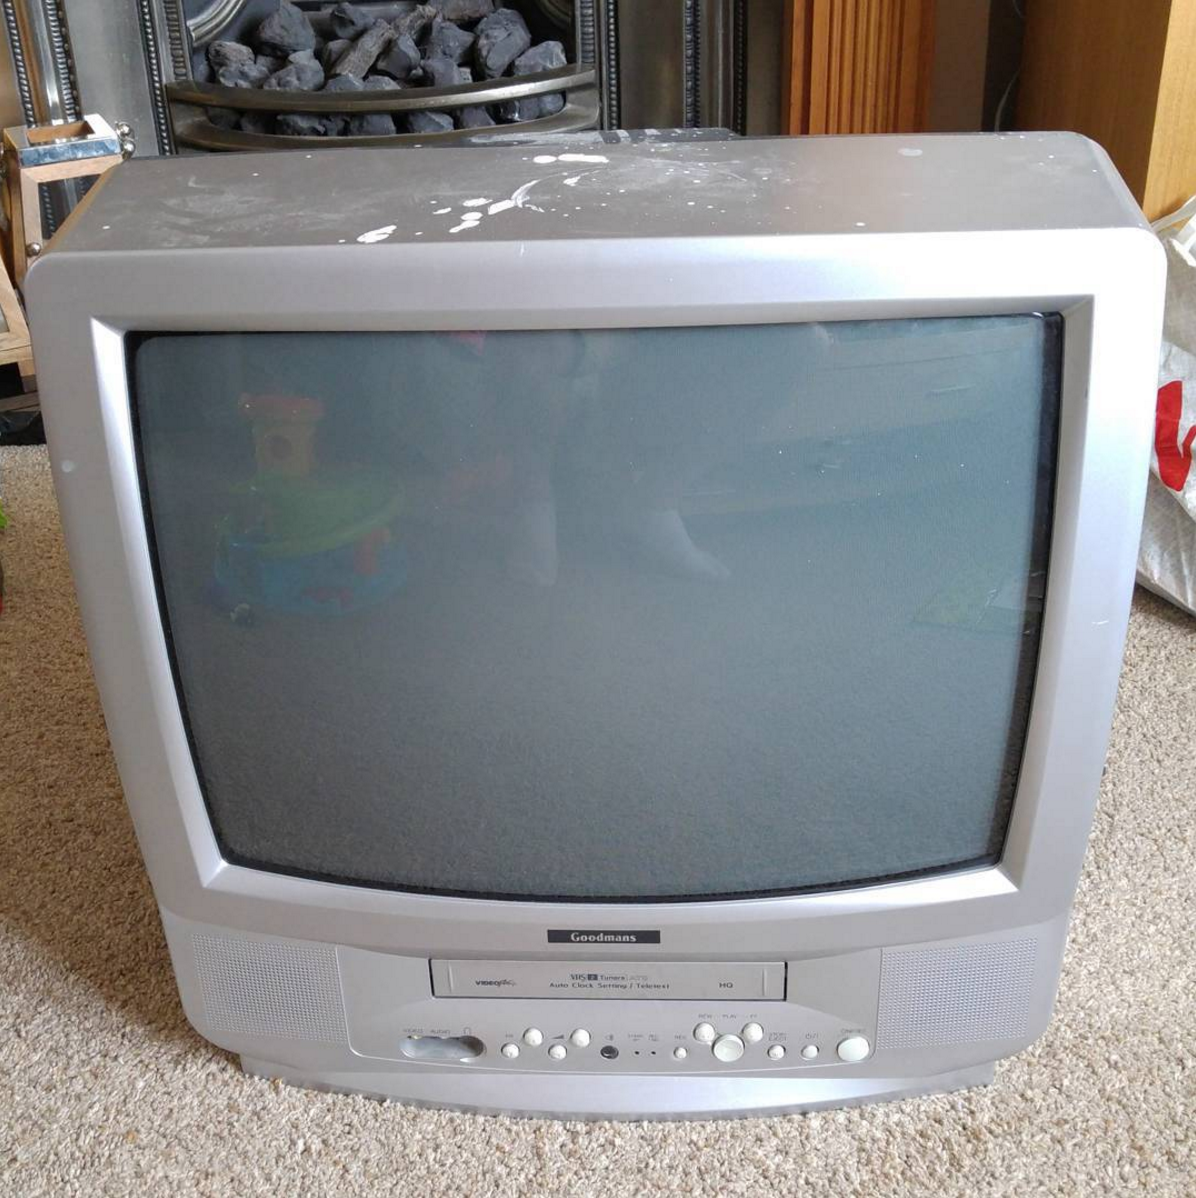
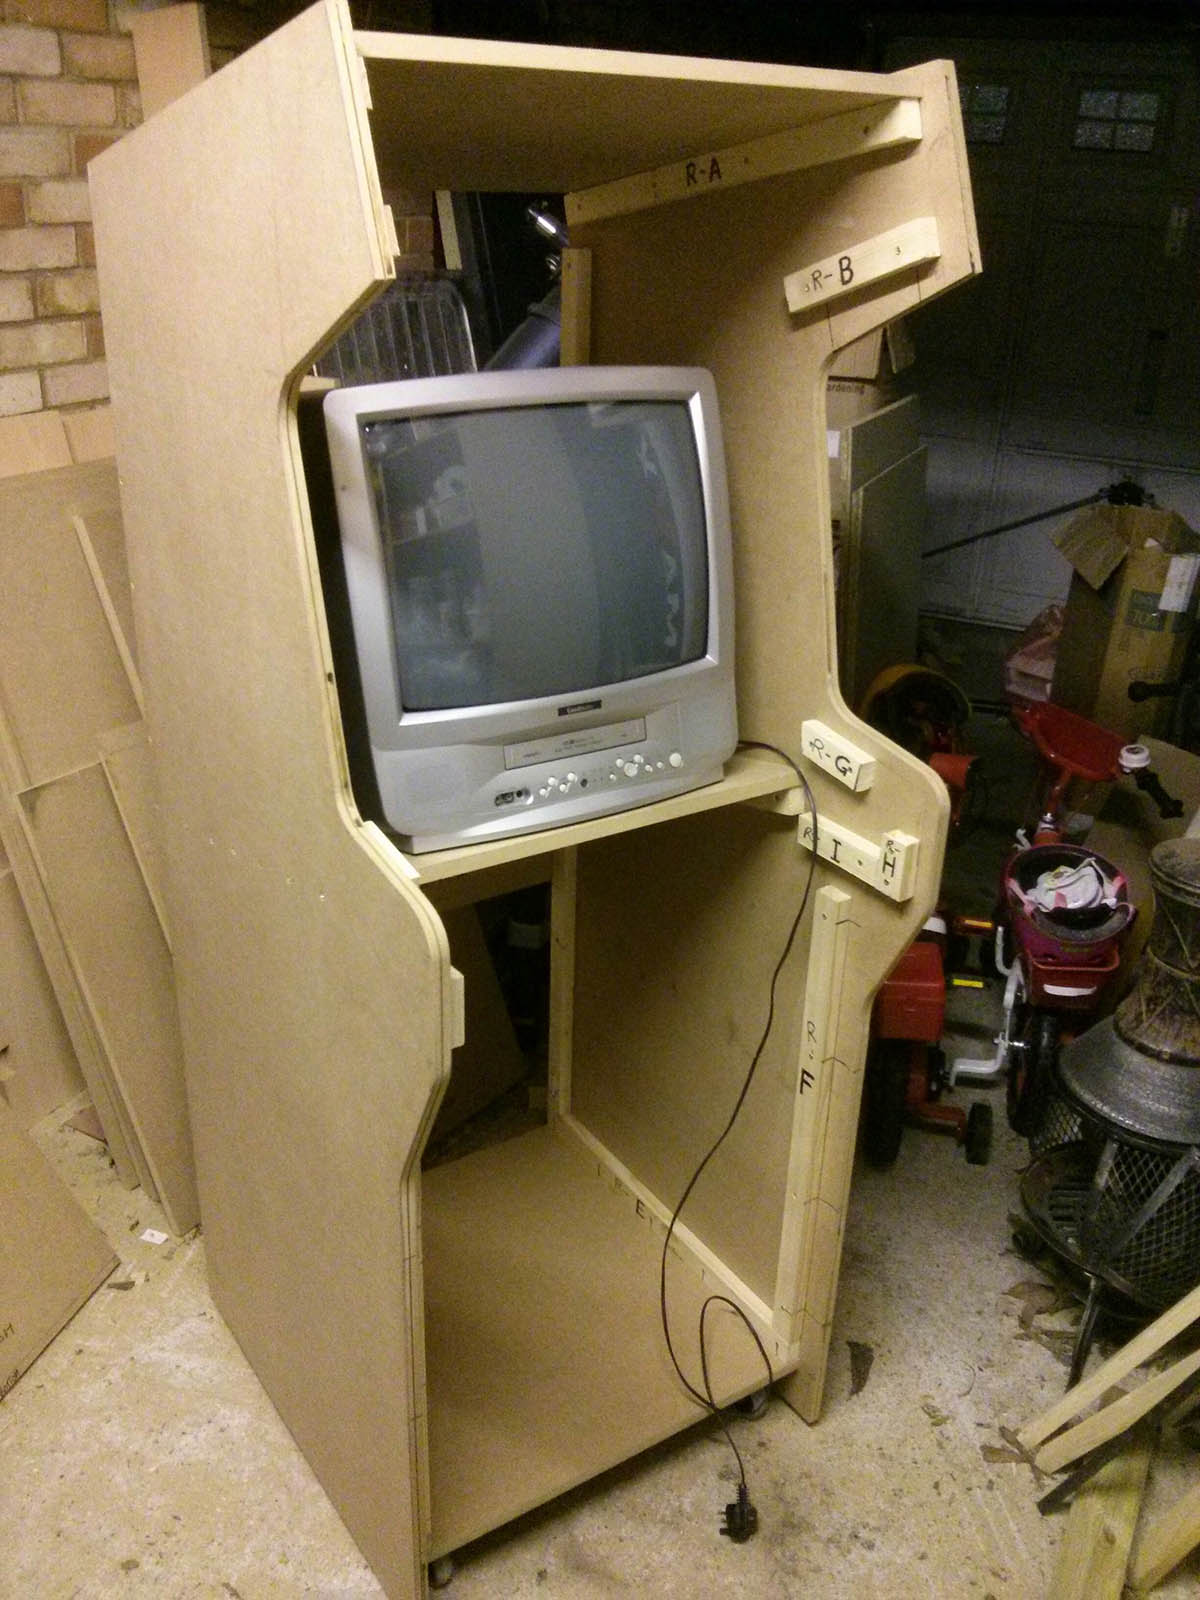
Originally I had thought that I would have to remove the casing from around the TV, and I had heard lots of scare stories about the charge stored in the transformers or capacitors in TVs and that they could kill you if you’re not careful. But after some careful measuring I realised I could keep the casing on and just pop the TV into the cabinet as it was. I just had to measure the height that the TV shelf would have to be.
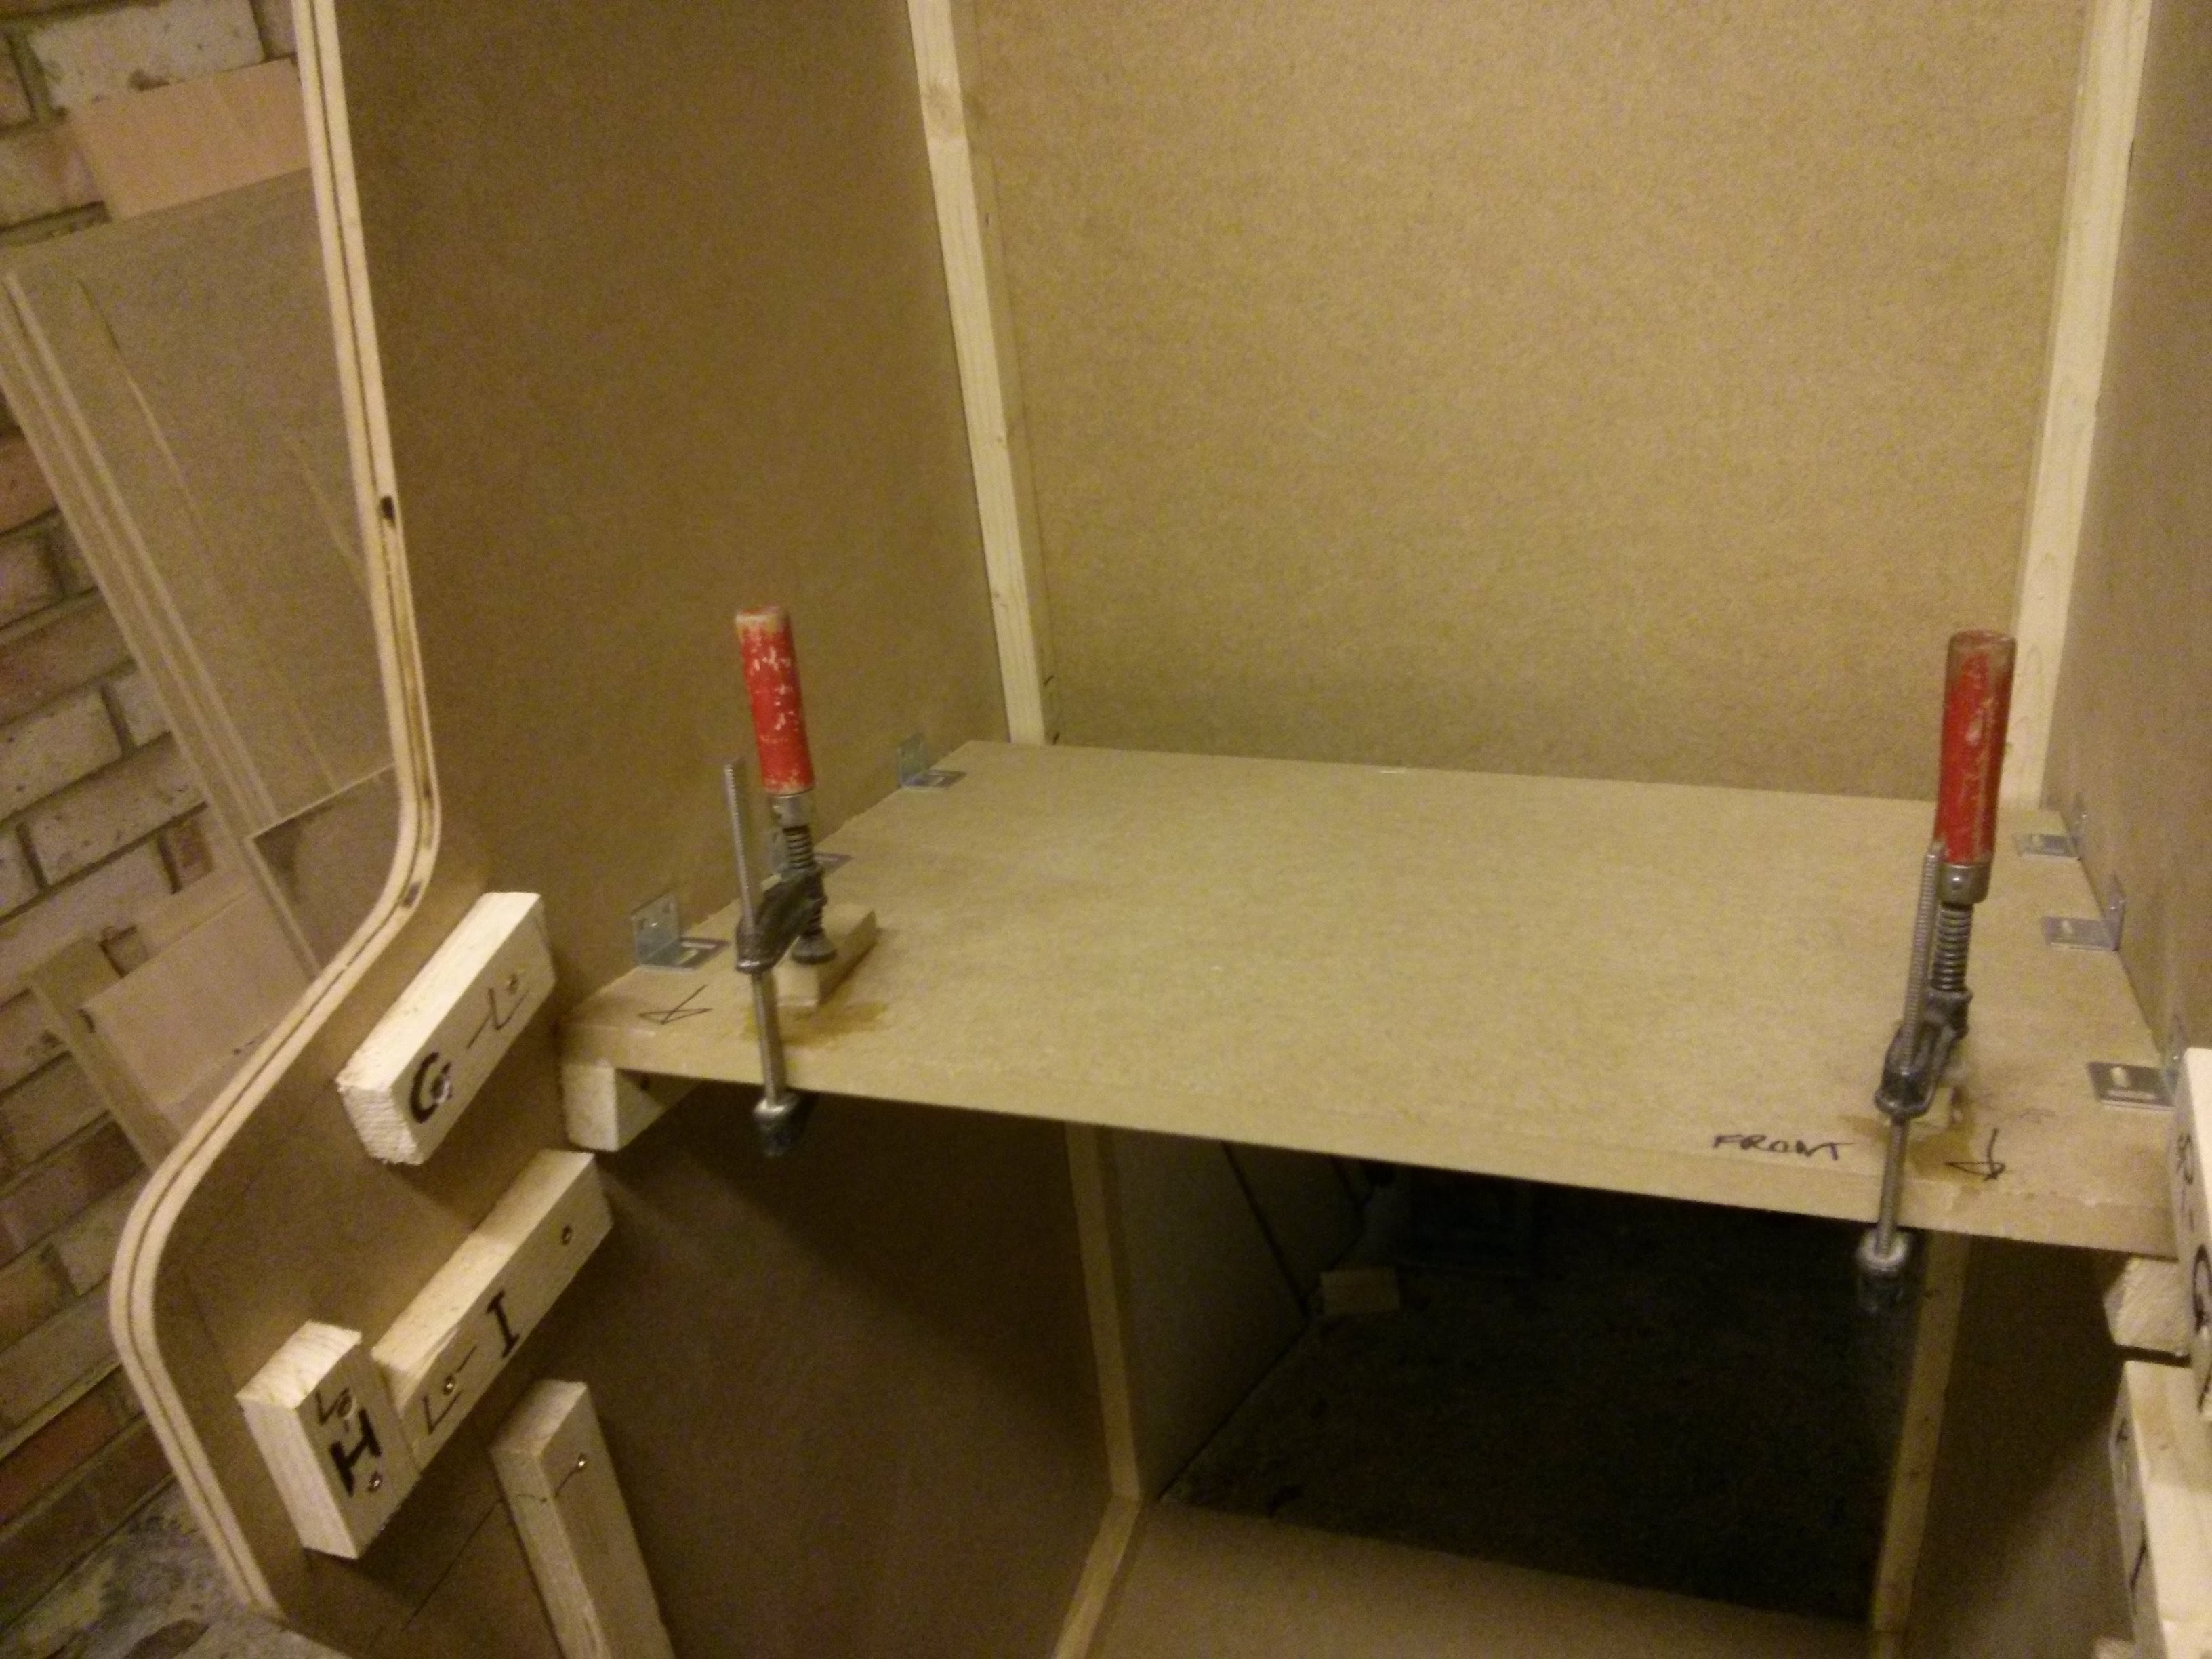
One main thing about the TV is that it is very big and heavy. I was very concerned about how the TV was going to be supported. Not only was the weight of the TV pushing down on the shelf but also the TV was leaning backwards, so had a risk of sliding backwards along the shelf. My plan was to put a strut of some kind across the inside of the cabinet to stop the TV from sliding back and into the back panel, but funnily enough, more through accident than design, the TV actually fit absolutely snug against the back panel and there was no need for a strut. It just rests gently against the back panel. I do just have to be a bit careful when taking the back panel off, but to be honest the TV doesn’t really tend to slip down due to friction.
One of my other issues was to work out how to make sure I got the TV smack bang in the middle of the shelf every time I took the TV out and put it back in again. If I’m making a bezel to go around it I need to make sure the TV is always in exactly the same spot. I solved this problem by adding some runners onto the TV shelf. I got the TV in the position I wanted it in and then just got a couple of really small bits of wood and I cut bits about 60mm long, put some glue on them and just placed them either side of the TV near the front, snug up against the TV edge. I was then able to slide in the TV from the back and line it up with these runners every time to make sure it was always in the same spot.
I was happy with everything regarding the TV’s stability and placement. One last minute issue I had, however, was regarding the AV channel. I was at the stage where I was testing the Raspberry Pi with the screen and the control panel but I couldn’t work out how to change the TV on to the AV channel. I had tested it before but I realised I had only tested putting a VHS tape into the in-built VCR player and that must automatically make it switch to the AV channel. When you plug something into the SCART socket it doesn’t switch it automatically. And there were no physical buttons to switch the source to AV! So frustrating. After some searching online I found a website called Remotes Replaced who sell remote controls for basically any TV from any year. I called them up and asked if they could expedite the shipping. I think I had it with me the very next day. Very impressed with their service.
The only problem I then had is that it didn’t automatically switch to AV when I turned the machine on. I had to use the remote control every time. My neighbour, who happens to be a satellite TV installer/repair man in his spare time, however, made a neat solution which takes a new power supply and feeds it into a new SCART adapter and somehow the voltage switches the SCART into a certain pin and automatically makes it switch to AV mode when it turns on. Very clever. So I don’t have to worry about the remote control any more, which is particularly useful as I improved the bezel a bit and it obscured the infrared sensor on the TV even more, so it was harder to use the remove control.
Here’s a list of all the posts about my arcade build.
Part 1
Part 2 – Decisions
Part 3 – Cabinet Design
Part 4 – Control Panel Plans
Part 5 – Initial Questions and Concerns
Part 6 – Online Resources
Part 7 – Cabinet Plans
Part 8 – Buying and Cutting the Wood
Part 9 – Tools and Materials
Part 10 – Building the Cabinet
Part 11 – Building the Control Panel
Part 12 – Sanding and Painting
Part 13 – The Coin Door
Part 14 – Artwork
Part 15 – Printing and Applying the Vinyl
Part 16 – Adding all the T-moulding
Part 17 – The TV Monitor
Part 18 – Making the Bezel
Part 19 – The Marquee
Part 20 – Installing the Electronics
Part 21 – Setting up MAME
Part 22 – Issues to Watch Out For
Part 23 – The Finished Cabinet
Building a Home Arcade Machine – The electronics | Retromash
Jun 3, 2019 -
[…] I already spoke in the previous post about The TV Monitor about the issues I had to consider regarding the TV. I had to make sure the TV would switch on when […]
Wood Cabinet Design Plans | Joinaad Ideas
Sep 22, 2019 -
[…] Download Plan More @ retromash.com […]